Enjoying BD-Live or BONUSVIEW in BD-Video [BD-V]
What is BONUSVIEW?
BONUSVIEW allows you to enjoy functions such as
What is BD-Live?
In addition to the BONUSVIEW function,
≥These discs may not be on sale in certain regions.
≥The usable functions and the operating method may vary with each disc, please refer to the instructions on the disc and/or visit their website.
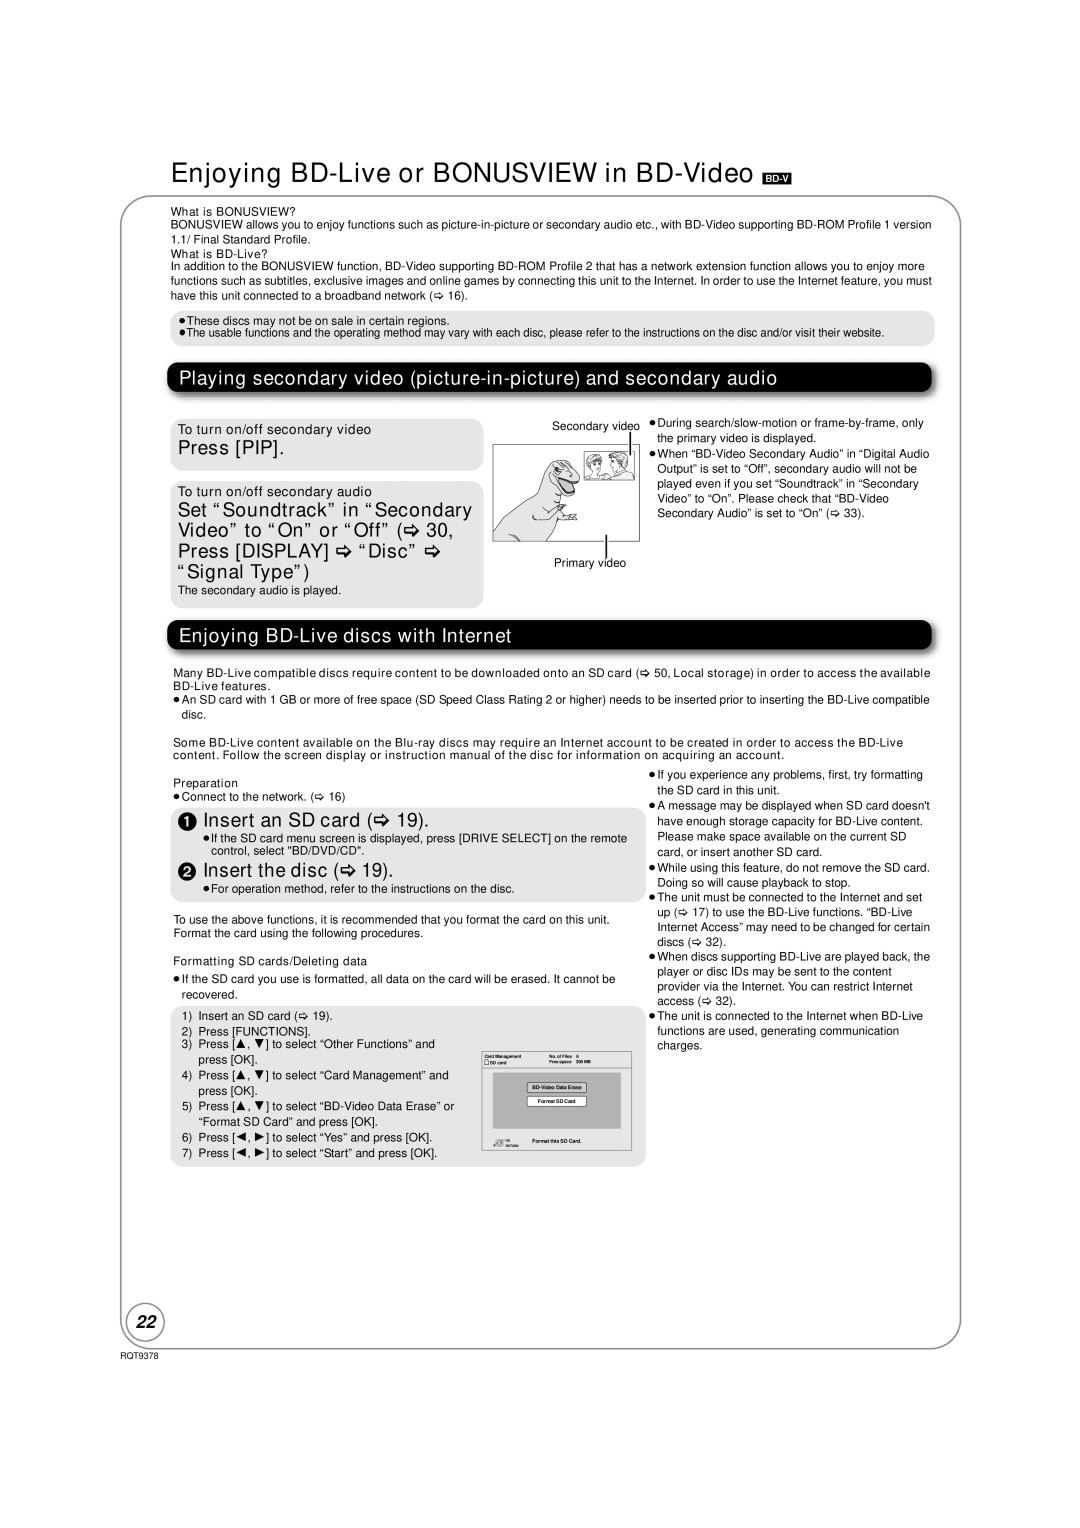
Playing secondary video
To turn on/off secondary video
Press [PIP].
To turn on/off secondary audio
Set “Soundtrack” in “Secondary Video” to “On” or “Off” (> 30, Press [DISPLAY] > “Disc” > “Signal Type”)
The secondary audio is played.
Enjoying BD-Live discs with Internet
Secondary video
Primary video
≥During
≥When
Many
≥An SD card with 1 GB or more of free space (SD Speed Class Rating 2 or higher) needs to be inserted prior to inserting the
Some
Preparation
≥Connect to the network. (> 16)
1 Insert an SD card (> 19).
≥If the SD card menu screen is displayed, press [DRIVE SELECT] on the remote control, select "BD/DVD/CD".
2Insert the disc (> 19).
≥For operation method, refer to the instructions on the disc.
To use the above functions, it is recommended that you format the card on this unit. Format the card using the following procedures.
Formatting SD cards/Deleting data
≥If the SD card you use is formatted, all data on the card will be erased. It cannot be recovered.
≥If you experience any problems, first, try formatting
the SD card in this unit.
≥A message may be displayed when SD card doesn't have enough storage capacity for
≥While using this feature, do not remove the SD card. Doing so will cause playback to stop.
≥The unit must be connected to the Internet and set up (> 17) to use the
Internet Access” may need to be changed for certain discs (> 32).
≥When discs supporting
1)Insert an SD card (> 19).
2)Press [FUNCTIONS].
3)Press [3, 4] to select “Other Functions” and press [OK].
4)Press [3, 4] to select “Card Management” and press [OK].
5)Press [3, 4] to select
6)Press [2, 1] to select “Yes” and press [OK].
7)Press [2, 1] to select “Start” and press [OK].
Card Management | No. of Files | 6 |
SD card | Free space | 300 MB |
| ||
| Format SD Card |
|
OK | Format this SD Card. | |
RETURN |
|
|
≥The unit is connected to the Internet when
22
RQT9378
