Recording television programmes
[RAM]
Preparation
Switch [DVD, TV] (15) to “DVD”.
1Press [DVD, Í] (1) to turn the unit on.
2Press [<, OPEN/CLOSE] (27) to open the tray and insert a disc.
≥Insert one disc only within the tray’s guides.
≥Use a disc that can be recorded on and that has enough space available.
≥Press [<, OPEN/CLOSE] (27) to close the tray.
≥When using a
(2)
(1) ![]()
e.g.: DVD-RAM
(1)Arrow pointing inwards.
(2)Align correctly.
≥Insert
3Press [W, X, CH] (18) or numeric buttons (4) to select the channel.
(3)
(3) e.g.: When you have selected channel 4
4Press [REC MODE] (17) to select the recording mode.
≥Select “XP”, “SP”, “LP” or “EP”.
≥It is also possible to perform the flexible recording (FR). (page 20)
(4)
(4) e.g.: When you have selected “XP”
5Press [¥, REC] (16) to start recording.
≥The programme which has already been recorded is not overwritten.
To ensure recording
≥Use a disc that can be recorded on and that has enough space available.
≥Ensure the write protect tab is not set to “PROTECT”. (page 64) ≥Ensure the disc is not
ªTo pause recording
Press [;] (8).
Press again to restart recording.
ªTo stop recording
Press [∫] (7).
ªTo select channels with the remote control
Press the numeric buttons (4).
ªConvenient features
≥Chasing
≥Simultaneous recording and
≥Time
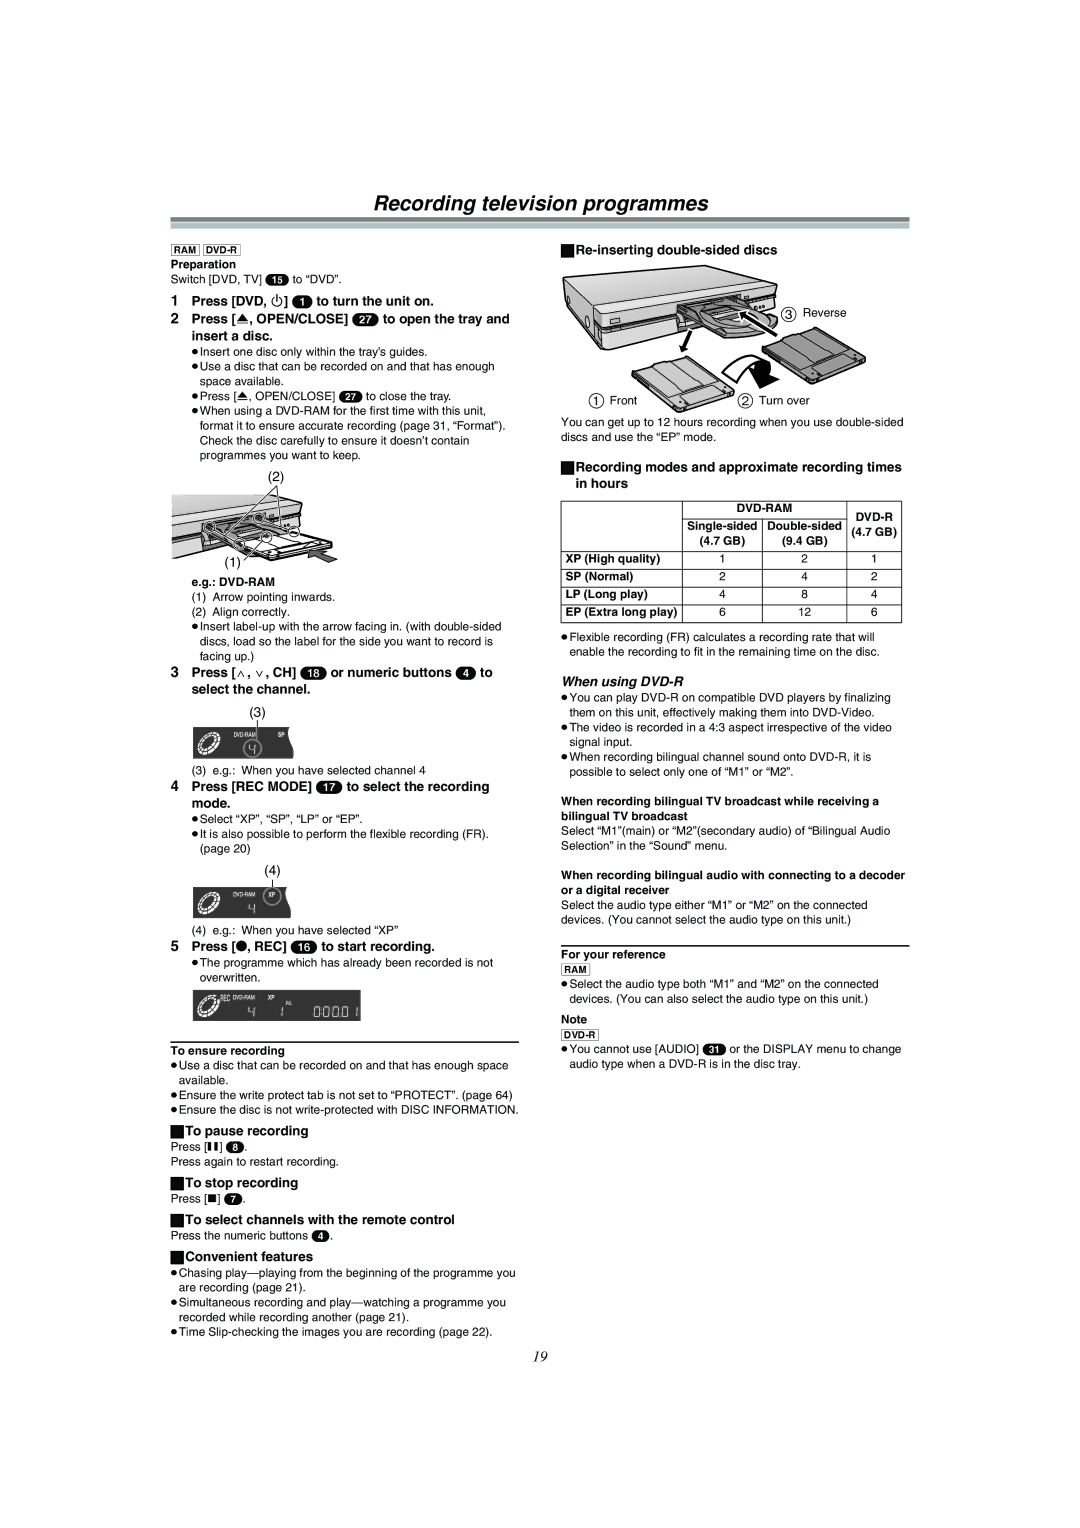
ªRe-inserting double-sided discs
![]()
![]()
![]()
![]() 3 Reverse
3 Reverse
1 Front | 2 Turn over |
You can get up to 12 hours recording when you use
ªRecording modes and approximate recording times in hours
|
| ||
|
|
| |
| (4.7 GB) | ||
| (4.7 GB) | (9.4 GB) |
|
XP (High quality) | 1 | 2 | 1 |
|
|
|
|
SP (Normal) | 2 | 4 | 2 |
|
|
|
|
LP (Long play) | 4 | 8 | 4 |
|
|
|
|
EP (Extra long play) | 6 | 12 | 6 |
|
|
|
|
≥Flexible recording (FR) calculates a recording rate that will enable the recording to fit in the remaining time on the disc.
When using DVD-R
≥You can play
≥The video is recorded in a 4:3 aspect irrespective of the video signal input.
≥When recording bilingual channel sound onto
When recording bilingual TV broadcast while receiving a bilingual TV broadcast
Select “M1”(main) or “M2”(secondary audio) of “Bilingual Audio Selection” in the “Sound” menu.
When recording bilingual audio with connecting to a decoder or a digital receiver
Select the audio type either “M1” or “M2” on the connected devices. (You cannot select the audio type on this unit.)
For your reference [RAM]
≥Select the audio type both “M1” and “M2” on the connected devices. (You can also select the audio type on this unit.)
Note
≥You cannot use [AUDIO] (31) or the DISPLAY menu to change audio type when a
19
