Edit mode
5Start recording.
6Move the joystick down to select the [∫] icon to stop playback.
7Stop recording.
≥For more information, refer to the operating instructions for your TV set and recorder.
≥When you do not need functional indications or date and time indications, press the [OSD] button on the remote control for no indication. (When you connect the movie camera and a recorder with the DV cable, these indications may not appear.)
ªWhen neither image nor sound from the movie camera is output to the TV
set
≥Check that the plugs are inserted as far as they go.
≥Check the connected terminal.
≥When no image is presented on the TV even if set [BASIC] >> [AV JACK] >> [OUT/Ë], set to [OUT].
Using the DV Cable for Recording (Digital Dubbing)
By connecting other digital video equipment with DV terminal and the movie camera by using the DV cable
This model cannot be used as a Recorder. ≥Set to Tape Playback Mode. (Player/
recorder)
1Connect the movie camera and digital video equipment with the DV cable.
DV ![]()
1
DV ![]()
2Start playback. (Player)
3Start recording. (Recorder)
4Stop playback. (Player)
≥Do not plug or unplug the DV cable during dubbing, or the dubbing may not be completed properly.
≥Even if you use a device equipped with DV terminals such as IEEE1394, you may not be able to perform digital dubbing in some cases. For more information, see the instructions for equipment connected.
≥Regardless of the menu settings on the recorder, digital dubbing is carried out in the same mode as the [AUDIO REC] mode of the playback tape.
≥The images on the recorder monitor may be disturbed, but it does not affect the recorded images.
Audio dubbing
You can add music or narration to the recorded cassette.
≥Set to Tape Playback Mode.
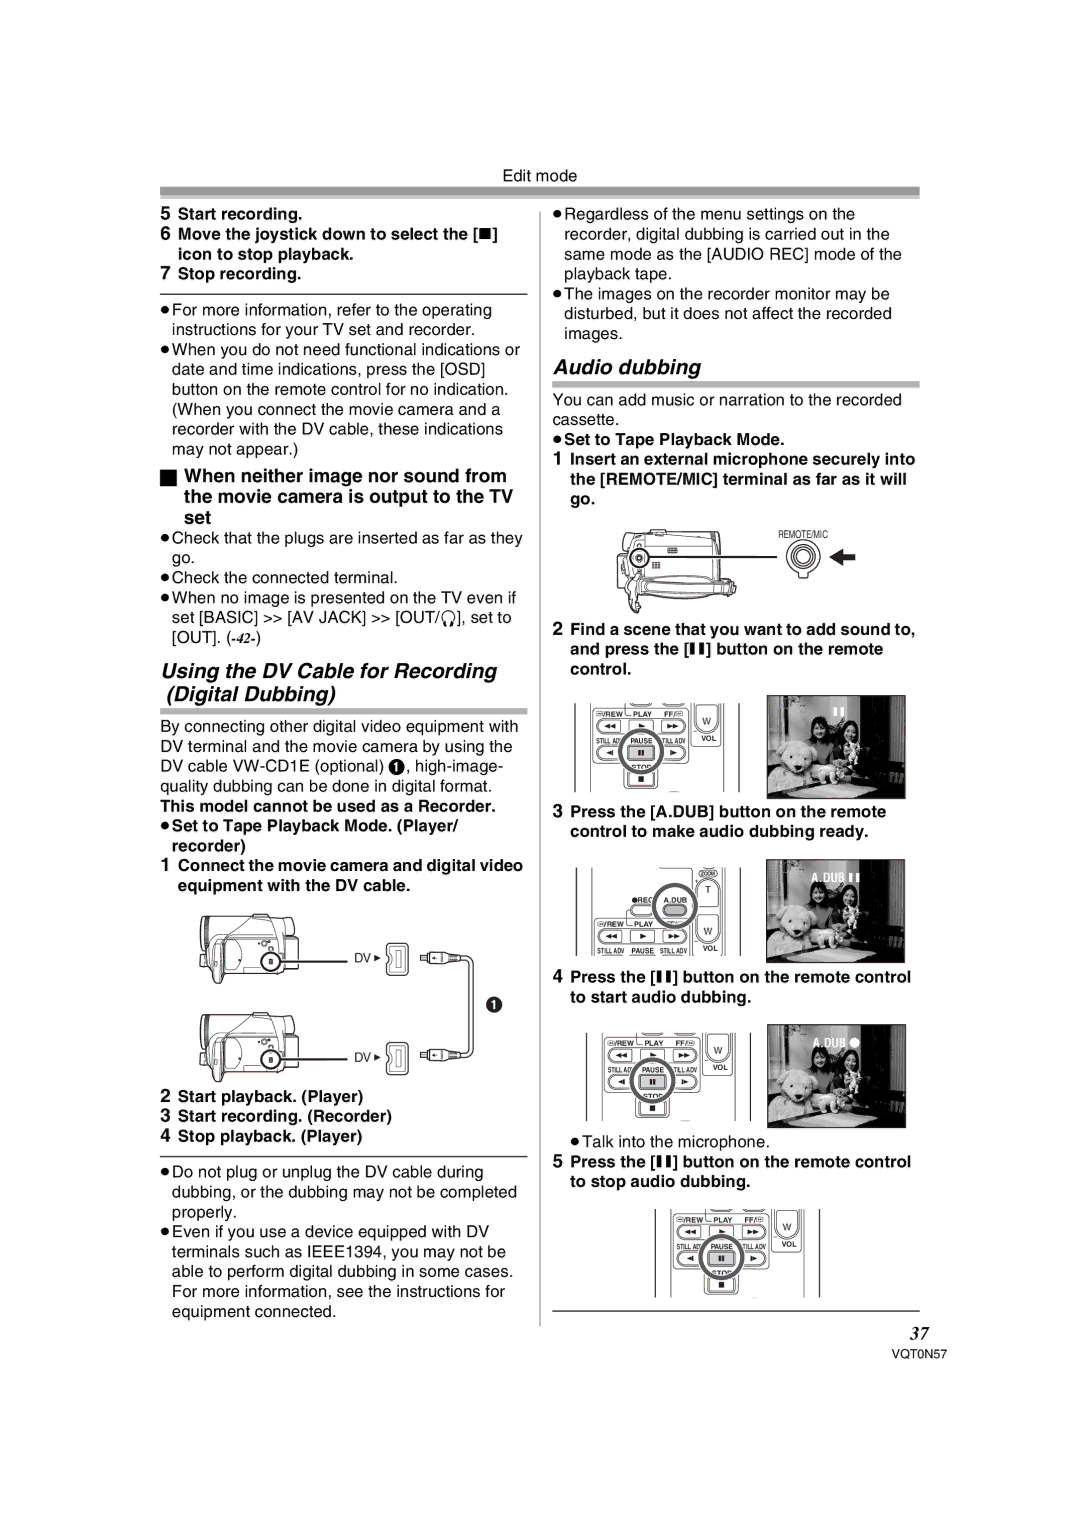
1Insert an external microphone securely into the [REMOTE/MIC] terminal as far as it will go.
REMOTE/MIC
2Find a scene that you want to add sound to, and press the [;] button on the remote control.
V/REW | PLAY | FF/W | ; |
|
|
| W |
STILL ADV | PAUSE | STILL ADV | VOL |
| |||
| STOP |
|
|
3Press the [A.DUB] button on the remote control to make audio dubbing ready.
ZOOM | A.DUB ; | |
T | ||
|
¥REC A.DUB
V/REW PLAY FF/W
W
STILL ADV PAUSE STILL ADV | VOL |
4Press the [;] button on the remote control to start audio dubbing.
V/REW | PLAY | FF/W | A.DUB ¥ |
|
|
| W |
STILL ADV | PAUSE | STILL ADV | VOL |
| |||
| STOP |
|
|
≥Talk into the microphone.
5Press the [;] button on the remote control to stop audio dubbing.
V/REW PLAY FF/W
W
STILL ADV PAUSE STILL ADV | VOL |
STOP
37
VQT0N57