Option settings
Press the F or G button on the projector or remote control unit to select an item, then press the I or
Hbutton to change the setting.
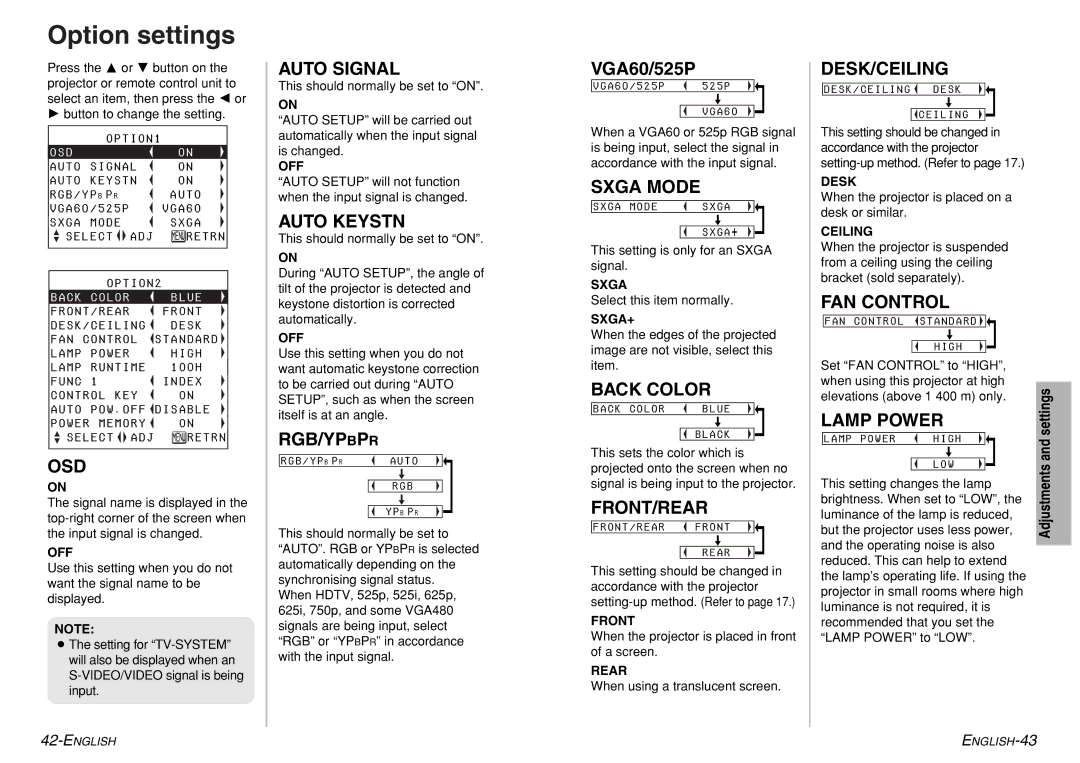
| OPTION1 |
| ||
OSD |
|
|
| ON |
AUTO | SIGNAL | ON | ||
AUTO | KEYSTN | ON | ||
RGB/YP B P R | AUTO | |||
VGA60/525P | VGA60 | |||
|
|
| ||
SXGA | MODE | SXGA | ||
SELECT |
| ADJ | RETRN | |
| ||||
OPTION2
BACK COLOR  BLUE
BLUE
FRONT/REAR ![]() FRONT DESK/CEILING
FRONT DESK/CEILING ![]() DESK
DESK
FAN CONTROL ![]() STANDARD
STANDARD ![]()
LAMP | POWER | HIGH | |
LAMP | RUNTIME | 100H | |
|
|
|
|
FUNC | 1 |
| INDEX |
|
|
| |
CONTROL | KEY | ON | |
| |||
AUTO POW . OFF DISABLE | |||
|
|
| |
POWER | MEMORY | ON | |
SELECT | ADJ | RETRN | |
OSD
ON
The signal name is displayed in the
OFF
Use this setting when you do not want the signal name to be displayed.
NOTE:
BThe setting for
AUTO SIGNAL
This should normally be set to “ON”.
ON
“AUTO SETUP” will be carried out automatically when the input signal is changed.
OFF
“AUTO SETUP” will not function when the input signal is changed.
AUTO KEYSTN
This should normally be set to “ON”.
ON
During “AUTO SETUP”, the angle of tilt of the projector is detected and keystone distortion is corrected automatically.
OFF
Use this setting when you do not want automatic keystone correction to be carried out during “AUTO SETUP”, such as when the screen itself is at an angle.
RGB/YPBPR
R G B / Y P B P R | AUTO |
| [� |
| RGB |
| [ |
| YP B P R |
This should normally be set to “AUTO”. RGB or YPBPR is selected automatically depending on the synchronising signal status.
When HDTV, 525p, 525i, 625p, 625i, 750p, and some VGA480 signals are being input, select “RGB” or “YPBPR” in accordance with the input signal.
VGA60/525P
VGA60/525P 525P
[
VGA60
When a VGA60 or 525p RGB signal is being input, select the signal in accordance with the input signal.
SXGA MODE
SXGA MODE | SXGA |
| [ |
| SXGA+ |
This setting is only for an SXGA signal.
SXGA
Select this item normally.
SXGA+
When the edges of the projected image are not visible, select this item.
BACK COLOR
BACK COLOR | BLUE |
| [ |
| BLACK |
This sets the color which is projected onto the screen when no signal is being input to the projector.
FRONT/REAR
FRONT/REAR ![]() FRONT
FRONT
[
REAR
This setting should be changed in accordance with the projector
FRONT
When the projector is placed in front of a screen.
REAR
When using a translucent screen.
DESK/CEILING
DESK/CEILING ![]() DESK
DESK
[
![]() CEILING
CEILING
This setting should be changed in accordance with the projector
DESK
When the projector is placed on a desk or similar.
CEILING
When the projector is suspended from a ceiling using the ceiling bracket (sold separately).
FAN CONTROL
FAN CONTROL ![]() STANDARD
STANDARD ![]()
[
HIGH
Set “FAN CONTROL” to “HIGH”, when using this projector at high elevations (above 1 400 m) only.
LAMP POWER
LAMP POWER | HIGH |
| [ |
| LOW |
This setting changes the lamp brightness. When set to “LOW”, the luminance of the lamp is reduced, but the projector uses less power, and the operating noise is also reduced. This can help to extend the lamp’s operating life. If using the projector in small rooms where high luminance is not required, it is recommended that you set the “LAMP POWER” to “LOW”.
Adjustments and settings