
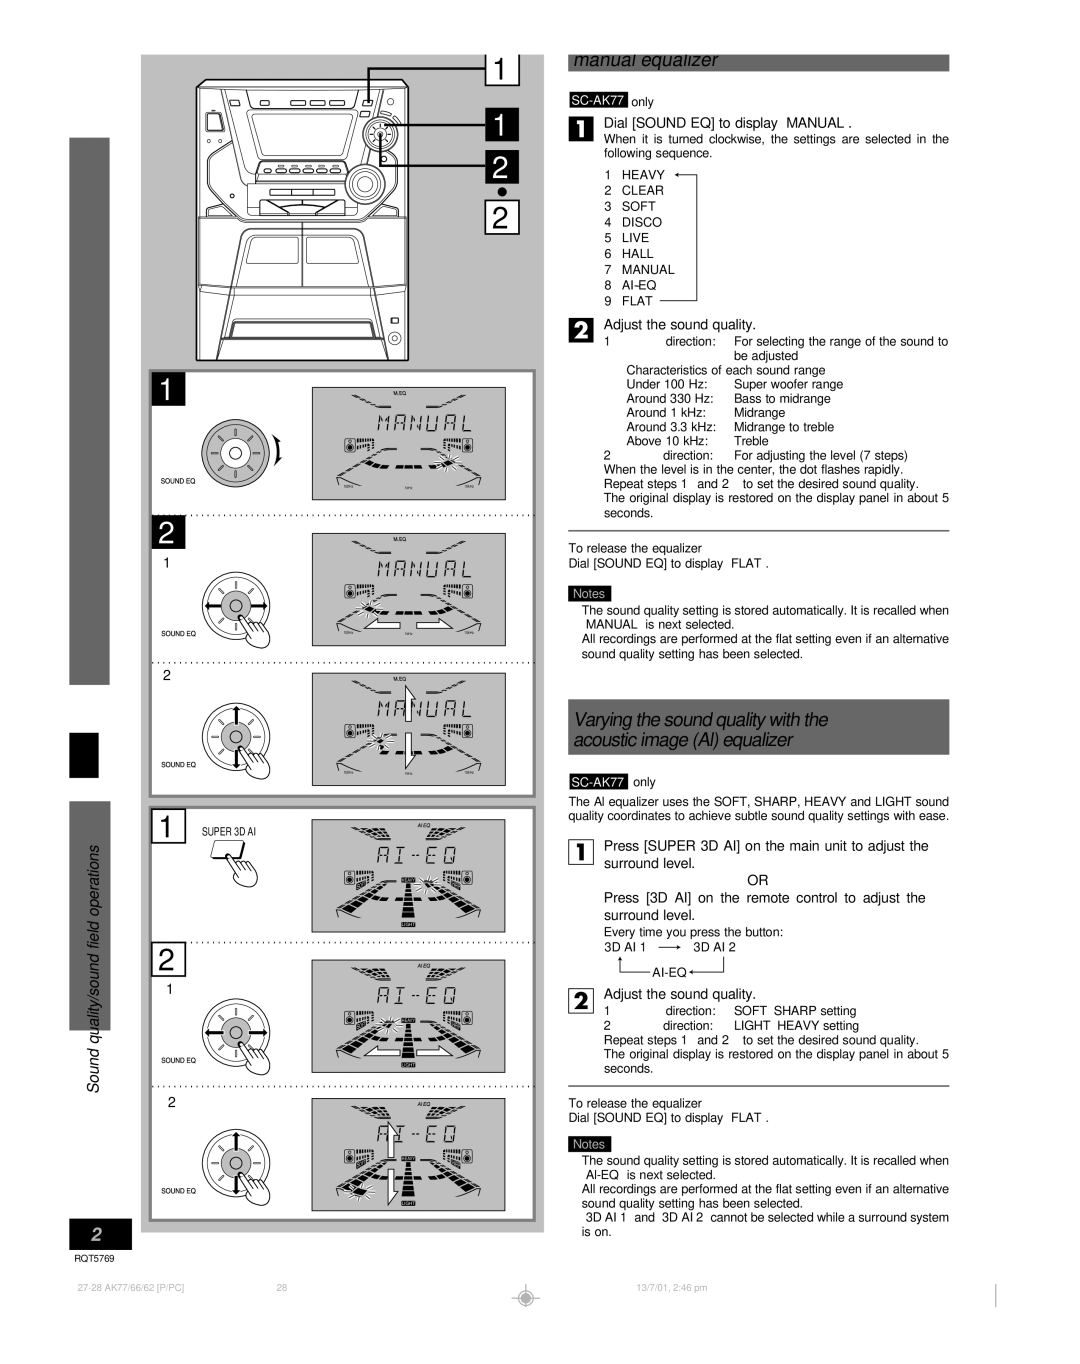
SC-AK62, SC-AK66, SC-AK77 specifications
The Panasonic SC-AK77, SC-AK66, and SC-AK62 are trio of high-performance mini audio systems designed to satisfy the audiophile's quest for quality sound in a compact form. Each model in this series delivers impressive audio capabilities, stylish design, and a range of features that cater to varied listening preferences.The SC-AK77 is arguably the flagship model of this lineup. It boasts a powerful output with a robust amplifier that ensures clear and rich sound components across a wide frequency range. The dual 20W speakers utilize advanced speaker technology to minimize distortion, producing crisp highs and deep bass that can fill medium-sized rooms effortlessly. Its sleek design features a multi-color illuminated display, enhancing its aesthetic appeal. Bluetooth connectivity allows for seamless streaming from smartphones and other devices, while the integrated cassette deck, CD player, and FM tuner provide multiple playback options, ensuring versatility for all music formats.
Following closely, the SC-AK66 offers similar features but at a slightly lower power output. This model is ideal for users seeking a balance between performance and compactness. It retains the same design ethos as the AK77 but has a more streamlined approach, making it perfect for smaller spaces. With its Bluetooth capabilities, users can easily connect their devices, and the inclusion of features like USB playback and FM radio keeps the music flowing without interruption.
The SC-AK62 is the most compact option, specifically crafted for users with limited space or those seeking an affordable introduction to high-fidelity sound systems. Despite its size, it does not compromise on audio quality, delivering a surprisingly powerful sound output that can compete with larger systems. The SC-AK62 is equipped with essential features such as Bluetooth connectivity for wireless streaming, as well as a USB port for direct playback. Additionally, its intuitive interface allows users to enjoy their music without hassle.
Overall, Panasonic's SC-AK series undeniably represents a triumph of innovative technology in small audio systems. All three models provide exceptional sound quality, a variety of connectivity options, and a sleek design that can seamlessly blend into any home environment. Whether users are music enthusiasts looking for robust performance or casual listeners wanting convenience and style, the SC-AK77, SC-AK66, and SC-AK62 cater to diverse needs, ensuring that everyone can enjoy their favorite tunes in the best possible way.