| JPG | [JPEG] To select “ON” or “OFF” for picture’s | |||
| date display |
| |||
| DATE |
| |||
DATE DISPLAY |
|
| |||
|
|
|
| To rotate a picture (during pause) |
|
|
|
|
| [JPEG] : | |
|
|
|
| ||
ROTATION | J | ||||
|
|
|
|
|
|
∫ Menu 2 (Video)
| NORMAL |
| |
| CINEMA1: | Mellows images and enhances detail | |
|
| in dark scenes. | |
| CINEMA2: | Sharpens images and enhances | |
| |||
PICTURE MODE | detail in dark scenes. | ||
Enhances the contrast for powerful | |||
| DYNAMIC: | ||
|
| images. | |
| ANIMATION: Suitable for animation. | ||
To select zoom sizes
NORMAL, AUTO, k2, k4
ZOOM
If you have chosen “480p”/“576p”/“720p”/“1080p” (progressive), “1080i” (interlace)
[“VIDEO FORMAT” in Menu 5 (HDMI)] or “PROGRESSIVE” under “VIDEO OUT (I/P)” (➜ 26, “VIDEO” menu), select the method of conversion for progressive output to suit the type of material.
≥The setting will return to “AUTO” or “AUTO1” when the disc tray is opened, the unit is turned off or another source is selected.
| When playing PAL discs | |
| AUTO: Automatically detects the film and video | |
| content, and appropriately converts it. | |
| VIDEO: Select when using “AUTO”, and the | |
| content is distorted. | |
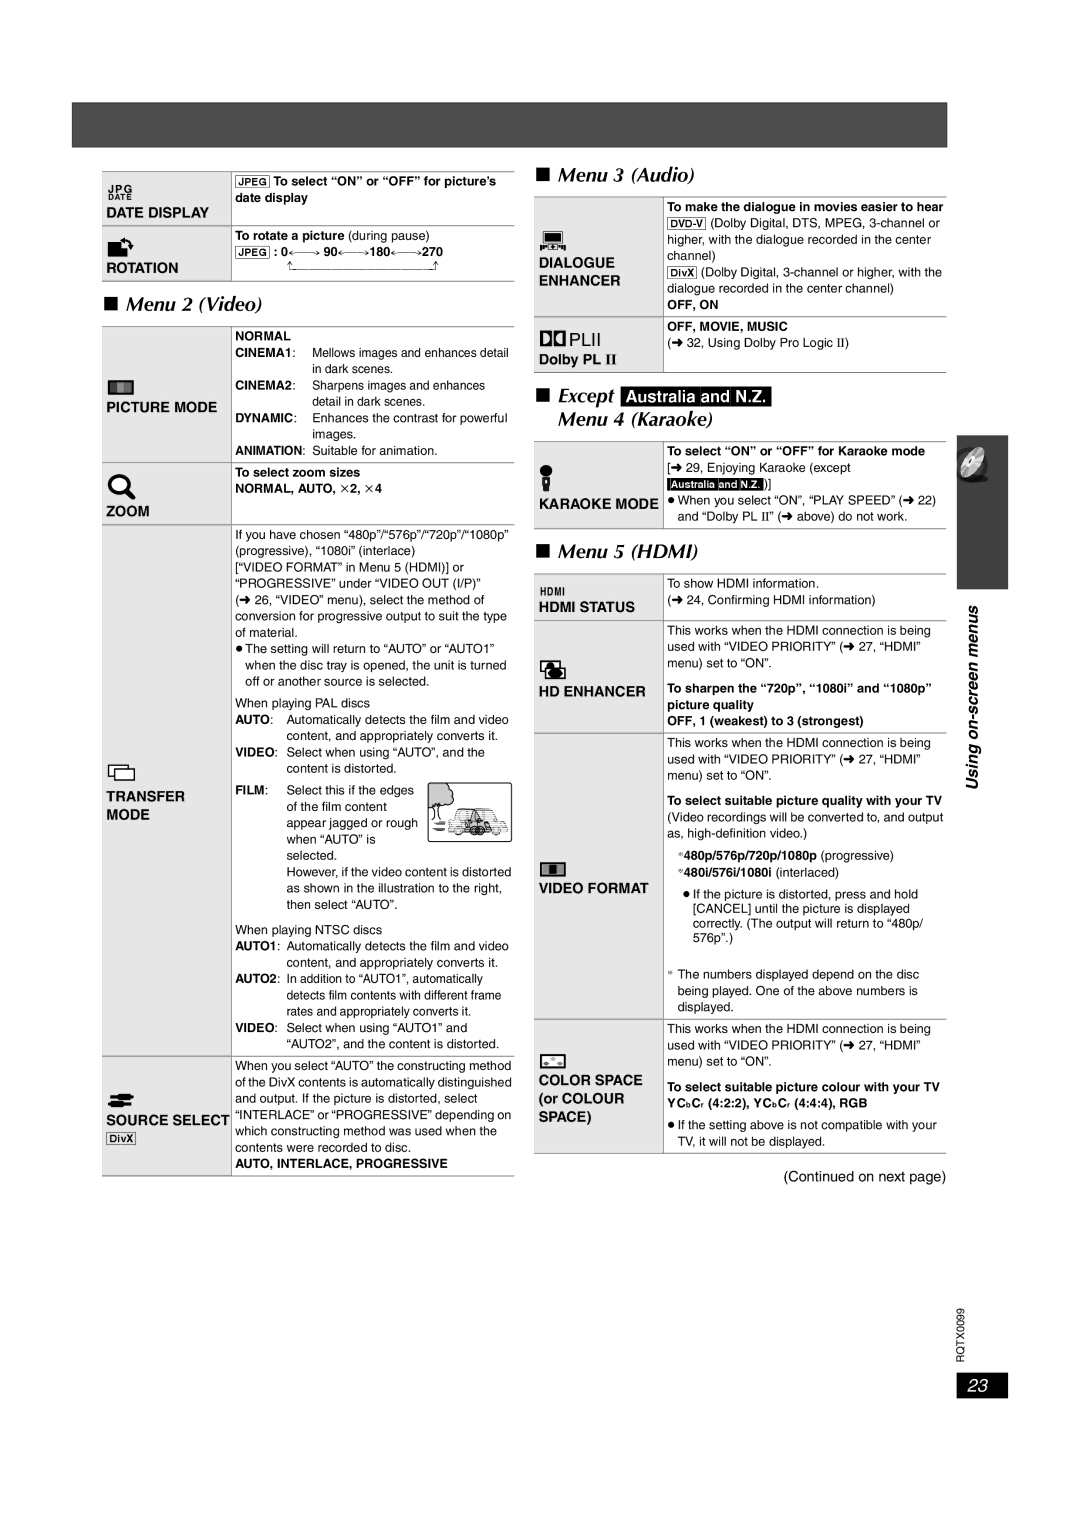
TRANSFER | FILM: Select this if the edges | |
of the film content | ||
MODE | ||
appear jagged or rough | ||
| ||
| when “AUTO” is | |
| selected. | |
| However, if the video content is distorted | |
| as shown in the illustration to the right, | |
| then select “AUTO”. | |
| When playing NTSC discs | |
| AUTO1: Automatically detects the film and video | |
| content, and appropriately converts it. | |
| AUTO2: In addition to “AUTO1”, automatically | |
| detects film contents with different frame | |
| rates and appropriately converts it. | |
| VIDEO: Select when using “AUTO1” and | |
| “AUTO2”, and the content is distorted. | |
| When you select “AUTO” the constructing method | |
| of the DivX contents is automatically distinguished | |
| and output. If the picture is distorted, select | |
SOURCE SELECT “INTERLACE” or “PROGRESSIVE” depending on | ||
[DivX] | which constructing method was used when the | |
contents were recorded to disc. | ||
| ||
| AUTO, INTERLACE, PROGRESSIVE | |
∫Menu 3 (Audio)
|
| To make the dialogue in movies easier to hear |
|
| |
|
| higher, with the dialogue recorded in the center |
| DIALOGUE | channel) |
| [DivX] (Dolby Digital, | |
| ENHANCER | |
| dialogue recorded in the center channel) | |
|
| |
|
| OFF, ON |
| PLII | OFF, MOVIE, MUSIC |
| (➜ 32, Using Dolby Pro Logic II) | |
| Dolby PL II |
|
|
|
|
∫Except [Australia[and[N.Z.]
Menu 4 (Karaoke)
To select “ON” or “OFF” for Karaoke mode
[➜ 29, Enjoying Karaoke (except
]Australia[and[N.Z.])]
KARAOKE MODE ≥When you select “ON”, “PLAY SPEED” (➜ 22) and “Dolby PL II” (➜ above) do not work.
∫Menu 5 (HDMI)
HDMI | To show HDMI information. | ||||
(➜ 24, Confirming HDMI information) | |||||
HDMI STATUS | |||||
| |||||
|
|
|
|
| |
|
|
|
| This works when the HDMI connection is being | |
|
|
|
| used with “VIDEO PRIORITY” (➜ 27, “HDMI” | |
|
|
|
| menu) set to “ON”. | |
|
|
|
| ||
|
|
| |||
HD ENHANCER To sharpen the “720p”, “1080i” and “1080p” | |||||
|
|
|
| picture quality | |
|
|
|
| OFF, 1 (weakest) to 3 (strongest) | |
|
|
|
|
| |
|
|
|
| This works when the HDMI connection is being | |
|
|
|
| used with “VIDEO PRIORITY” (➜ 27, “HDMI” | |
|
|
|
| menu) set to “ON”. | |
|
|
|
| To select suitable picture quality with your TV | |
|
|
|
| (Video recordings will be converted to, and output | |
|
|
|
| as, | |
|
|
|
| §480p/576p/720p/1080p (progressive) | |
VIDEO FORMAT | §480i/576i/1080i (interlaced) | ||||
≥If the picture is distorted, press and hold | |||||
|
|
|
| ||
|
|
|
| [CANCEL] until the picture is displayed | |
|
|
|
| correctly. (The output will return to “480p/ | |
|
|
|
| 576p”.) | |
§The numbers displayed depend on the disc being played. One of the above numbers is displayed.
| This works when the HDMI connection is being | |
| used with “VIDEO PRIORITY” (➜ 27, “HDMI” | |
| menu) set to “ON”. | |
COLOR SPACE | To select suitable picture colour with your TV | |
(or COLOUR | ||
YCb Cr (4:2:2), YCb Cr (4:4:4), RGB | ||
SPACE) | ≥If the setting above is not compatible with your | |
| ||
| TV, it will not be displayed. |
(Continued on next page)
Using on-screen menus
RQTX0099
23