Service Adjustments and Calibrations |
VIDEO OUT ADJUSTMENT
1- REQUIRED EQUIPMENT
1.1- Oscilloscope
1.2- Attenuator
2- PREPARATION
2.1- Apply a COLORBAR patten.
2.2- Adjust the input signal level to 75dB (75Ω open). 2.3- Connect the test tip of oscilloscope to TPE11
3- ADJUSTMENTS
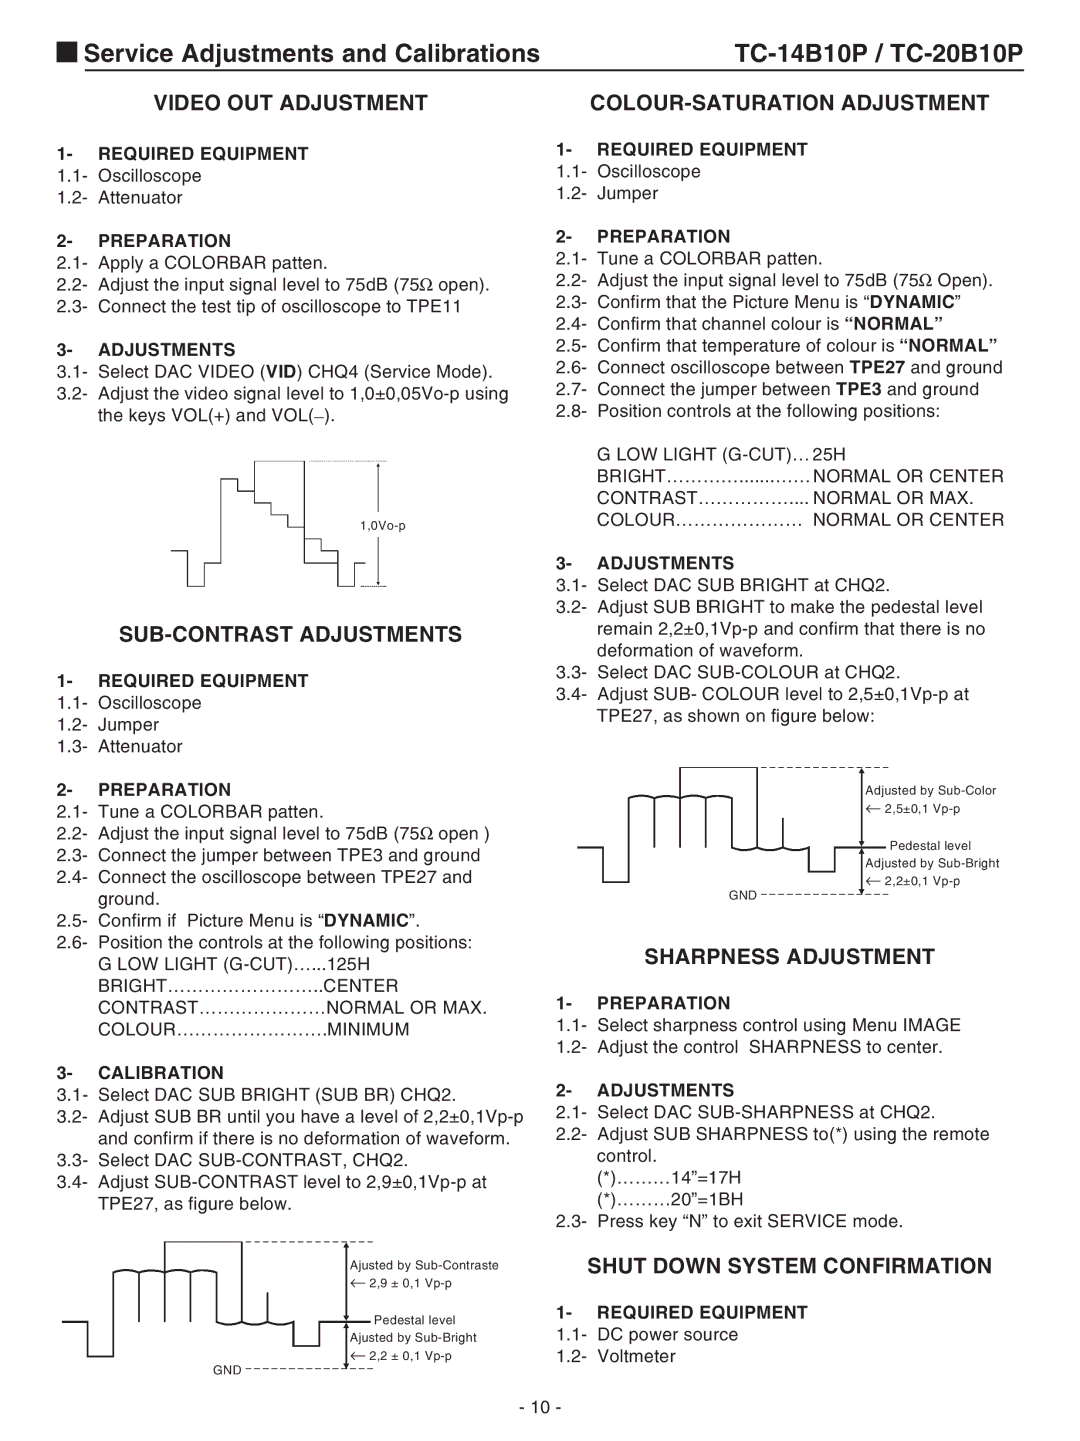
3.1- Select DAC VIDEO (VID) CHQ4 (Service Mode). 3.2- Adjust the video signal level to
the keys VOL(+) and VOL(_).
SUB-CONTRAST ADJUSTMENTS
1- REQUIRED EQUIPMENT
1.1- Oscilloscope
1.2- Jumper
1.3- Attenuator
2- PREPARATION
2.1- Tune a COLORBAR patten.
2.2- Adjust the input signal level to 75dB (75Ω open ) 2.3- Connect the jumper between TPE3 and ground 2.4- Connect the oscilloscope between TPE27 and
ground.
2.5- Confirm if Picture Menu is “DYNAMIC”.
2.6- Position the controls at the following positions:
GLOW LIGHT
3- CALIBRATION
3.1- Select DAC SUB BRIGHT (SUB BR) CHQ2.
3.2- Adjust SUB BR until you have a level of
3.3- Select DAC
3.4- Adjust
Ajusted by
Pedestal level Ajusted by
← 2,2 ± 0,1
GND
COLOUR-SATURATION ADJUSTMENT
1- REQUIRED EQUIPMENT
1.1- Oscilloscope
1.2- Jumper
2- PREPARATION
2.1- Tune a COLORBAR patten.
2.2- Adjust the input signal level to 75dB (75Ω Open). 2.3- Confirm that the Picture Menu is “DYNAMIC” 2.4- Confirm that channel colour is “NORMAL”
2.5- Confirm that temperature of colour is “NORMAL”
2.6- Connect oscilloscope between TPE27 and ground
2.7- Connect the jumper between TPE3 and ground
2.8- Position controls at the following positions:
GLOW LIGHT
3- ADJUSTMENTS
3.1- Select DAC SUB BRIGHT at CHQ2.
3.2- Adjust SUB BRIGHT to make the pedestal level remain
3.3- Select DAC
3.4- Adjust SUB- COLOUR level to
Adjusted by
Pedestal level Adjusted by
← 2,2±0,1
GND
SHARPNESS ADJUSTMENT
1- PREPARATION
1.1- Select sharpness control using Menu IMAGE
1.2- Adjust the control SHARPNESS to center.
2- ADJUSTMENTS
2.1- Select DAC
2.2- Adjust SUB SHARPNESS to(*) using the remote control.
(*)………14”=17H
(*)………20”=1BH
2.3- Press key “N” to exit SERVICE mode.
SHUT DOWN SYSTEM CONFIRMATION
1- REQUIRED EQUIPMENT
1.1- DC power source
1.2- Voltmeter
- 10 -