Other operations for connection
Operations when password entry is required for connection
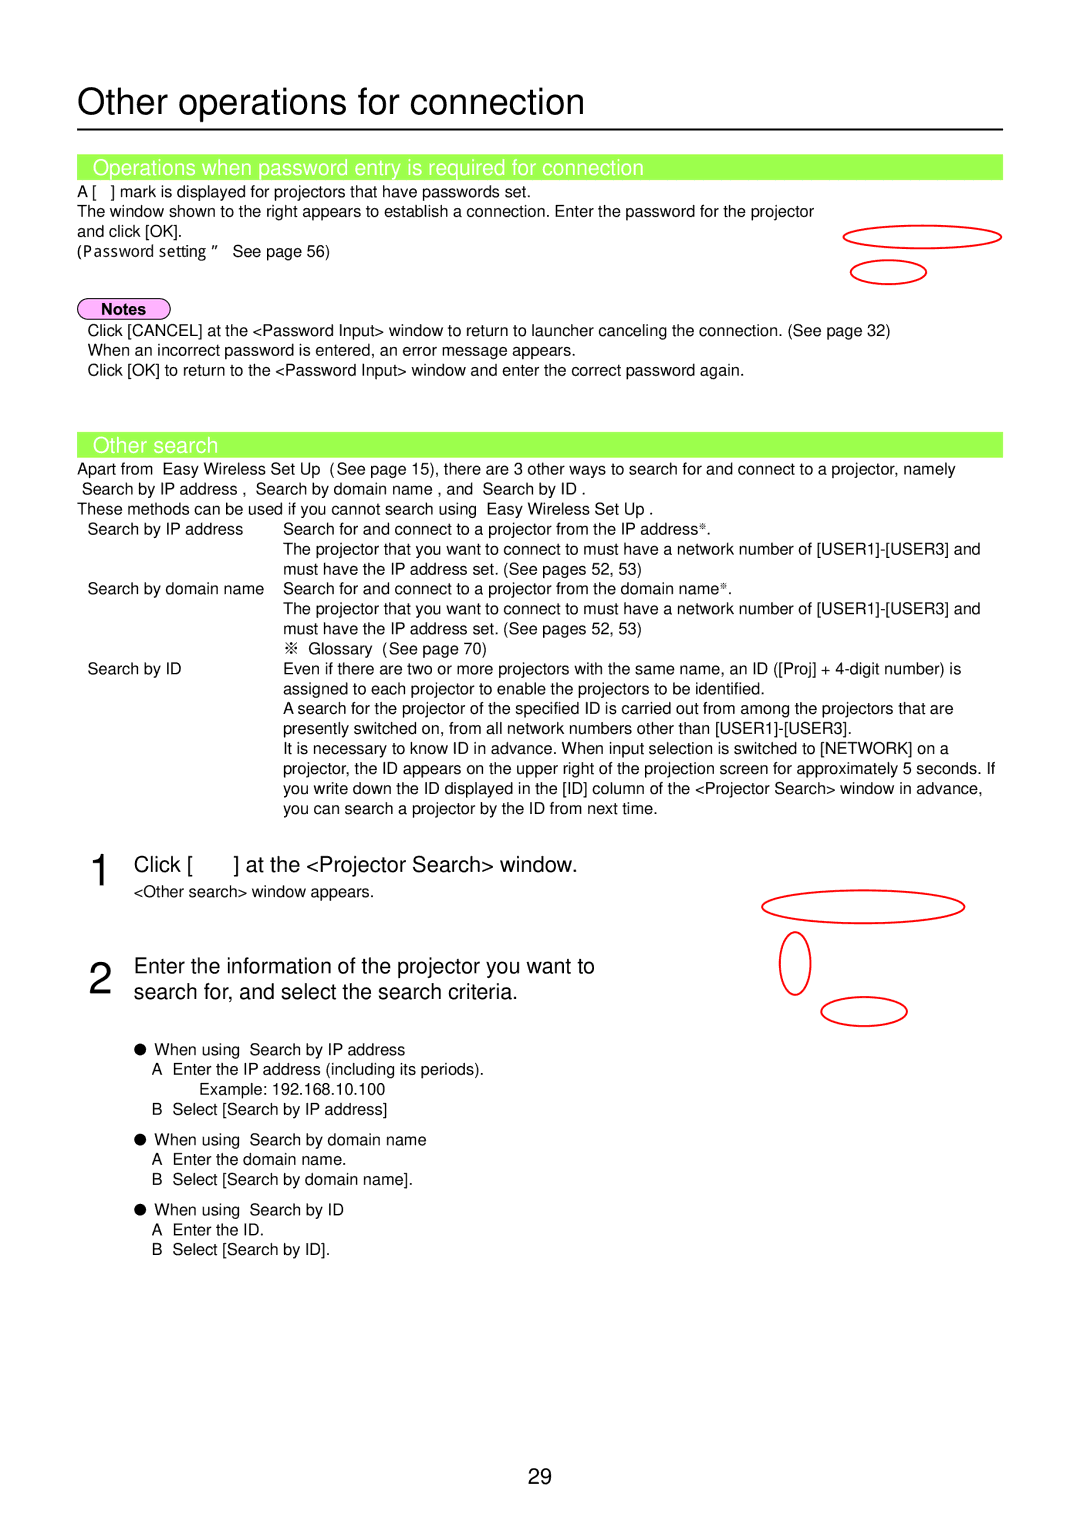
A [![]() ] mark is displayed for projectors that have passwords set.
] mark is displayed for projectors that have passwords set.
The window shown to the right appears to establish a connection. Enter the password for the projector and click [OK].
(Password setting → See page 56)
•Click [CANCEL] at the <Password Input> window to return to launcher canceling the connection. (See page 32)
•When an incorrect password is entered, an error message appears.
Click [OK] to return to the <Password Input> window and enter the correct password again.
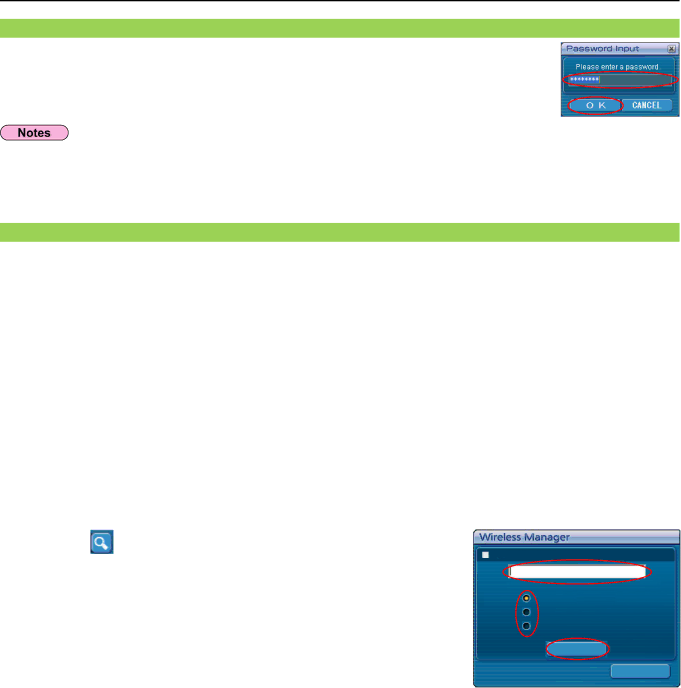
Other search
Apart from “Easy Wireless Set Up” (See page 15), there are 3 other ways to search for and connect to a projector, namely “Search by IP address”, “Search by domain name”, and “Search by ID”.
These methods can be used if you cannot search using “Easy Wireless Set Up”.
• Search by IP address | Search for and connect to a projector from the IP address※. |
| The projector that you want to connect to must have a network number of |
| must have the IP address set. (See pages 52, 53) |
• Search by domain name | Search for and connect to a projector from the domain name※. |
| The projector that you want to connect to must have a network number of |
| must have the IP address set. (See pages 52, 53) |
| ※ “Glossary” (See page 70) |
• Search by ID | Even if there are two or more projectors with the same name, an ID ([Proj] + |
| assigned to each projector to enable the projectors to be identified. |
| A search for the projector of the specified ID is carried out from among the projectors that are |
| presently switched on, from all network numbers other than |
| It is necessary to know ID in advance. When input selection is switched to [NETWORK] on a |
| projector, the ID appears on the upper right of the projection screen for approximately 5 seconds. If |
| you write down the ID displayed in the [ID] column of the <Projector Search> window in advance, |
| you can search a projector by the ID from next time. |
1 | Click [ ] at the <Projector Search> window. |
<Other search> window appears. | |
2 | Enter the information of the projector you want to |
search for, and select the search criteria. |
• When using “Search by IP address”
A Enter the IP address (including its periods). Example: 192.168.10.100
B Select [Search by IP address]
• When using “Search by domain name” A Enter the domain name.
B Select [Search by domain name].
• When using “Search by ID” A Enter the ID.
B Select [Search by ID].
Other search
Search by IP address
Search by domain name
Search by ID
Search
Close
29