Using WebBrowser
Control a projector through the WebBrowser of a computer. It is called “WEB Control”. (The example is when using Microsoft Internet Explorer.)
The functions that can be operated and content displayed differ depending on the projector you are using.
Before using the WebBrowser control
Connect the projector and PC with wired or wireless LAN. (See page 15)
AProjector settings
Turn [ON] the [NETWORK CONTROL] in the network menu.
1
2
Select [NETWORK CONTROL] in the network menu.
Select [ON] or [OFF] with the [![]()
![]() ] buttons.
] buttons.
ON : This enables control on the WebBrowser.
OFF : This disables control on the WebBrowser.
PICTURE
POSITION
![]() LANGUAGE
LANGUAGE
![]() DISPLAY OPTION
DISPLAY OPTION
![]() PROJECTOR SETUP
PROJECTOR SETUP
SECURITY NETWORK
WIRED LAN |
|
WIRELESS LAN |
|
NAME CHANGE |
|
PASSWORD | OFF |
PASSWORD CHANGE |
|
NETWORK STANDBY | OFF |
NETWORK CONTROL | ON |
LIVE MODE CUT IN | OFF |
COMPUTER SEARCH |
|
|
SELECT
![]() RETURN
RETURN
![]() ENTER
ENTER
STATUS |
INITIALIZE |
•When the projector settings have been changed using a WebBrowser, the projector will not appear on the connection list until the projector network is switched to [USER 1] - [USER 3].
•After the projector network has been switched to [USER 1] - [USER 3], manually release the proxy settings of the WebBrowser used.
BComputer settings
 Proxy server settings
Release the proxy settings of the WebBrowser used.
1
2
3
Open <Internet Properties> window.
Click [Start] → [Control Panel] → [Network and Internet Connections] → [Internet Option].
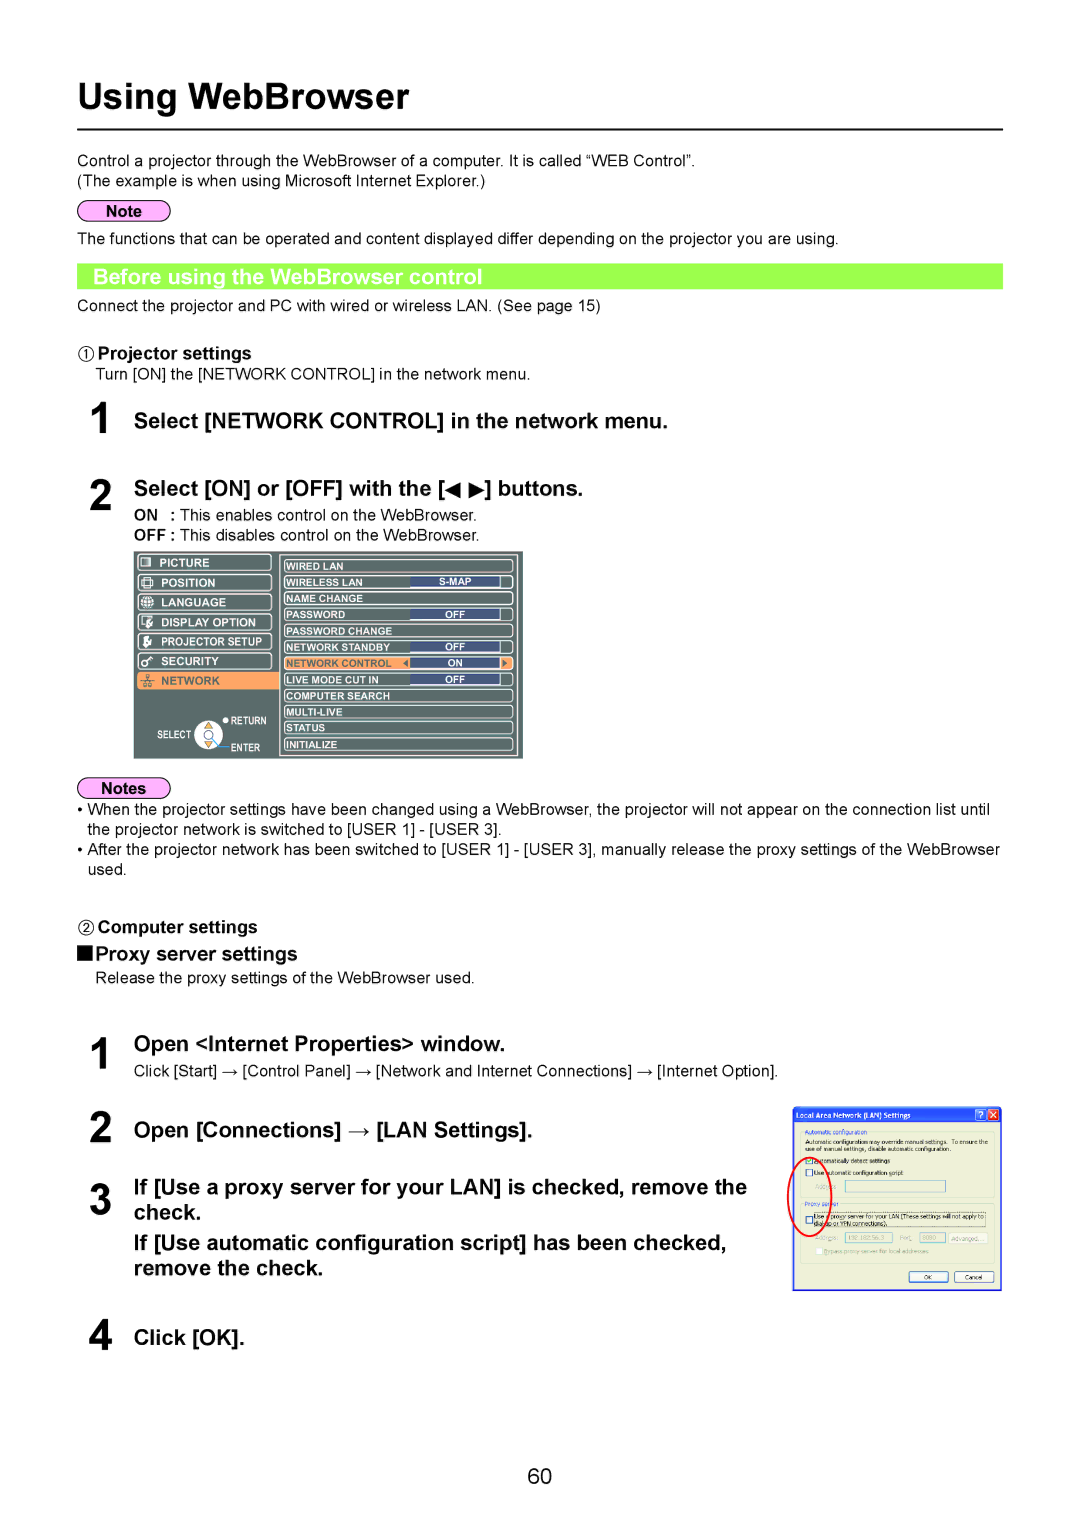
Open [Connections] → [LAN Settings].
If [Use a proxy server for your LAN] is checked, remove the check.
If [Use automatic configuration script] has been checked, remove the check.
4 Click [OK].
60
