Network Setup (continued)
1Launch the IP setup software.
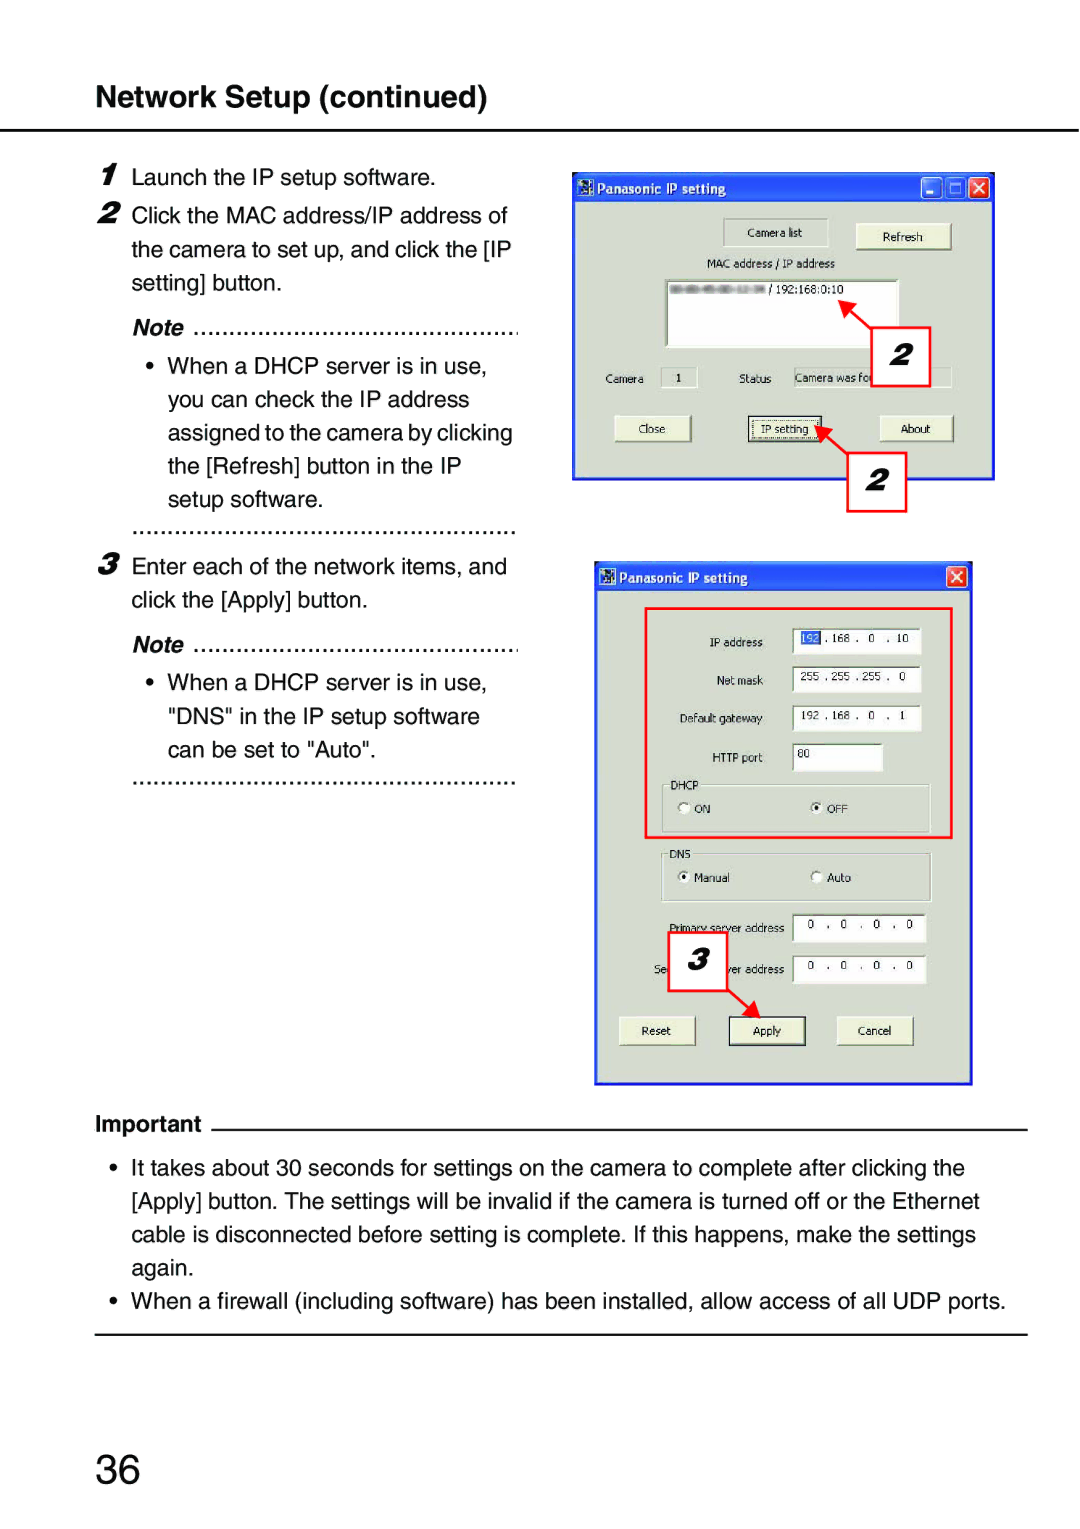
2Click the MAC address/IP address of the camera to set up, and click the [IP setting] button.
Note..................................................
•When a DHCP server is in use, you can check the IP address assigned to the camera by clicking the [Refresh] button in the IP
setup software.
......................................................
3Enter each of the network items, and click the [Apply] button.
Note..................................................
•When a DHCP server is in use, "DNS" in the IP setup software
can be set to "Auto".
......................................................
2 |
2 |
3 |
Important
•It takes about 30 seconds for settings on the camera to complete after clicking the [Apply] button. The settings will be invalid if the camera is turned off or the Ethernet cable is disconnected before setting is complete. If this happens, make the settings again.
•When a firewall (including software) has been installed, allow access of all UDP ports.
36