9128-II, SLV 9128 specifications
Paradyne's FrameSaver SLV 9128 is a robust solution designed to meet the increasing demands of telecommunications, providing both reliability and efficiency for businesses that require a seamless transmission of data across various networks. This high-performance networking device stands out for its versatile functionality and innovation in managing Frame Relay and ATM services.One of the defining features of the FrameSaver SLV 9128 is its ability to support integrated DSO multiplexing. This allows users to efficiently combine multiple digital signals over a single connection, optimizing bandwidth usage while ensuring high-quality voice and data transmission. The device is designed to effectively handle a variety of traffic types, making it ideal for companies that utilize mixed communications systems.
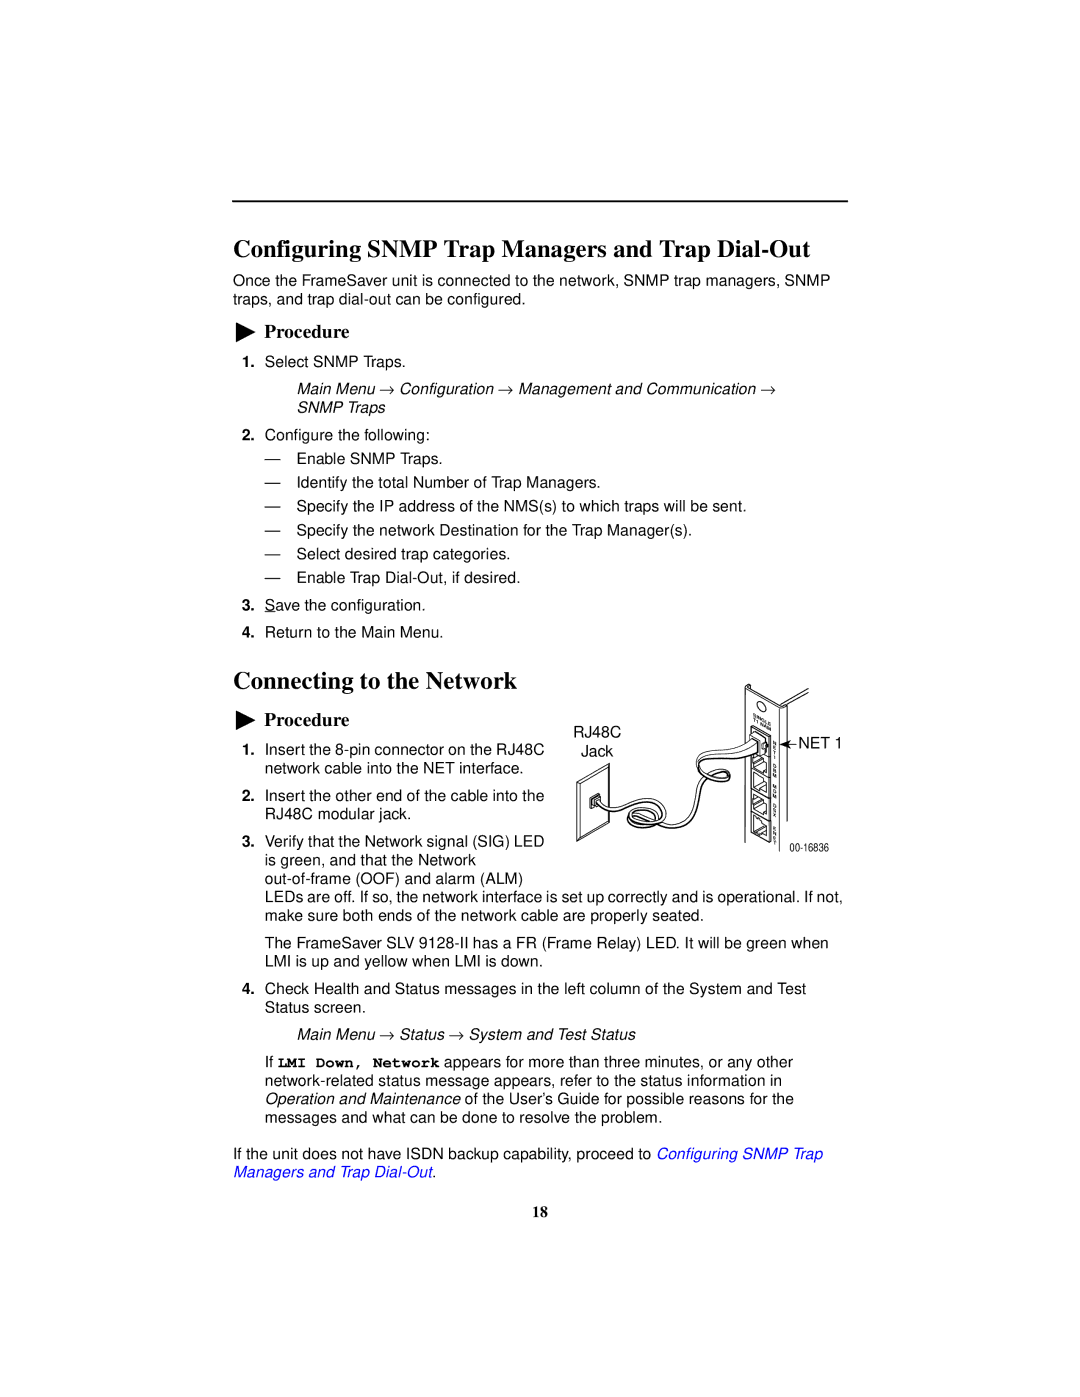
In terms of connectivity, the SLV 9128 includes a range of interfaces that cater to different network architectures. Support for T1/E1 lines enables the device to easily integrate into existing infrastructures. The incorporation of both serial and Ethernet interfaces adds flexibility, accommodating diverse networking environments and making it easier to connect with various end devices.
The FrameSaver SLV 9128 is equipped with advanced traffic management capabilities. Its features include dynamic bandwidth allocation and prioritization of critical voice or data traffic, allowing businesses to optimize their network performance based on real-time demands. This capability is particularly beneficial for organizations that rely heavily on VoIP services, as it helps to ensure clear voice quality even during peak usage times.
Security is paramount in communication technologies, and the SLV 9128 does not disappoint in this area. It incorporates encryption protocols and secure authentication methods to safeguard data transmission against unauthorized access. This ensures that sensitive information remains protected as it traverses the network.
The device also boasts a user-friendly interface for easy configuration and management. Network administrators can monitor performance metrics, troubleshoot issues, and adjust settings with minimal effort, leading to reduced downtime and enhanced operational efficiency.
In summary, the Paradyne FrameSaver SLV 9128 combines powerful features, advanced technologies, and flexible connectivity options to deliver a reliable and efficient networking solution. Its traffic management capabilities, robust security measures, and ease of use make it an ideal choice for businesses seeking to enhance their telecommunications infrastructure and improve network performance. With the SLV 9128, organizations can confidently support their growing communication needs while ensuring high-quality service delivery.

