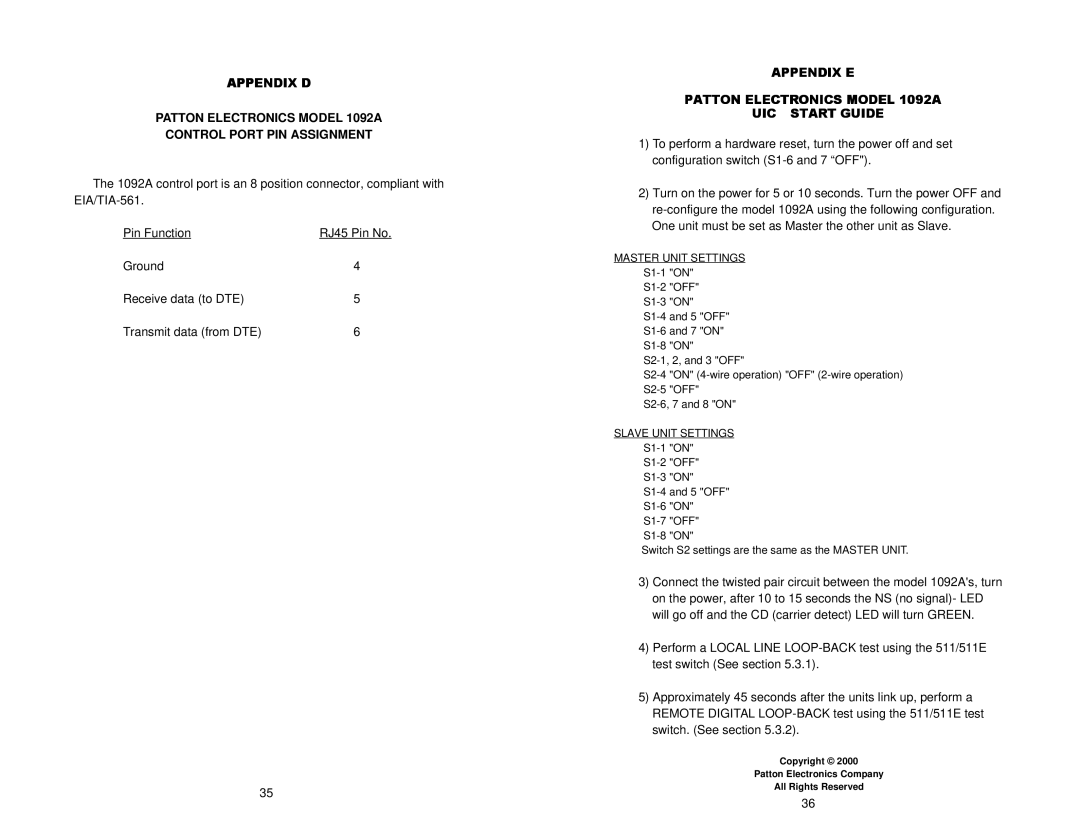
APPENDIX D
PATTON ELECTRONICS MODEL 1092A
CONTROL PORT PIN ASSIGNMENT
The 1092A control port is an 8 position connector, compliant with
Pin Function | RJ45 Pin No. |
Ground | 4 |
Receive data (to DTE) | 5 |
Transmit data (from DTE) | 6 |
35
APPENDIX E
PATTON ELECTRONICS MODEL 1092A
QUICK START GUIDE
1)To perform a hardware reset, turn the power off and set configuration switch
2)Turn on the power for 5 or 10 seconds. Turn the power OFF and
MASTER UNIT SETTINGS
SLAVE UNIT SETTINGS
Switch S2 settings are the same as the MASTER UNIT.
3)Connect the twisted pair circuit between the model 1092A's, turn on the power, after 10 to 15 seconds the NS (no signal)- LED will go off and the CD (carrier detect) LED will turn GREEN.
4)Perform a LOCAL LINE
5)Approximately 45 seconds after the units link up, perform a REMOTE DIGITAL
Copyright © 2000
Patton Electronics Company
All Rights Reserved
36