7. DTE Controlled Remote Digital Loop |
|
Select Option 7 in the | Menu to |
enable DTE control of the Remote Digital Loop Menu (See below). The
interface by selecting Enable (Option 1). To instruct the 1092A to ignore this request from the DTE interface, select Disable (Option 2).
Select Option 8 in the SOFTWARE CONFIGURATION configure
*******************************************************
* | * | |
* | 1. | * |
* | 2. | * |
* |
| * |
*******************************************************
MAIN MENU Option 5: Select Hardware/Software Control
MAIN MENU selects whether the Model
settings for its active configuration. If Options 1 or 2 are selected, the 1092A will use the current hardware or software switch settings as the
Option 8 to implement the changes.
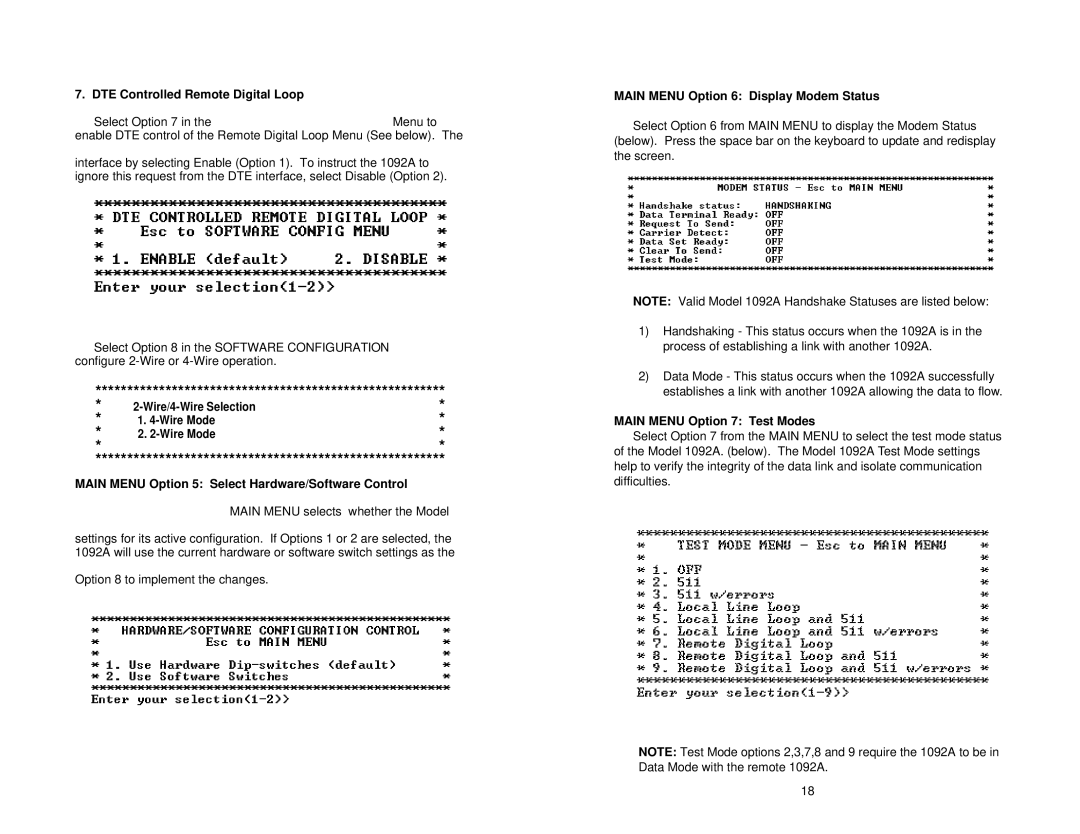
MAIN MENU Option 6: Display Modem Status
Select Option 6 from MAIN MENU to display the Modem Status
(below). Press the space bar on the keyboard to update and redisplay the screen.
NOTE: Valid Model 1092A Handshake Statuses are listed below:
1)Handshaking - This status occurs when the 1092A is in the process of establishing a link with another 1092A.
2)Data Mode - This status occurs when the 1092A successfully establishes a link with another 1092A allowing the data to flow.
MAIN MENU Option 7: Test Modes
Select Option 7 from the MAIN MENU to select the test mode status of the Model 1092A. (below). The Model 1092A Test Mode settings help to verify the integrity of the data link and isolate communication difficulties.
NOTE: Test Mode options 2,3,7,8 and 9 require the 1092A to be in Data Mode with the remote 1092A.
18