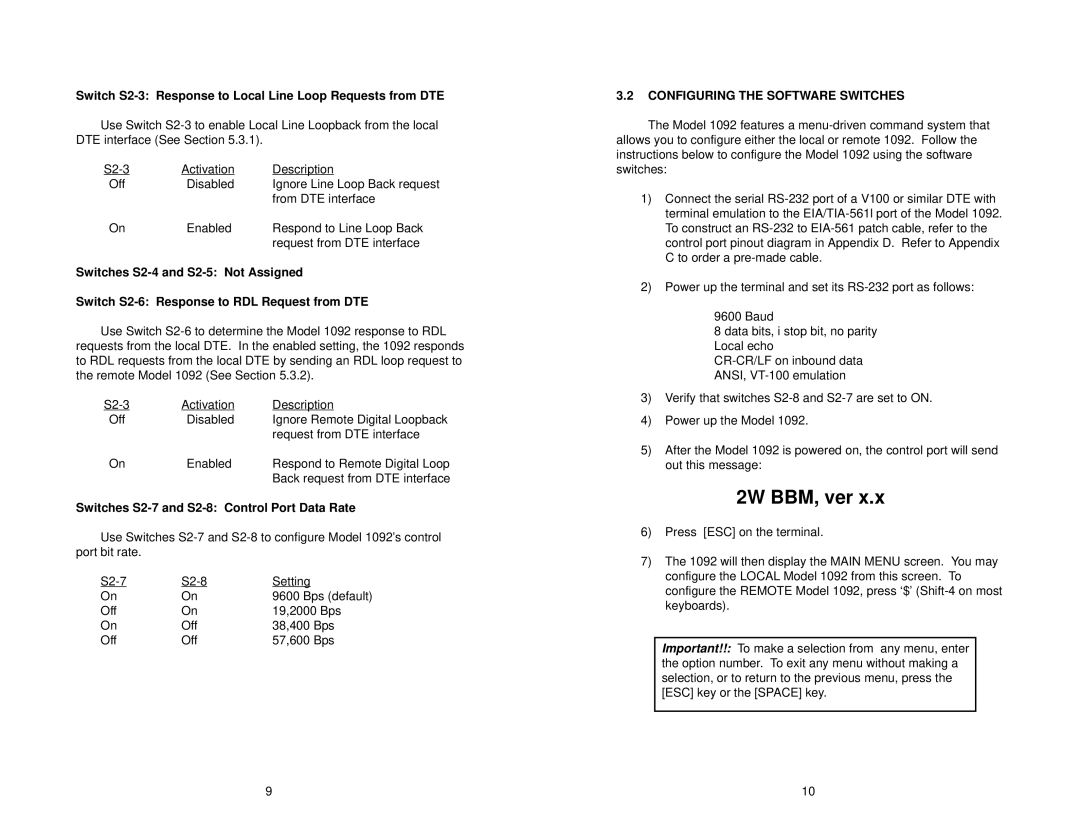
Switch S2-3: Response to Local Line Loop Requests from DTE
Use Switch
Activation | Description | |
Off | Disabled | Ignore Line Loop Back request |
|
| from DTE interface |
On | Enabled | Respond to Line Loop Back |
|
| request from DTE interface |
Switches
Switch
Use Switch
Activation | Description | |
Off | Disabled | Ignore Remote Digital Loopback |
|
| request from DTE interface |
On | Enabled | Respond to Remote Digital Loop |
|
| Back request from DTE interface |
Switches S2-7 and S2-8: Control Port Data Rate
Use Switches
Setting | ||
On | On | 9600 Bps (default) |
Off | On | 19,2000 Bps |
On | Off | 38,400 Bps |
Off | Off | 57,600 Bps |
3.2CONFIGURING THE SOFTWARE SWITCHES
The Model 1092 features a
1)Connect the serial
2)Power up the terminal and set its
9600 Baud
8 data bits, i stop bit, no parity Local echo
3)Verify that switches
4)Power up the Model 1092.
5)After the Model 1092 is powered on, the control port will send out this message:
2W BBM, ver x.x
6)Press [ESC] on the terminal.
7)The 1092 will then display the MAIN MENU screen. You may configure the LOCAL Model 1092 from this screen. To configure the REMOTE Model 1092, press ‘$’
Important!!: To make a selection from any menu, enter the option number. To exit any menu without making a selection, or to return to the previous menu, press the [ESC] key or the [SPACE] key.
9 | 10 |
