3.2.1 Configuring the Local 1092
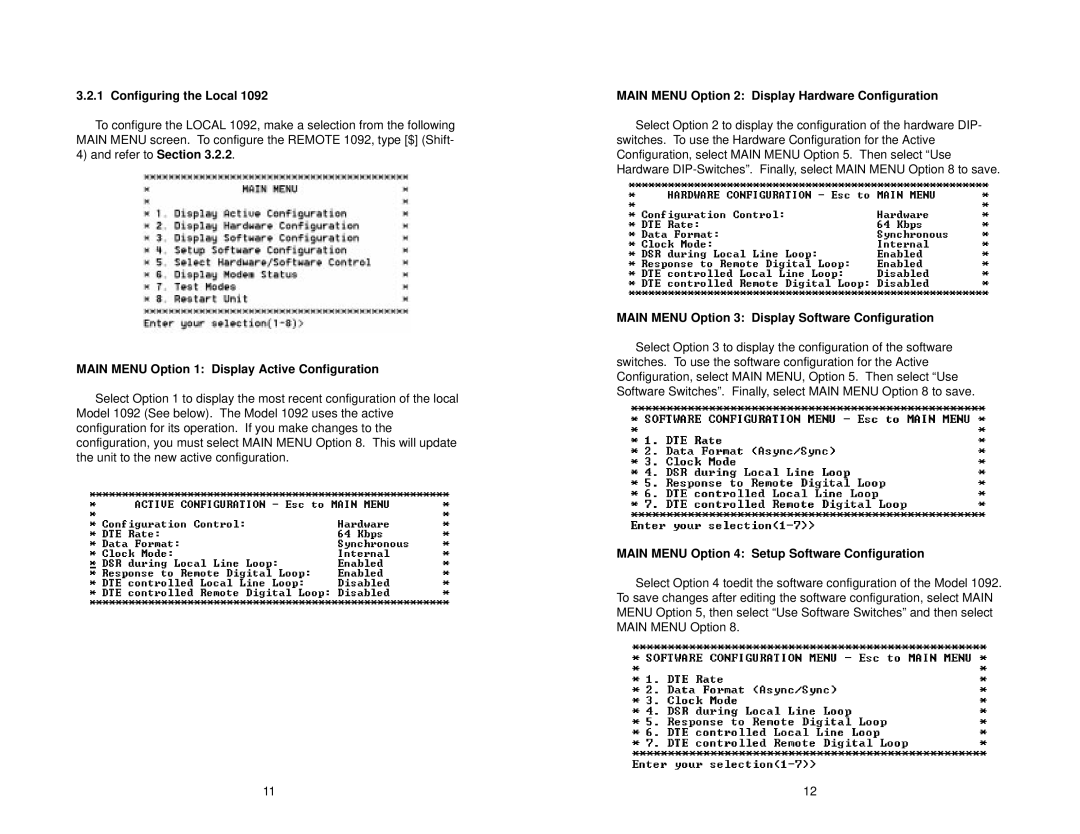
To configure the LOCAL 1092, make a selection from the following MAIN MENU screen. To configure the REMOTE 1092, type [$] (Shift-
4)and refer to Section 3.2.2.
MAIN MENU Option 1: Display Active Configuration
Select Option 1 to display the most recent configuration of the local Model 1092 (See below). The Model 1092 uses the active configuration for its operation. If you make changes to the configuration, you must select MAIN MENU Option 8. This will update the unit to the new active configuration.
MAIN MENU Option 2: Display Hardware Configuration
Select Option 2 to display the configuration of the hardware DIP- switches. To use the Hardware Configuration for the Active Configuration, select MAIN MENU Option 5. Then select “Use Hardware
MAIN MENU Option 3: Display Software Configuration
Select Option 3 to display the configuration of the software switches. To use the software configuration for the Active Configuration, select MAIN MENU, Option 5. Then select “Use Software Switches”. Finally, select MAIN MENU Option 8 to save.
MAIN MENU Option 4: Setup Software Configuration
Select Option 4 toedit the software configuration of the Model 1092. To save changes after editing the software configuration, select MAIN MENU Option 5, then select “Use Software Switches” and then select MAIN MENU Option 8.
11 | 12 |
