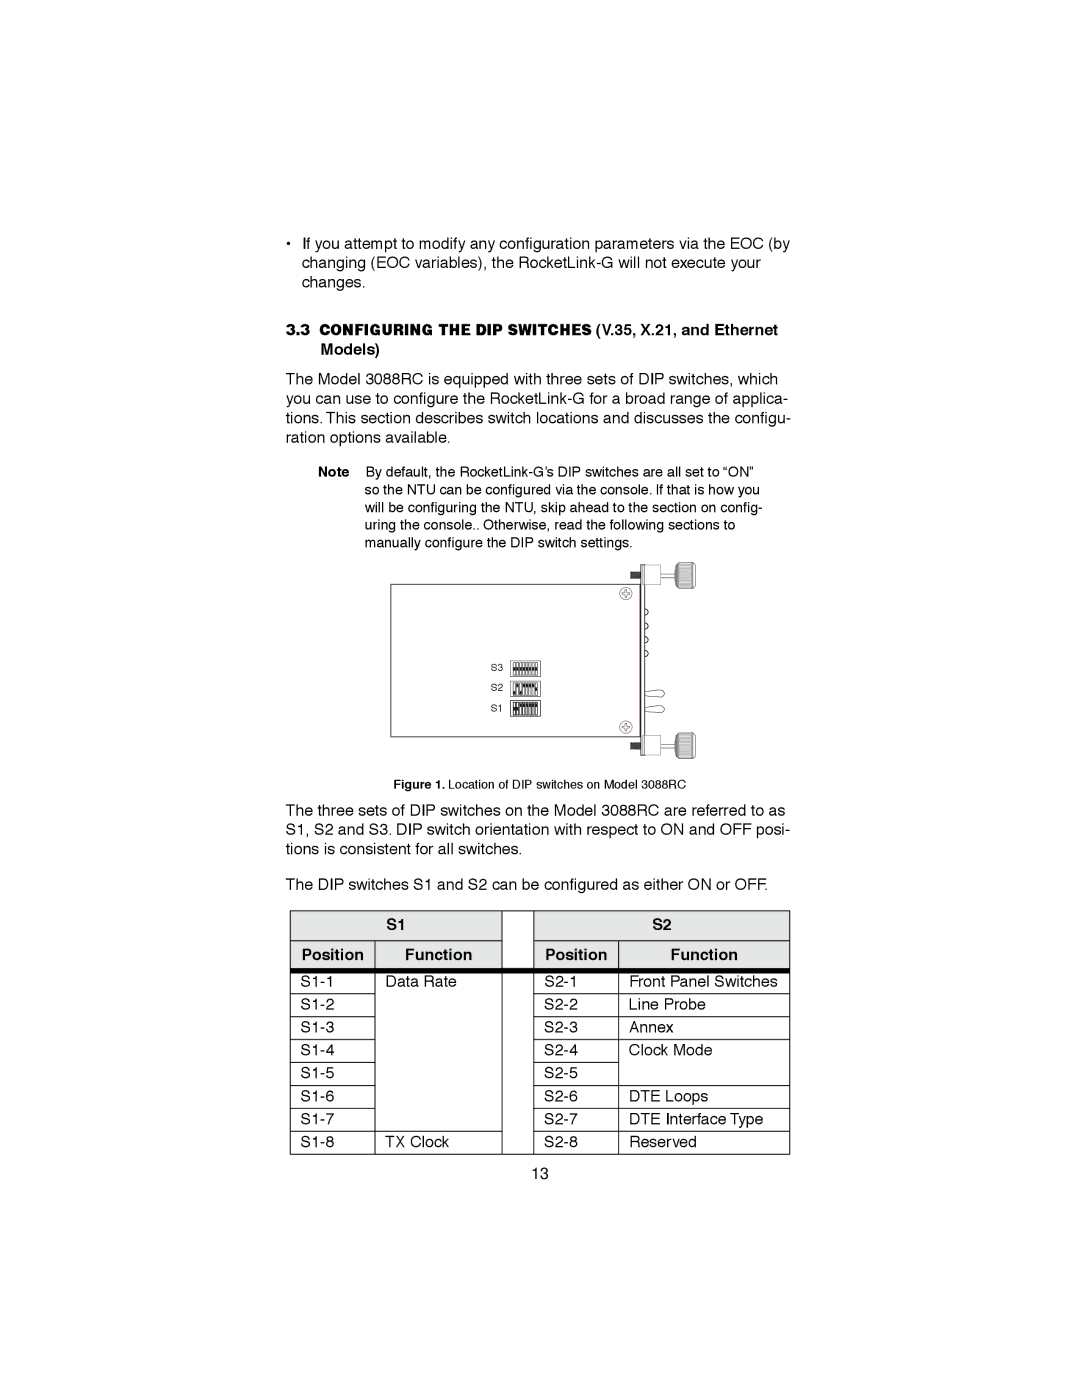
3088RC, RocketLink-G NTU Rack Mount G.SHDSL Modem Card specifications
The Patton Electronics 3088RC, also known as the RocketLink-G NTU Rack Mount G.SHDSL Modem Card, is a robust and versatile solution designed to enable high-speed data communication over copper lines. This modem card is particularly favored by telecommunications providers and businesses seeking reliable connectivity in demanding environments.One of the key features of the 3088RC is its G.SHDSL technology, which allows for symmetric data transmission at speeds up to 5.7 Mbps. This symmetric speed makes it ideal for businesses that require the same upload and download speeds, ensuring efficient performance for applications such as video conferencing, cloud services, and file sharing. Furthermore, G.SHDSL offers longer range capabilities compared to traditional DSL technologies, achieving distances up to 12,000 feet or more, depending on line conditions.
The 3088RC is designed for easy integration into existing rack mount installations. It occupies a single 19-inch rack unit, making it a space-efficient option for service providers looking to maximize their hardware capacity. The installation process is straightforward, allowing for quick deployment in various settings, from small offices to larger enterprise environments.
In terms of power, the Patton 3088RC supports both AC and DC power inputs, providing flexibility in installation. The card also features built-in network management capabilities. This includes SNMP support for remote monitoring and troubleshooting, allowing IT administrators to keep track of performance and quickly identify issues without needing to be physically present.
Moreover, the device guarantees high reliability with its advanced error correction techniques, which enhance data integrity over longer distances and in environments with significant interference. Equipped with a robust design, the 3088RC operates well in fluctuating temperatures, ensuring durability and consistent performance.
Security is also a priority, as the RocketLink-G offers features that protect against unauthorized access and data breaches. This is particularly crucial for businesses handling sensitive information.
To conclude, the Patton Electronics 3088RC RocketLink-G NTU Rack Mount G.SHDSL Modem Card represents a comprehensive solution for reliable high-speed connectivity. Its blend of advanced technology, ease of integration, and focus on performance makes it an attractive choice for service providers and enterprises aiming to enhance their data communications infrastructure.

