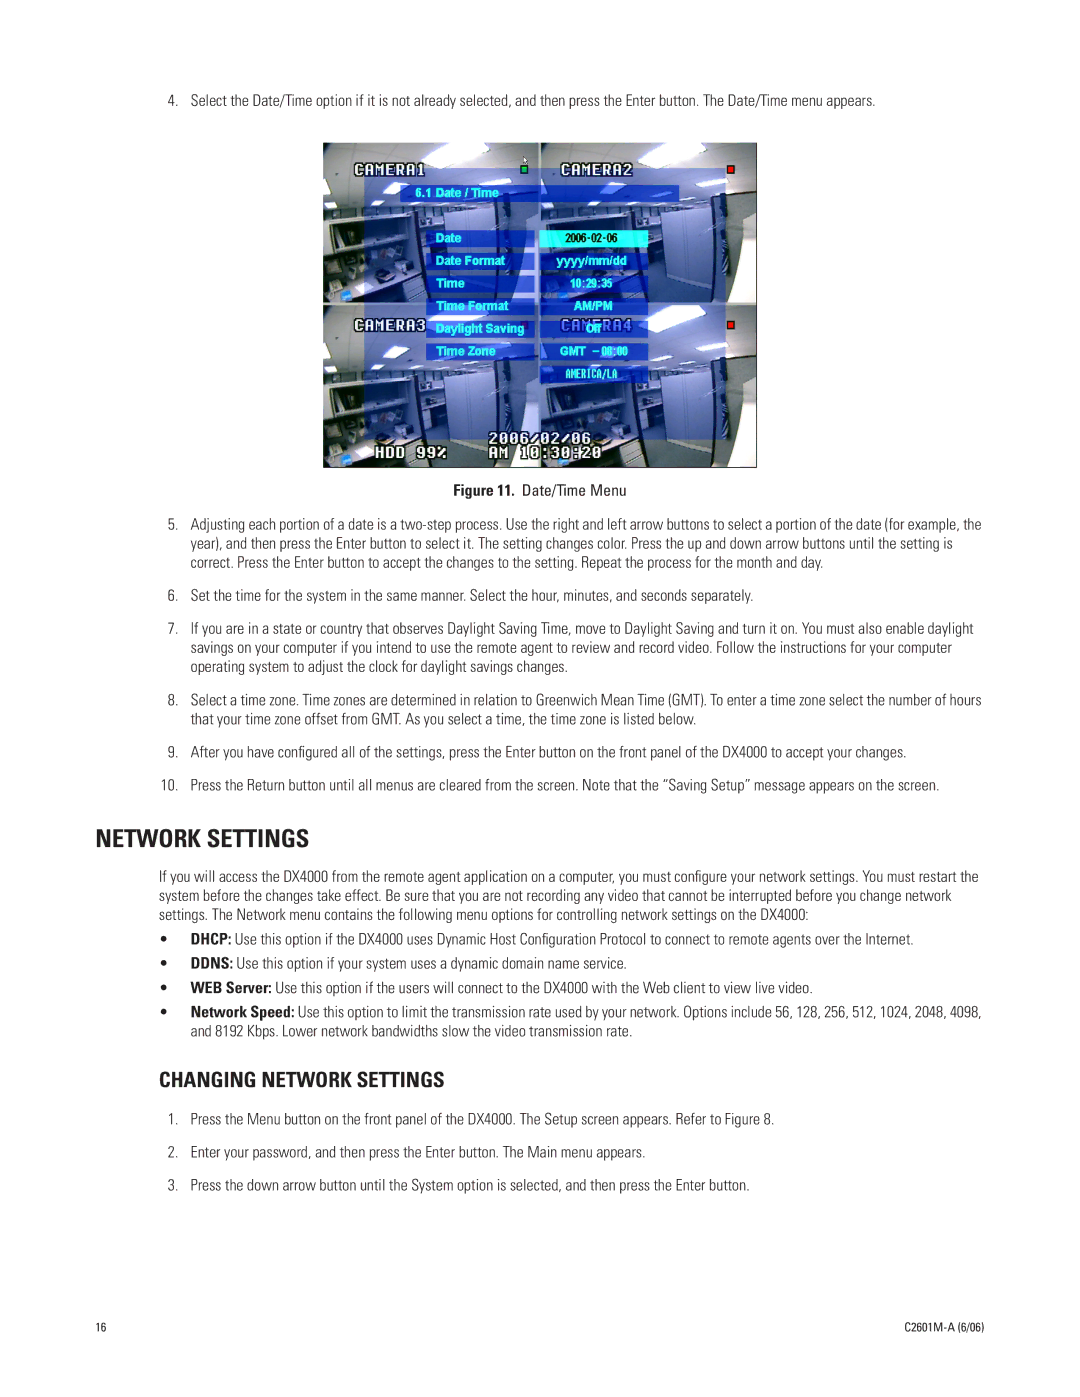
4. Select the Date/Time option if it is not already selected, and then press the Enter button. The Date/Time menu appears.
Figure 11. Date/Time Menu
5.Adjusting each portion of a date is a
6.Set the time for the system in the same manner. Select the hour, minutes, and seconds separately.
7.If you are in a state or country that observes Daylight Saving Time, move to Daylight Saving and turn it on. You must also enable daylight savings on your computer if you intend to use the remote agent to review and record video. Follow the instructions for your computer operating system to adjust the clock for daylight savings changes.
8.Select a time zone. Time zones are determined in relation to Greenwich Mean Time (GMT). To enter a time zone select the number of hours that your time zone offset from GMT. As you select a time, the time zone is listed below.
9.After you have configured all of the settings, press the Enter button on the front panel of the DX4000 to accept your changes.
10.Press the Return button until all menus are cleared from the screen. Note that the “Saving Setup” message appears on the screen.
NETWORK SETTINGS
If you will access the DX4000 from the remote agent application on a computer, you must configure your network settings. You must restart the system before the changes take effect. Be sure that you are not recording any video that cannot be interrupted before you change network settings. The Network menu contains the following menu options for controlling network settings on the DX4000:
•DHCP: Use this option if the DX4000 uses Dynamic Host Configuration Protocol to connect to remote agents over the Internet.
•DDNS: Use this option if your system uses a dynamic domain name service.
•WEB Server: Use this option if the users will connect to the DX4000 with the Web client to view live video.
•Network Speed: Use this option to limit the transmission rate used by your network. Options include 56, 128, 256, 512, 1024, 2048, 4098, and 8192 Kbps. Lower network bandwidths slow the video transmission rate.
CHANGING NETWORK SETTINGS
1.Press the Menu button on the front panel of the DX4000. The Setup screen appears. Refer to Figure 8.
2.Enter your password, and then press the Enter button. The Main menu appears.
3.Press the down arrow button until the System option is selected, and then press the Enter button.
16 |
|