7.Update the information on the screen as follows, and then click the Download button.
•In the Target IP field, enter the IP address for the DX4000 that you noted in step 4.
•Check the box for Download Only Application Image.
•Click the Browse button next to the Image Path field, and then select the image file that you located in step 5.
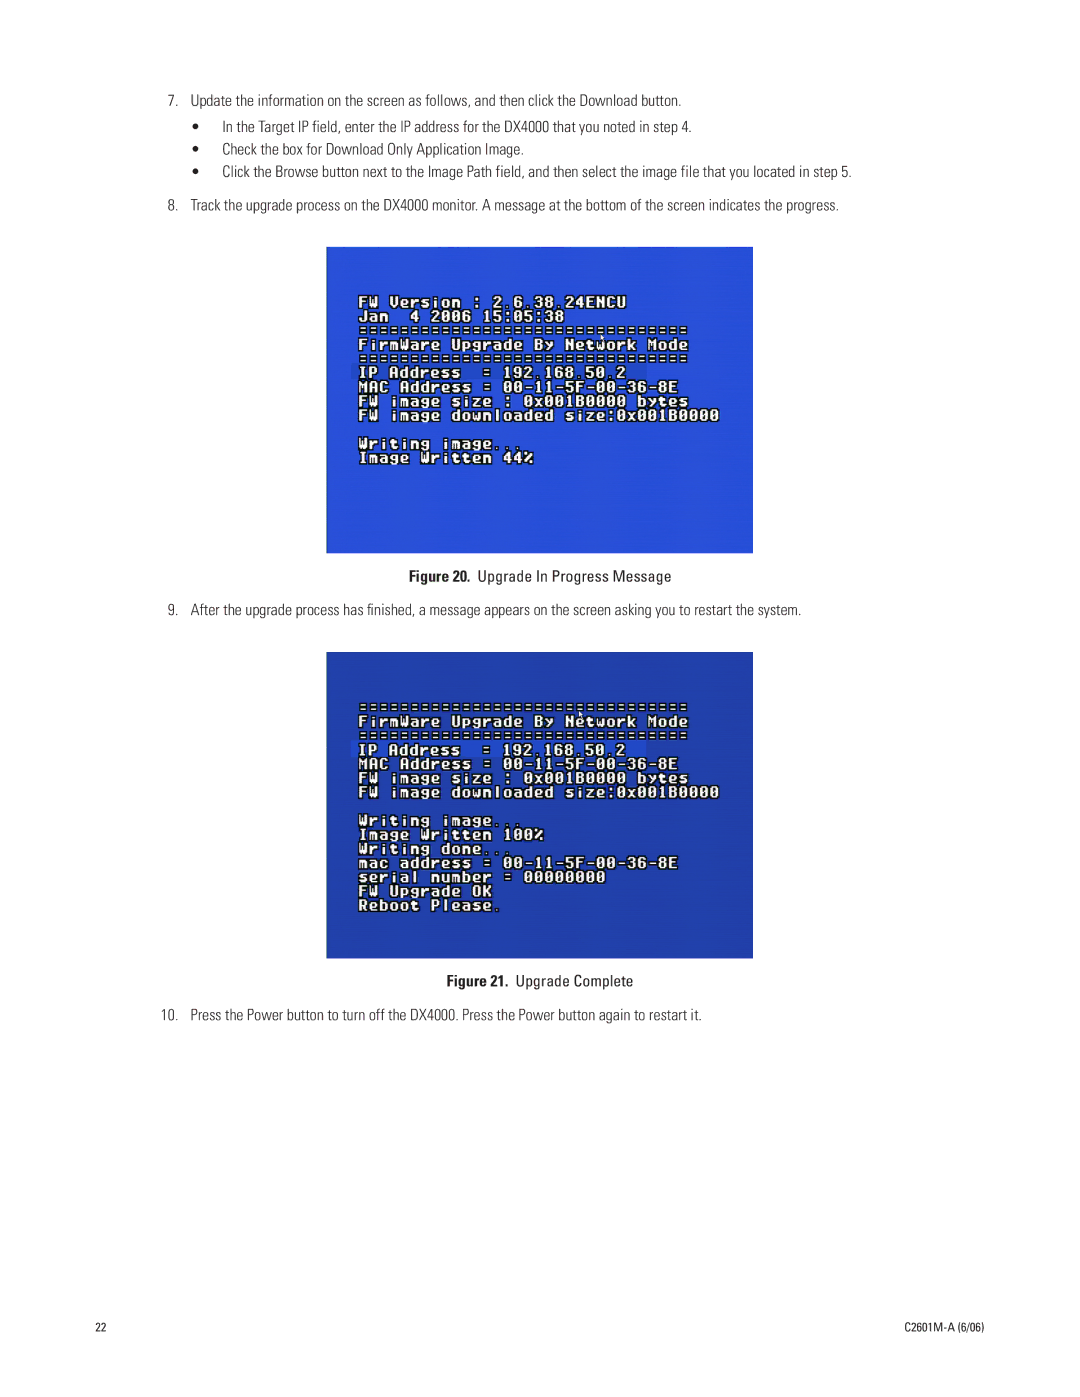
8.Track the upgrade process on the DX4000 monitor. A message at the bottom of the screen indicates the progress.
Figure 20. Upgrade In Progress Message
9. After the upgrade process has finished, a message appears on the screen asking you to restart the system.
Figure 21. Upgrade Complete
10. Press the Power button to turn off the DX4000. Press the Power button again to restart it.
22 |
|
