3. Image Optimization
washout in brighter areas maintaining a dynamic natural values for the ultimate video display.
Game: Turn on over drive circuit for best response time, reduce jaggy edges for fast moving objects on screen, enhance contrast ratio for bright and dark scheme, this profile delivers the best gaming experience for gamers.
Economy: Under this profile, brightness, contrast are adjusted and backlighting finetuned for just right display of everyday office applications and lower power consumption.
Off: No optimization by SmartImage.
3.2 SmartContrast
 What is it?
Unique technology that dynamically analyzes displayed content and automatically optimizes a Monitor's contrast ratio for maximum visual clarity and viewing enjoyment, stepping up backlighting for clearer, crisper and brighter images or dimming backlighting for clear display of images on dark backgrounds.
 Why do I need it?
You want the very best visual clarity and viewing comfort for every type of content. SmartContrast dynamically controls contrast and adjusts backlighting for clear, crisp, bright gaming and video images or displays clear,
monitor's power consumption, you save on energy costs and extend the lifetime of your monitor.
 How does it work?
When you activate SmartContrast, it will analyse the content you are displaying in real time to adjust colors and control backlight intensity.This function will dynamically enhance contrast for a great entertainment experience when viewing videos or playing games.
3.3 Philips SmartControl Premium
The new SmartControl Premium software by Phillips allows you to control your monitor via an easy to use
Clock/Phase adjustments, RGB White point adjustment, etc.
Equipped with latest technology in core algorithm for fast processing and response, this Windows 7 compliant eye catching animated Icon based software is ready to enhance your experience with Philips monitors!
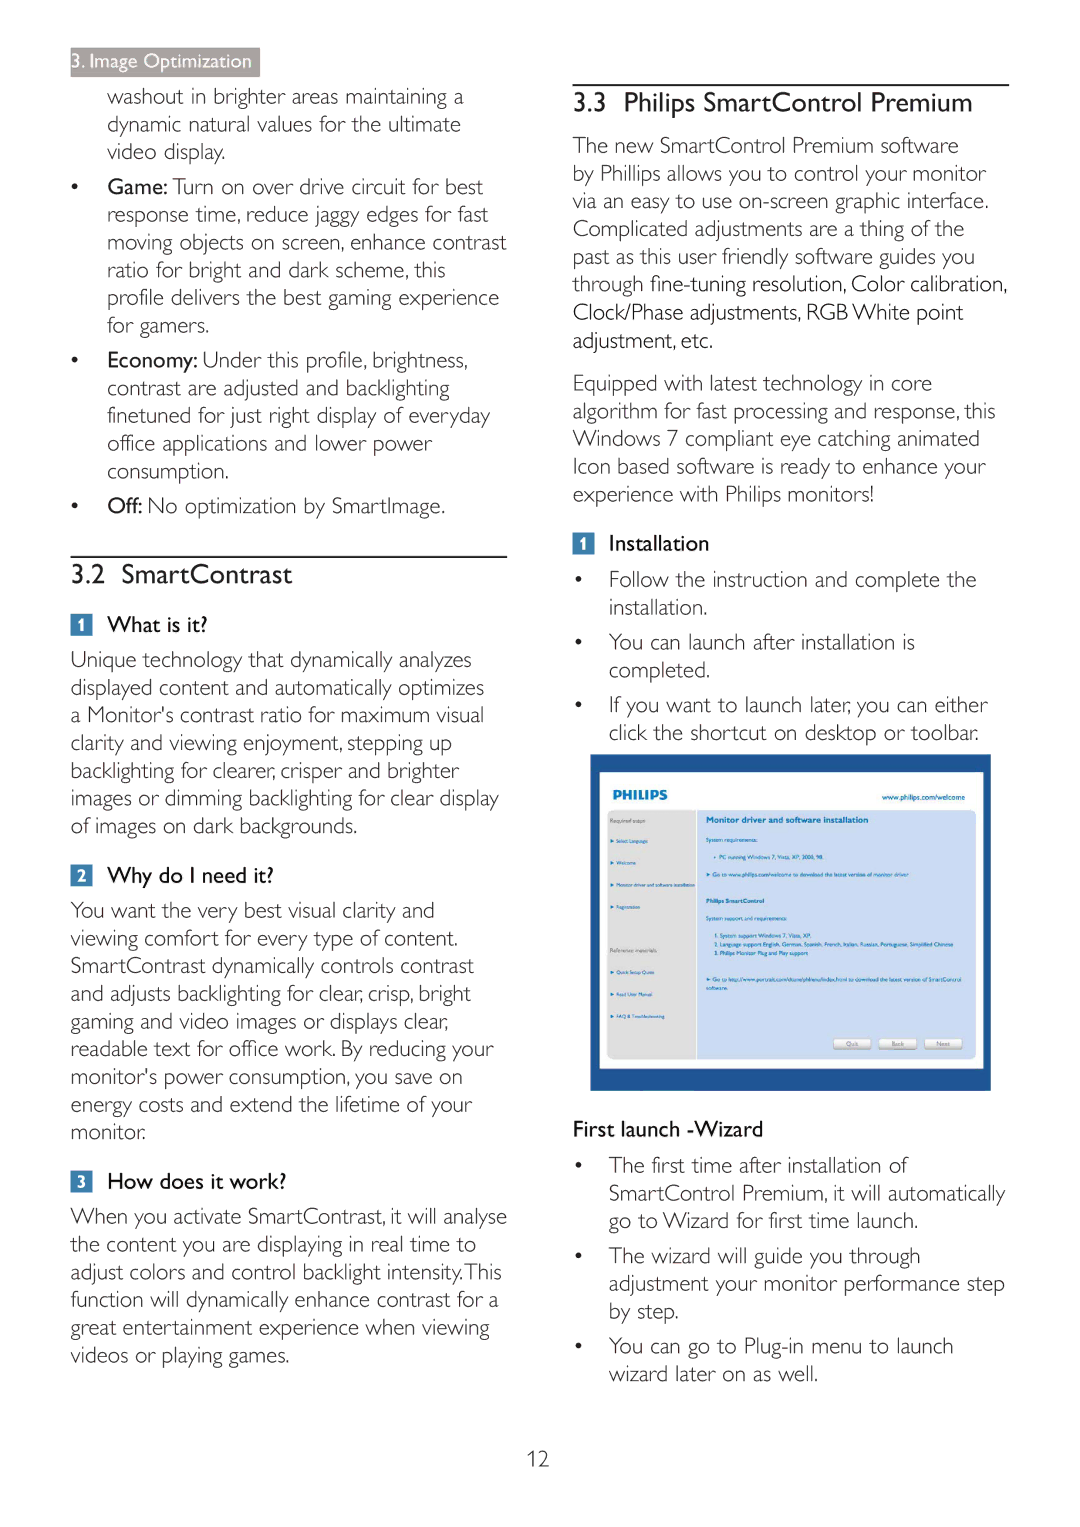
 Installation
Follow the instruction and complete the installation.
You can launch after installation is completed.
If you want to launch later, you can either click the shortcut on desktop or toolbar.
First launch -Wizard
The first time after installation of SmartControl Premium, it will automatically go to Wizard for first time launch.
The wizard will guide you through adjustment your monitor performance step by step.
You can go to
12