L05 User’s Manual | 091105.1833 |
∙ DISPLAY(NO/YES)
Cursor right or left to select NO to disable the WELCOME MESSAGE or YES to enable it. Note: If welcome message is enabled, and both LINE 1 and LINE 2 are blank (or consist entirely of space characters), no message will appear.
∙LINE 1/LINE 2
Select message LINE 1 or LINE 2. When you first cursor left or right, the “>” at the end of the menu line disappears, and a blinking hyphen character indicates message edit mode. Cursor up or down to select a cha racter at the given position. Cursor left or right to move the cursor to the desired character position. Note: When you cursor to the left or right margins of the edit space, the blinking hyphen will disappear and “>” will
∙ CLEAR | (>) |
Erase the entire message. |
|
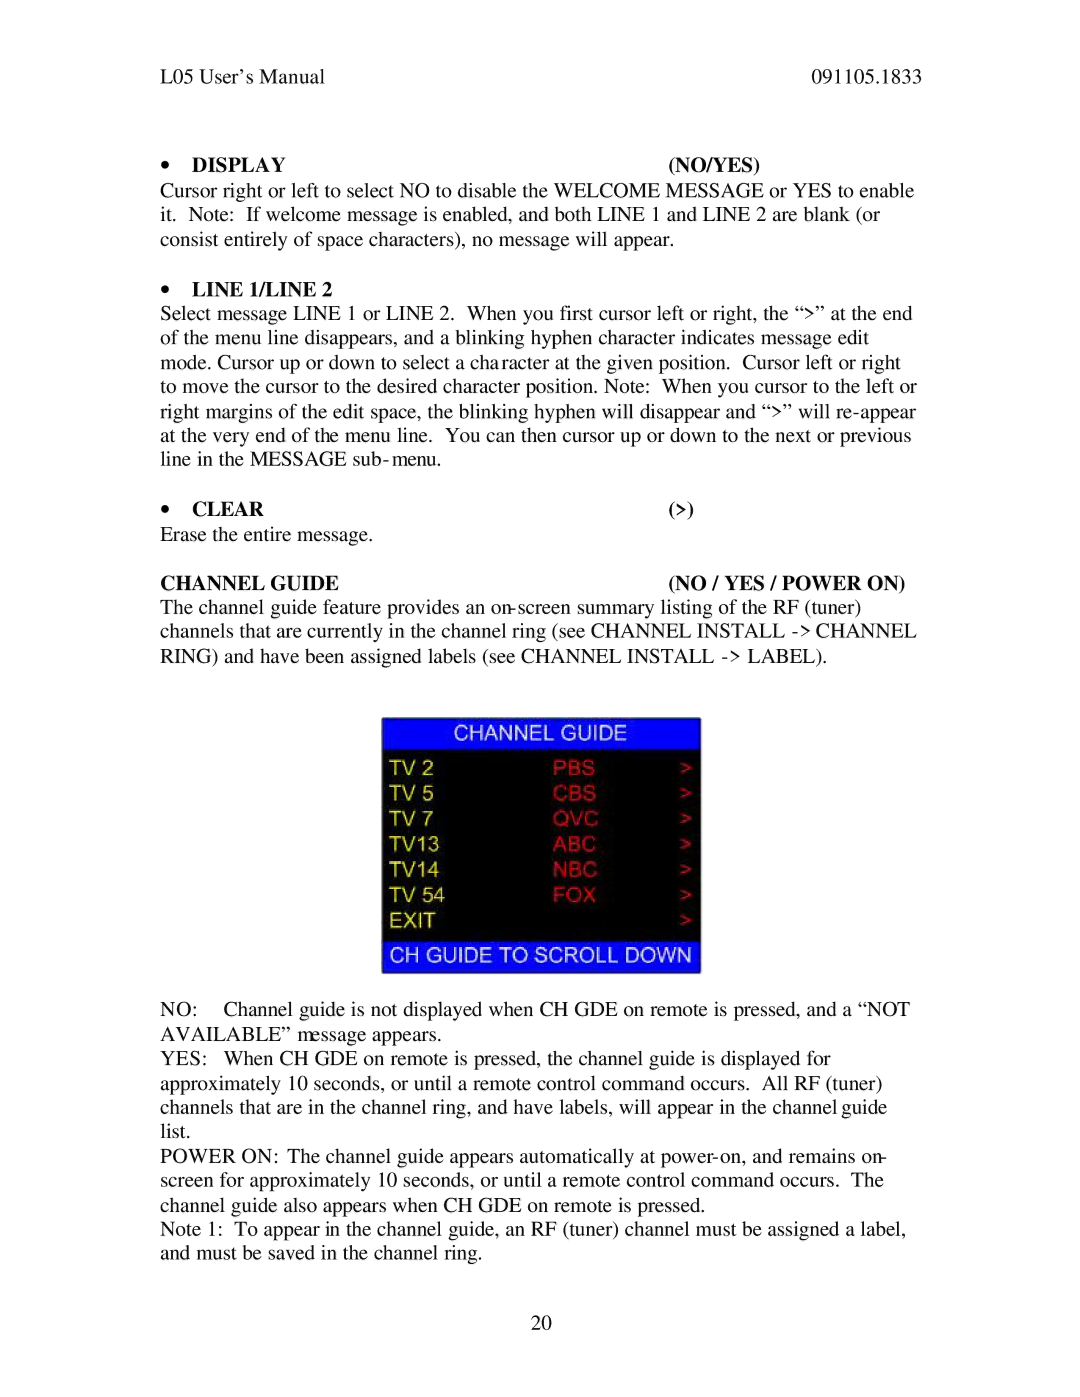
CHANNEL GUIDE | (NO / YES / POWER ON) |
The channel guide feature provides an
NO: Channel guide is not displayed when CH GDE on remote is pressed, and a “NOT AVAILABLE” message appears.
YES: When CH GDE on remote is pressed, the channel guide is displayed for approximately 10 seconds, or until a remote control command occurs. All RF (tuner) channels that are in the channel ring, and have labels, will appear in the channel guide list.
POWER ON: The channel guide appears automatically at
Note 1: To appear in the channel guide, an RF (tuner) channel must be assigned a label, and must be saved in the channel ring.
20
