Philips LC4043, 20 series manual Operation, Preparation/Picture control, P H I L I P S

Models: LC4043 20 series

1 22
Download 22 pages 61.6 Kb
Page 14
Image 14
8. OPERATION

8. OPERATION

Preparation/Picture control


English


PREPARATION


projector.


General


1.

Press the STANDBY/ON/OFF button to switch on the


The lamp indicator flashes


green and the start up screen


appears for 5 seconds.

P H I L I P S


When operation time reaches


3901 hours, the message

Multimedia Projectors


‘WARNING: Lamplife expires in


99 hours’ will be displayed on the


screen when switching the


projector on. For this refer to


the chapter ‘Lamp’ under ‘Additional information’.

When the lamp is on, the lamp indicator lights up green.

2.Set the ON/OFF switch of the remote control to ON in order to switch on the remote control.

Note: Always switch off the remote control after use.

3.If required, press the light button of the remote control.

When this button is pressed the button illumination is switched on for 5 seconds. Every time one of the buttons is pressed within these 5 seconds, the illumination time is extended (by a further 5 seconds).

4.Select the required source (Video, S-Video or Data) by pressing the corresponding source selection button.

Note: The source selection button VIDEO toggles between Video and S-video.

5.Switch on the computer or start video playback.

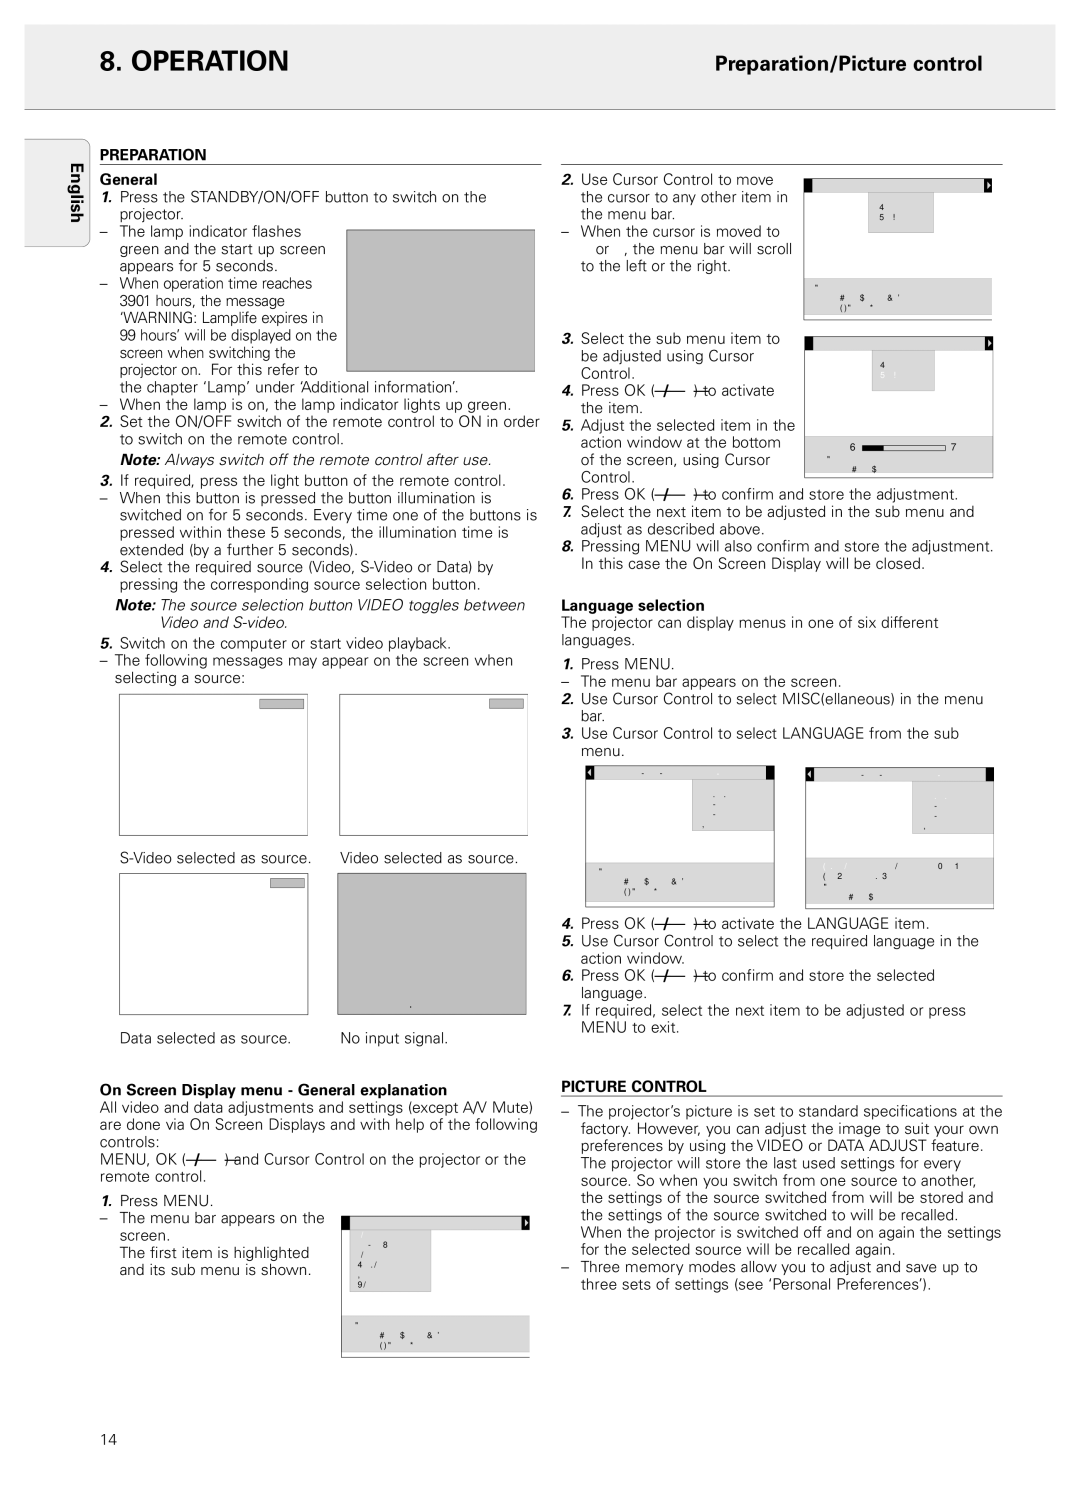
The following messages may appear on the screen when selecting a source:

S - Video


Video

2.

Use Cursor Control to move


Display

Audio

Source


the cursor to any other item in


Volume


the menu bar.


Bass


Treble


When the cursor is moved to


Mute


1or 2, the menu bar will scroll to the left or the right.

Use cursor control to select

Press OK or — to invoke item

Press MENU to exit menu

3.

Select the sub menu item to


Display

Audio

Source


be adjusted using Cursor


Volume


Control.


Bass


Treble


4.

Press OK (–/–) to activate


Mute


the item.


5.Adjust the selected item in the

action window at the bottom


+

of the screen, using Cursor

Use cursor control to adjust

Control.


Press OK or — to accept


6.Press OK (–/–) to confirm and store the adjustment.

7.Select the next item to be adjusted in the sub menu and adjust as described above.

8.Pressing MENU will also confirm and store the adjustment. In this case the On Screen Display will be closed.

Language selection

The projector can display menus in one of six different languages.

1.Press MENU.

The menu bar appears on the screen.

2.Use Cursor Control to select MISC(ellaneous) in the menu bar.

3.Use Cursor Control to select LANGUAGE from the sub menu.

S-Video selected as source.

Data

Data selected as source.

Video selected as source.

no signal detected

No input signal.


Source P . Pref .

Misc .


Source

P . Pref .

Misc .


Lamp life


Lamp life


Language


Language


Hor . mirror


Hor . mirror


Ver . mirror


Ver . mirror


Counter


Counter


Use cursor control to select


English

Deutsch

Français


Español

Português

Italiano


Press OK or — to invoke item


Use cursor control to select


Press MENU to exit menu


Press OK or — to accept


4.Press OK (–/–) to activate the LANGUAGE item.

5.Use Cursor Control to select the required language in the action window.

6.Press OK (–/–) to confirm and store the selected language.

7.If required, select the next item to be adjusted or press MENU to exit.

On Screen Display menu - General explanation

All video and data adjustments and settings (except A/V Mute) are done via On Screen Displays and with help of the following controls:

MENU, OK (–/–) and Cursor Control on the projector or the remote control.

PICTURE CONTROL

– The projector’s picture is set to standard specifications at the

factory. However, you can adjust the image to suit your own

preferences by using the VIDEO or DATA ADJUST feature.

The projector will store the last used settings for every

source. So when you switch from one source to another,

1.Press MENU.

The menu bar appears on the screen.

The first item is highlighted and its sub menu is shown.

Display Audio Source

Shift

Hor . size

Phase

Brightness

Contrast

White point

Use cursor control to select Press OK or — to invoke item Press MENU to exit menu

the settings of the source switched from will be stored and

the settings of the source switched to will be recalled.

When the projector is switched off and on again the settings

for the selected source will be recalled again.

– Three memory modes allow you to adjust and save up to

three sets of settings (see ‘Personal Preferences’).

14

Page 14
Image 14
Philips LC4043, 20 series manual Operation, Preparation/Picture control, P H I L I P S