Illustration shows the image of the unit SC-BT735
SC-BT330 SC-BT230
Side of product Inside of product
This Unit is Intended for USE in Moderate Climates
Before use
How to replace the fuse
This Plug is not WATERPROOF-KEEP DRY
Safety precautions
Table of contents
Accessory
Unit and media care
Using the remote control
TV operation buttons
Remote control
Control reference guide
Main unit Rear
Standby/on switch Í/I
Power indicator
Main unit Front
Playable discs/Cards/USB devices
Type Logo examples Type detail Playable contents
Finalize
Discs that cannot be played in this unit
Region management information
SD card
BT735 BT330
Preparing the speakers
Assembling the speakers
Preparation
Preventing the speakers from falling
Speaker assembly option
Speaker cable sticker included Connector Colour
If it persists, move the speakers further away from the TV
Upgrade your system to 7.1-channel system
Setup example
Positioning
Speaker cable connection
Using an indoor antenna
Using an outdoor antenna
Connections
≥ Do not make the video connections through the VCR
Connection to a TV
Basic connection
Connection for the better audio
Hdmi cable not included
Necessary Settings
Connection for the best picture and audio
Connection with Set Top Box, etc
Connection to a broadband network
Using LAN ethernet cable
Using Wireless LAN Adaptor optional
AC mains lead connection
Preparation
Smart setup / Easy setup
Wired connection
Network Easy Setting
When you experience problems with settings
Select Wired or Wireless and press OK
Display Check
Network Easy Setting Connection Test
Network Easy Setting Internet Connection Test
Firmware updating
While pressing OK
Reprogramming the remote control
To switch sources
Inserting or removing a media
Button Source
Selecting the source by the remote control
Start menu
Press Start Press 3, 4 to select the item and press OK
Changing the sound modes
Adjusting speaker level during play
Enjoying surround sound effects
Press Surround several times to select the effect
Playing video contents
Enjoying BD-Live discs with Internet
Useful functions
Enjoying BD-Live or Bonusview in BD-Video
Playing picture-in-picture
Regarding DivX
Playing music
Press 3, 4, 2, 1 to select the still picture and press OK
Playing still pictures
Insert a disc, SD card or USB device
Press 3, 4, 2, 1 to select the album and press OK
Listening to the Radio
Presetting stations automatically
Presetting stations manually
Listening/confirming the preset channels
Sound modes
Making settings for digital audio input
Enjoying TV with unit’s speakers
Surround sound effects
One touch play
Setting the audio link
Automatic input switching Power on link
Linked operations with the TV
IPod/iPhone Connection
Using the iPod/iPhone
Easy control only with Viera remote control
Power Off Link
Other methods of playback
IPod/iPhone Playback
Enjoy music/video
Enjoy photos
Press 3, 4, 2, 1 to select the item and press OK
Enjoying Viera Cast
Disc
Press Viera Cast
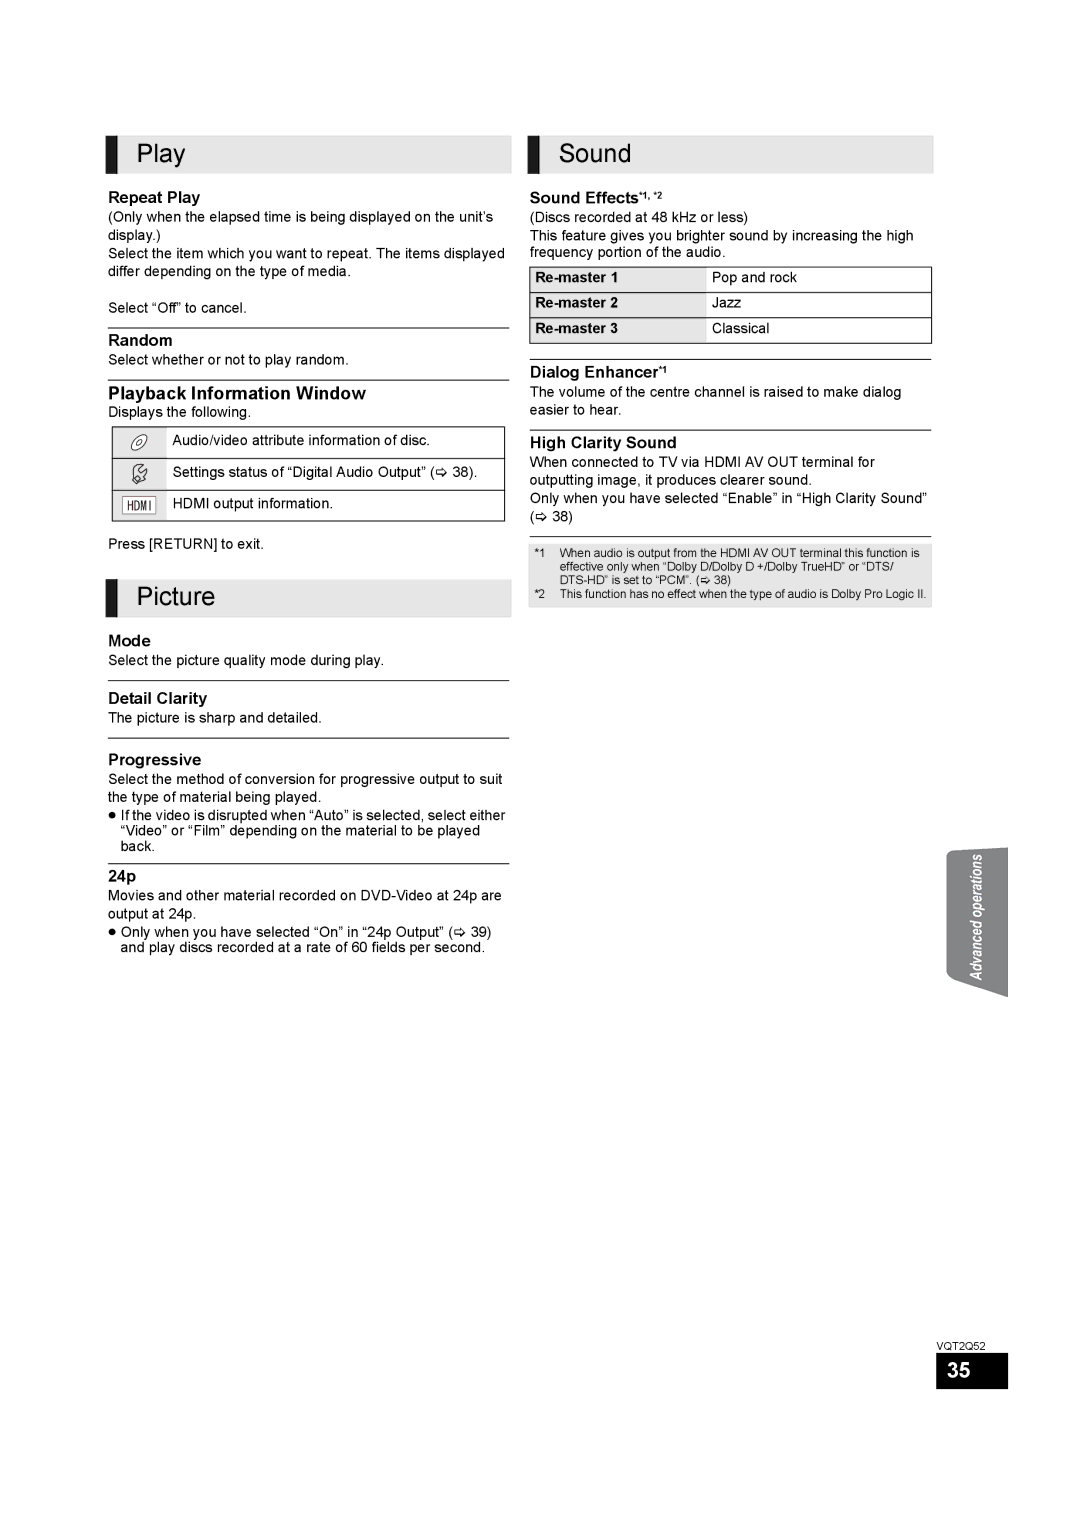
Playback Information Window
Play Sound
Picture
≥ Press OK if the Control Panel is not displayed
Dlna feature
When connected to a Panasonic Dlna compatible recorder Diga
Control Panel
Press 3, 4, 2, 1 to select the option and press OK
Setup menu
Useful functions for when playing back pictures
Display
TV System
TV / Device Connection
General
Network
Adjusting speaker level
Speaker settings
Reattaching the speaker cable
Speaker installation option
Attaching to a wall
Cannot eject disc
Contents of the USB device cannot be read
Other difficulties with playback
IPod/iPhone operation
Radio
On the unit’s display
Messages
On the television
Structure of folders that can be played in this unit
DivX
Subtitles text file of DivX
Audio attribute
Language code list
Display languages list
Video attribute
VQT2Q52
DTS-HD
Glossary
Avchd
BD-J
Specifications
AUX
Centre Speaker
Surround Speakers
USB
On-Screen
Quick Start Radio Random play Re-master Remote control
Connection
Jpeg LAN Language

