ENGLISH 13
4Connect the SCART (EURO) cable between the lower SCART
>This will enable you to view the user menus and multimedia content on the television screen.
Option: connect the SL400i to an audio set using the audio outputs ! or the digital audio output 0.
5Connect the mains cable between the AC Mains input 9 of the SL400i and a mains socket.
>The indicator in the Power button lights up red after connecting the SL400i to the mains.
6Switch on the SL400i by pressing the PC LINK button on the remote control. Do not press the INTERNET button at this time, only the PC LINK button.
>After about five seconds, a ‘Streamium’ welcoming message appears on the television screen.
If you do not see any messages on the TV screen:
–make sure the SCART connectors are firmly connected, and
–that you have selected the correct external input on your TV.
7Select your wireless network name, and input the encryption key you found in step 1.
A)If asked, select the wireless network name from the list of wireless network names (SSID) presented to you on the TV screen.
Use the navigation buttons (3 4) on the remote control to select the correct network name and press OK to confirm.
Note: If there is only one wireless network, it will be selected for you and you will not be asked to select one.
B)If asked, also input the encryption key.
Use the navigation buttons (3 4 1 2) on the remote control to choose your type of encryption and to input the key itself. Press OK to confirm.
Please remember that the encryption key is case sensitive, meaning that ‘ABC’ is not the same as ‘aBc’. Always input characters in the correct case to avoid problems.
Note: If the wireless network is not encrypted, you will not be asked to input an encryption key.
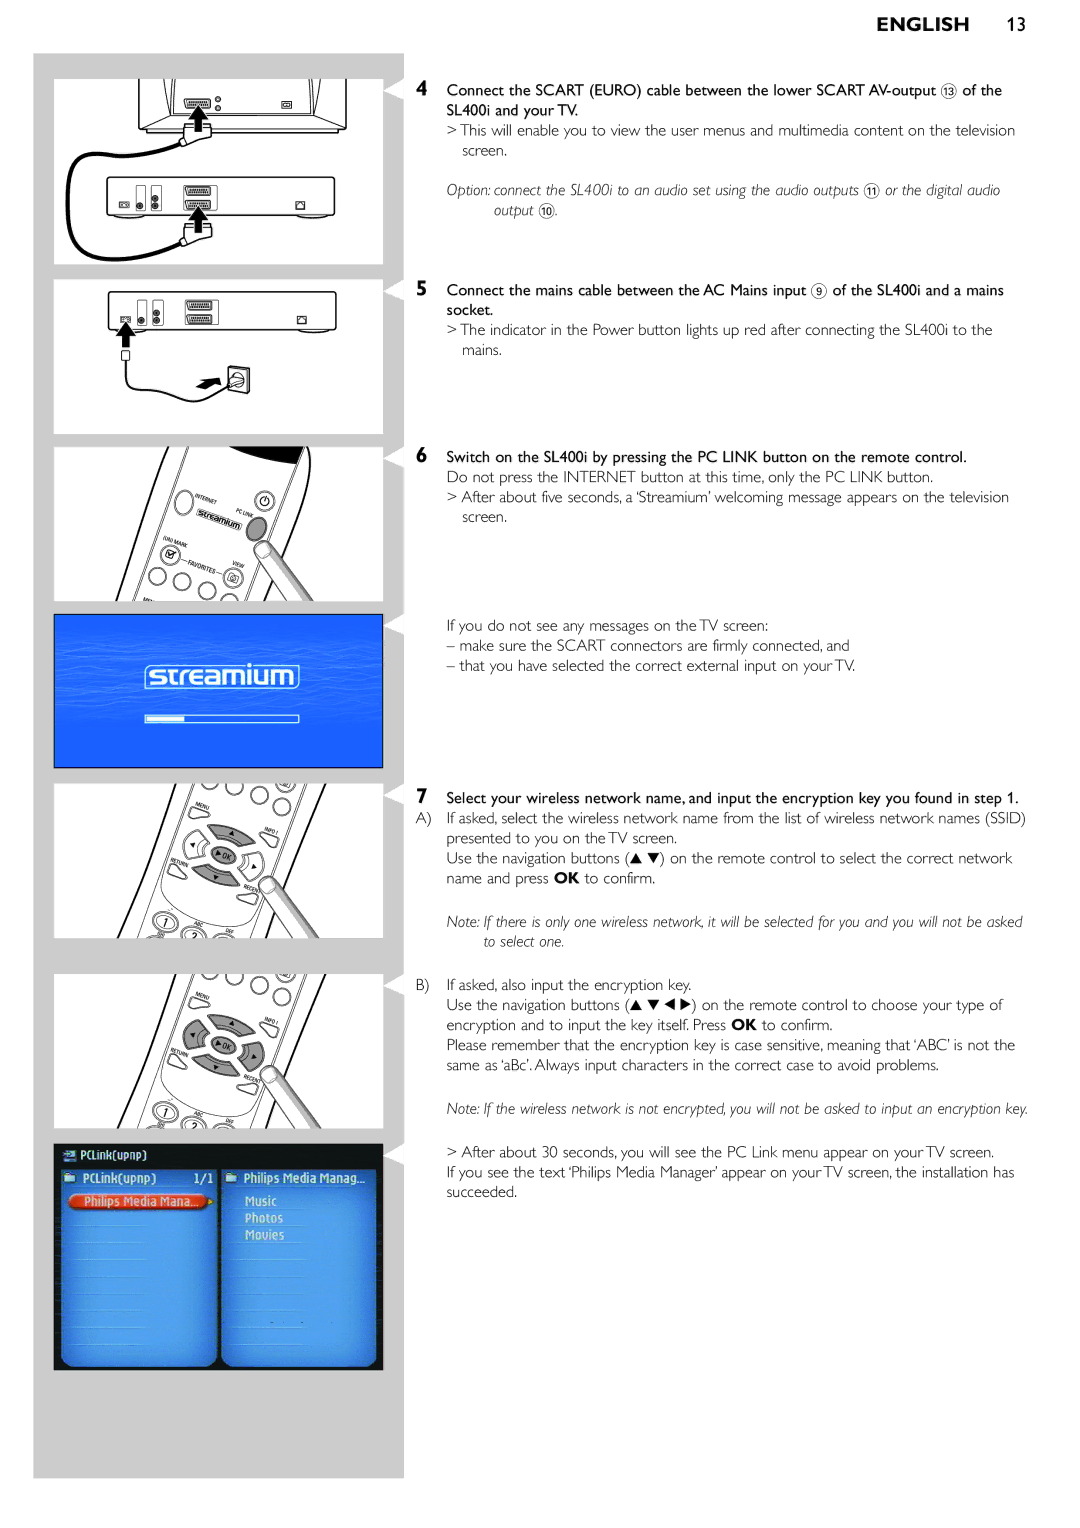
> After about 30 seconds, you will see the PC Link menu appear on your TV screen.
If you see the text ‘Philips Media Manager’ appear on your TV screen, the installation has succeeded.