2 Get started
(Optional) Install the webcam software and driver
![]() Note
Note
•To use the special features provided by Webcam Driver SPZ5000, Philips CamSuite, and Philips Intelligent Agent, install the software in the provided
•Before the installation of Philips CamSuite, disconnect the webcam from the PC/notebook.
The software supplied only works on PCs with the operating systems Microsoft® Windows® XP (SP2 and higher),Vista, or Windows 7.
After the software installation, you can adjust Philips SPZ5000 webcam settings on respective property pages.
1Place the installation
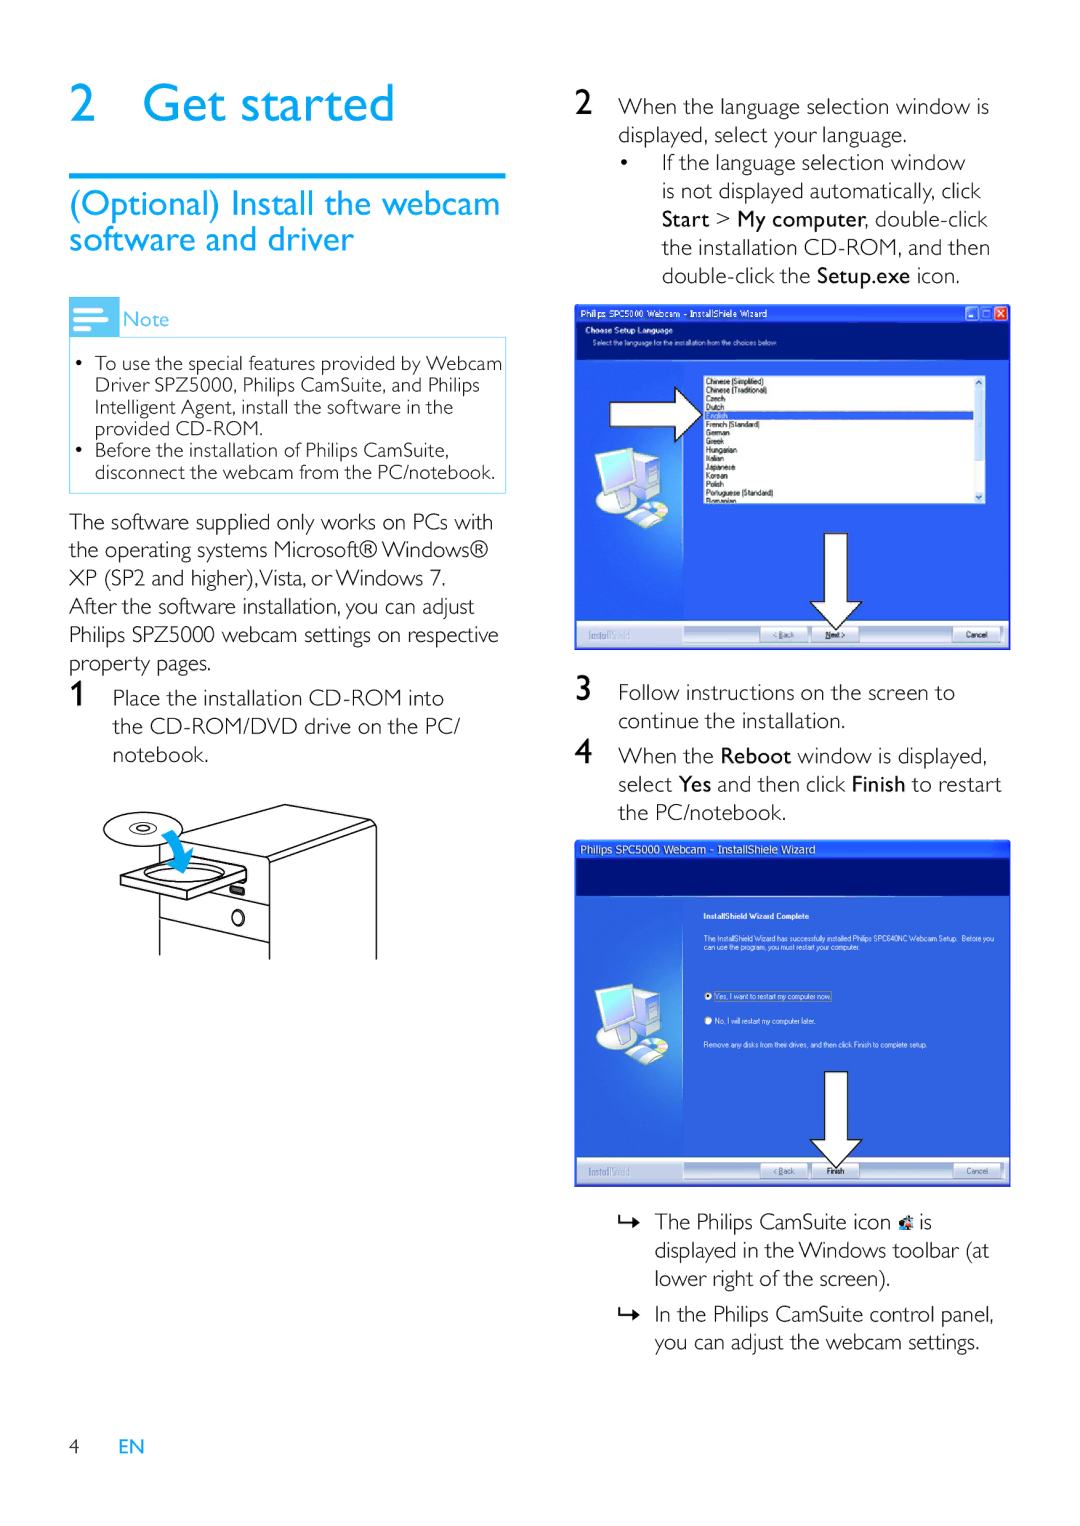
2When the language selection window is displayed, select your language.
•If the language selection window is not displayed automatically, click Start > My computer,
3Follow instructions on the screen to continue the installation.
4When the Reboot window is displayed, select Yes and then click Finish to restart the PC/notebook.
»The Philips CamSuite icon ![]() is displayed in the Windows toolbar (at lower right of the screen).
is displayed in the Windows toolbar (at lower right of the screen).
»In the Philips CamSuite control panel, you can adjust the webcam settings.
4EN
