A6, A-A6-J specifications
The Pioneer A-A6-J and A6 are celebrated components in the realm of audio amplification, revered for their sound quality and robust design. These models reflect Pioneer's dedication to innovation and exceptional audio performance.The A-A6-J is a high-fidelity integrated amplifier that combines power and clarity, featuring a sleek design that fits seamlessly into any audio setup. It delivers an impressive output of approximately 100 watts per channel into 8 ohms, ensuring powerful sound dynamics that can fill a room with rich, nuanced audio. The use of a low-noise power supply contributes to its clean and clear sound reproduction.
One of the standout features of both the A-A6-J and A6 is their advanced circuitry, which minimizes distortion and enhances audio fidelity. The amplifiers utilize Pioneer's proprietary technologies, including Direct Energy HD amplification. This technology ensures a direct connection between the power amplifier and speaker outputs, reducing signal loss and providing a more immediate and dynamic listening experience.
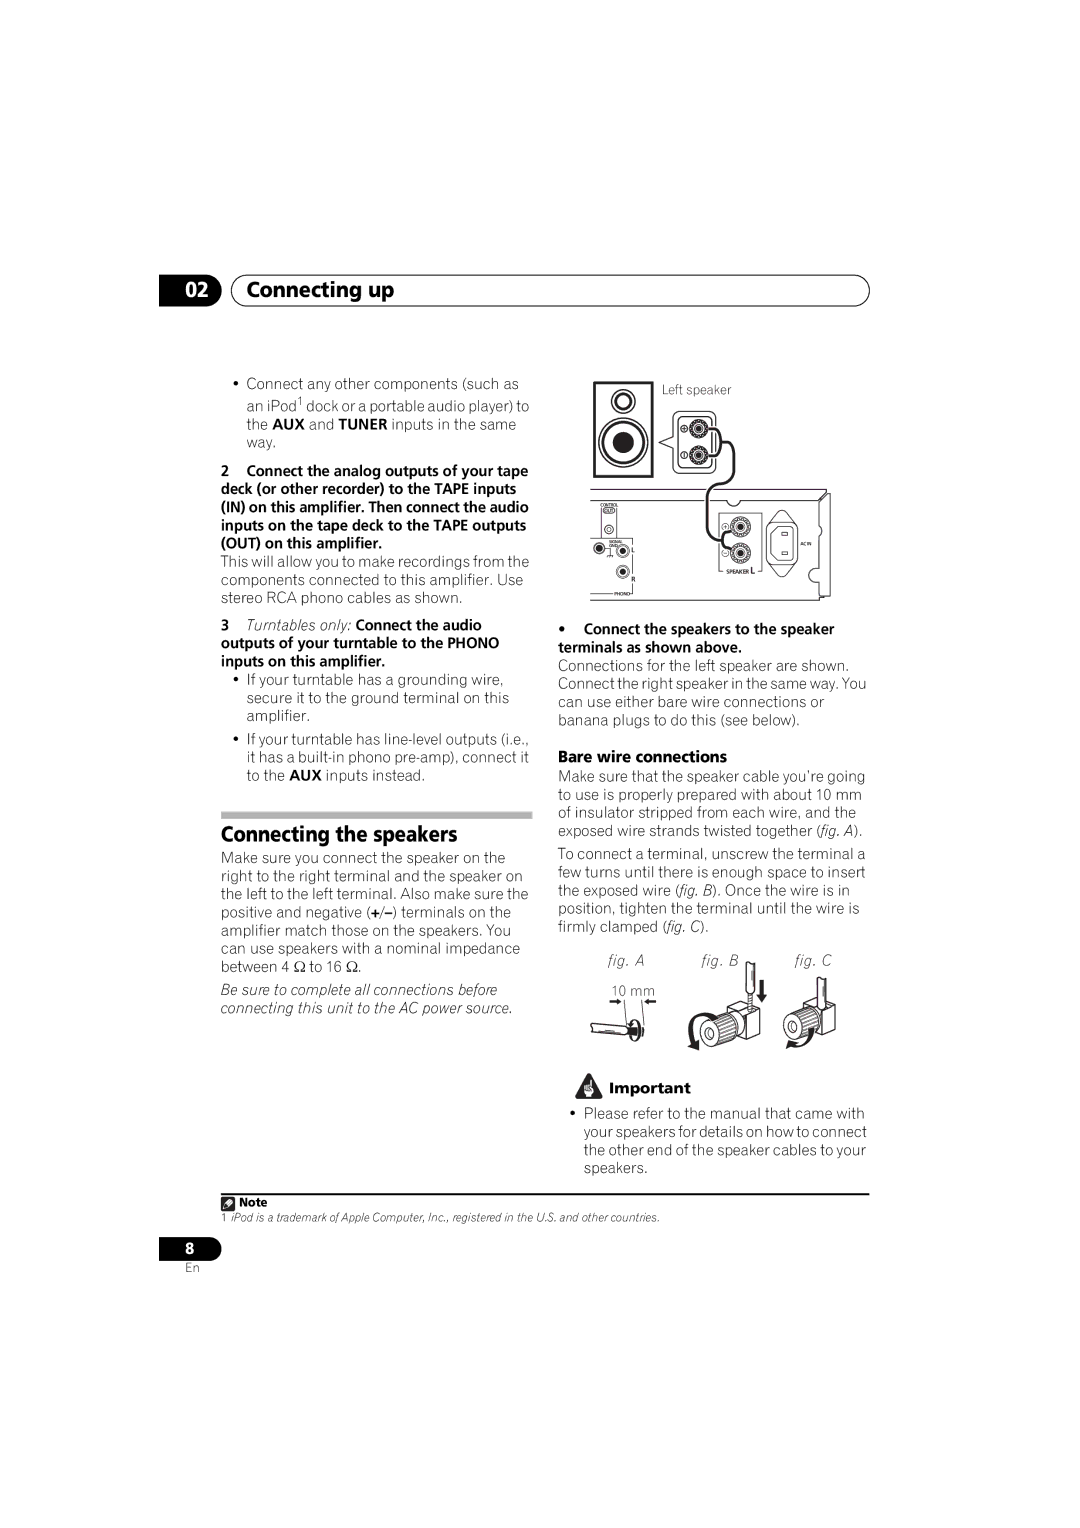
Another notable characteristic is the comprehensive connectivity options. Both models come equipped with multiple analog inputs, allowing users to connect a variety of sources, including CD players, turntables, and even digital devices via USB. This flexibility makes them suitable for a diverse range of listening preferences and setups.
The A-A6 also boasts a built-in phono stage, allowing for direct connection to vinyl turntables. This feature is particularly appealing to audiophiles who appreciate the warm, authentic sound of vinyl records. Additionally, the bass and treble controls enable users to tailor their listening experience to personal taste, enhancing either the lower frequencies for a deeper sound or the higher frequencies for crisp clarity.
Constructed with high-quality components, both the A-A6-J and A6 emphasize durability and long-term reliability. Their minimalist aesthetic combined with a robust built quality makes them a favorite among audio enthusiasts looking for both performance and style.
In summary, the Pioneer A-A6-J and A6 represent significant achievements in integrated amplifier design, focusing on sound quality, versatility, and user-friendly features. With their powerful output, advanced technologies, and aesthetic appeal, they are well-suited for anyone seeking an elevated audio experience. Whether for casual listening or serious audiophile pursuits, these amplifiers deliver an exceptional auditory journey that stands the test of time.

