Section
01  Before You Start
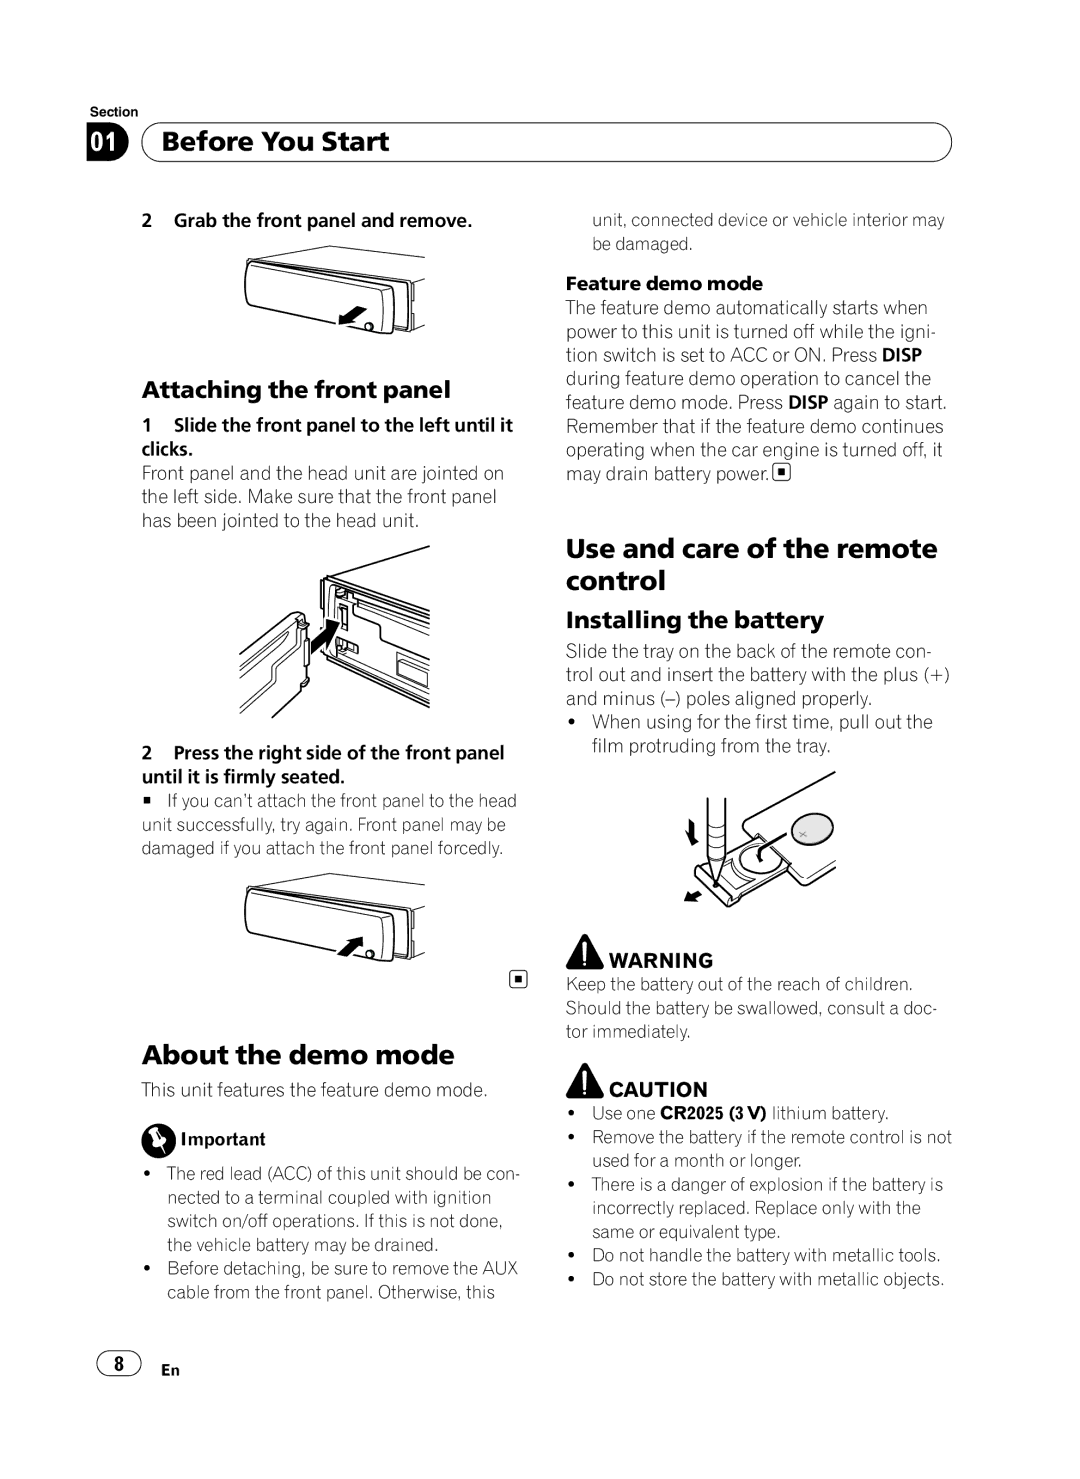
2 Grab the front panel and remove.
Attaching the front panel
1Slide the front panel to the left until it clicks.
Front panel and the head unit are jointed on the left side. Make sure that the front panel has been jointed to the head unit.
unit, connected device or vehicle interior may be damaged.
Feature demo mode
The feature demo automatically starts when power to this unit is turned off while the igni- tion switch is set to ACC or ON. Press DISP during feature demo operation to cancel the feature demo mode. Press DISP again to start. Remember that if the feature demo continues operating when the car engine is turned off, it may drain battery power. ![]()
2Press the right side of the front panel
until it is firmly seated.
# If you can’t attach the front panel to the head unit successfully, try again. Front panel may be damaged if you attach the front panel forcedly.
About the demo mode
This unit features the feature demo mode.
![]() Important
Important
!The red lead (ACC) of this unit should be con- nected to a terminal coupled with ignition switch on/off operations. If this is not done, the vehicle battery may be drained.
!Before detaching, be sure to remove the AUX cable from the front panel. Otherwise, this
Use and care of the remote control
Installing the battery
Slide the tray on the back of the remote con- trol out and insert the battery with the plus (+) and minus
!When using for the first time, pull out the film protruding from the tray.
![]() WARNING
WARNING
Keep the battery out of the reach of children. Should the battery be swallowed, consult a doc- tor immediately.
![]() CAUTION
CAUTION
!Use one CR2025 (3 V) lithium battery.
!Remove the battery if the remote control is not used for a month or longer.
!There is a danger of explosion if the battery is incorrectly replaced. Replace only with the same or equivalent type.
!Do not handle the battery with metallic tools.
!Do not store the battery with metallic objects.
8 | En |
