Section
04Built-in CD Player
Playing a CD
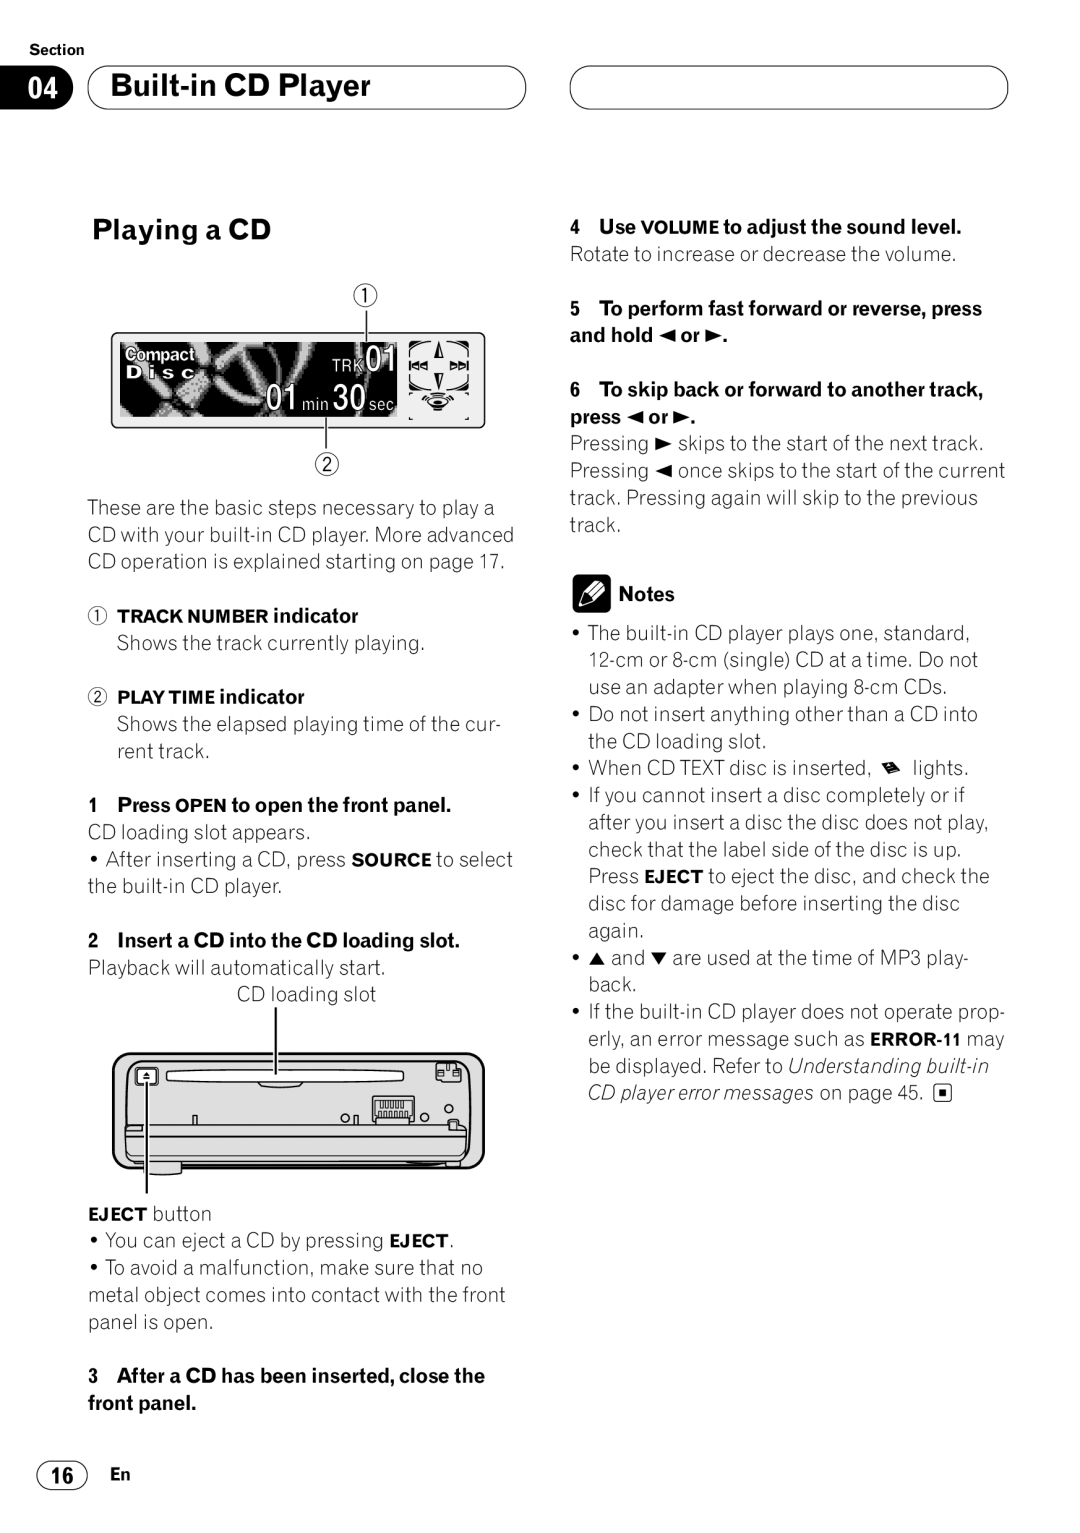
1
2
These are the basic steps necessary to play a CD with your
1TRACK NUMBER indicator
Shows the track currently playing.
2PLAY TIME indicator
Shows the elapsed playing time of the cur- rent track.
1Press OPEN to open the front panel. CD loading slot appears.
• After inserting a CD, press SOURCE to select the
2Insert a CD into the CD loading slot. Playback will automatically start.
CD loading slot
EJECT button
•You can eject a CD by pressing EJECT.
•To avoid a malfunction, make sure that no metal object comes into contact with the front panel is open.
3After a CD has been inserted, close the front panel.
4Use VOLUME to adjust the sound level. Rotate to increase or decrease the volume.
5To perform fast forward or reverse, press and hold 2 or 3.
6To skip back or forward to another track, press 2 or 3.
Pressing 3 skips to the start of the next track. Pressing 2 once skips to the start of the current track. Pressing again will skip to the previous track.
![]() Notes
Notes
•The
•Do not insert anything other than a CD into the CD loading slot.
•When CD TEXT disc is inserted, ![]() lights.
lights.
•If you cannot insert a disc completely or if after you insert a disc the disc does not play, check that the label side of the disc is up. Press EJECT to eject the disc, and check the disc for damage before inserting the disc again.
•5 and ∞ are used at the time of MP3 play- back.
•If the ![]()
16En