Getting started
EXTERNAL AUDIO INPUT
The audio mode for the audio input jack can be se- lected, choosing either stereo or monaural.
Select “EXTERNAL AUDIO INPUT” and select from the list below.
STEREO:
The sound is treated as stereo sound.
L CH:
The sound is treated as the monaural sound of the left channel.
R CH:
The sound is treated as the monaural sound of the right channel.
04
INITIAL REC TO
You can select the recording media that is first dis- played in the item “REC TO” on the timer recording screen.
Select “INITIAL REC TO” and select “DVD” or “VCR”.
INITIAL REC MODE
You can select the recording mode that is first displayed in the item “REC MODE” on the timer recording screen. Select “INITIAL REC MODE” and select XP, SP, LP, or SLP.
Note
•For the DVD recording mode, see page 52. And for the VCR recording mode, see page 48.
SAP (Second Audio Program)
This unit is fitted with a SAP broadcast system that enables you to switch to a second audio program while viewing a selected channel.
This function applies only when the program is broad- cast in multiple languages through the SAP broadcast system.
Select “SAP” and select “ON” to use SAP, and to not use it, select “OFF”.
Listening to SAP
When the unit is turned on or a channel selection is made, make certain the letters “SAP” appear on the screen. This means that “Second Audio Program” broadcasting is available.
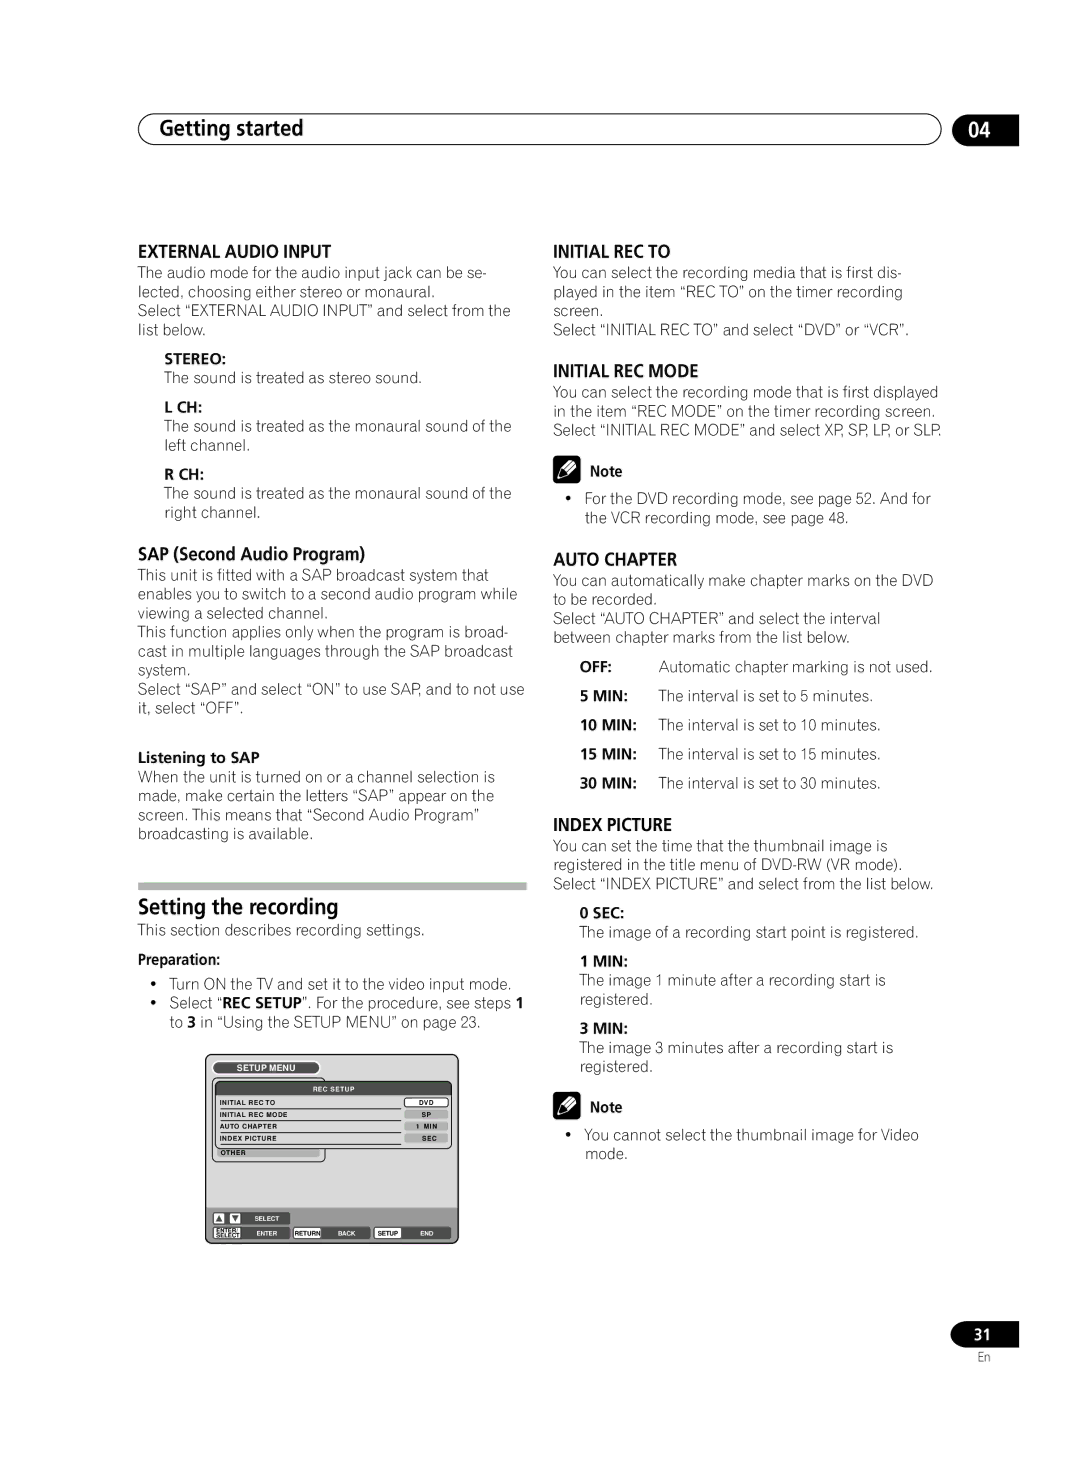
Setting the recording
This section describes recording settings.
Preparation:
•Turn ON the TV and set it to the video input mode.
•Select “REC SETUP”. For the procedure, see steps 1 to 3 in “Using the SETUP MENU” on page 23.
SETUP MENU
| TIMER REC SET | REC SETUP |
|
| |||
| INITIALSYSTEMRECSETUPTO |
|
|
| DVD | ||
| INITIALAVSETUPREC MODE |
|
|
| SP | ||
| AUTORECSETUPCHA TER |
|
|
| 10MIN | ||
| INDEXCH SETUPPICTURE |
|
|
| 0 SEC | ||
| OTHER |
|
|
|
|
| |
|
| SELECT |
|
|
|
| |
ENTER/ | ENTER | RETURN | BACK | SETUP | END | ||
SELECT | |||||||
|
|
|
|
| |||
AUTO CHAPTER
You can automatically make chapter marks on the DVD to be recorded.
Select “AUTO CHAPTER” and select the interval between chapter marks from the list below.
OFF: Automatic chapter marking is not used.
5 MIN: The interval is set to 5 minutes.
10 MIN: The interval is set to 10 minutes.
15 MIN: The interval is set to 15 minutes.
30 MIN: The interval is set to 30 minutes.
INDEX PICTURE
You can set the time that the thumbnail image is registered in the title menu of
0 SEC:
The image of a recording start point is registered.
1 MIN:
The image 1 minute after a recording start is registered.
3 MIN:
The image 3 minutes after a recording start is registered.
Note
•You cannot select the thumbnail image for Video mode.
31
En
