|
|
|
|
|
|
|
|
| Troubleshooting |
|
|
|
|
|
|
|
|
|
|
System Components |
|
|
|
|
|
|
| ||
|
|
|
|
|
|
| |||
Symptom | Problem | Corrective Action |
|
|
| ||||
|
|
|
|
|
| ||||
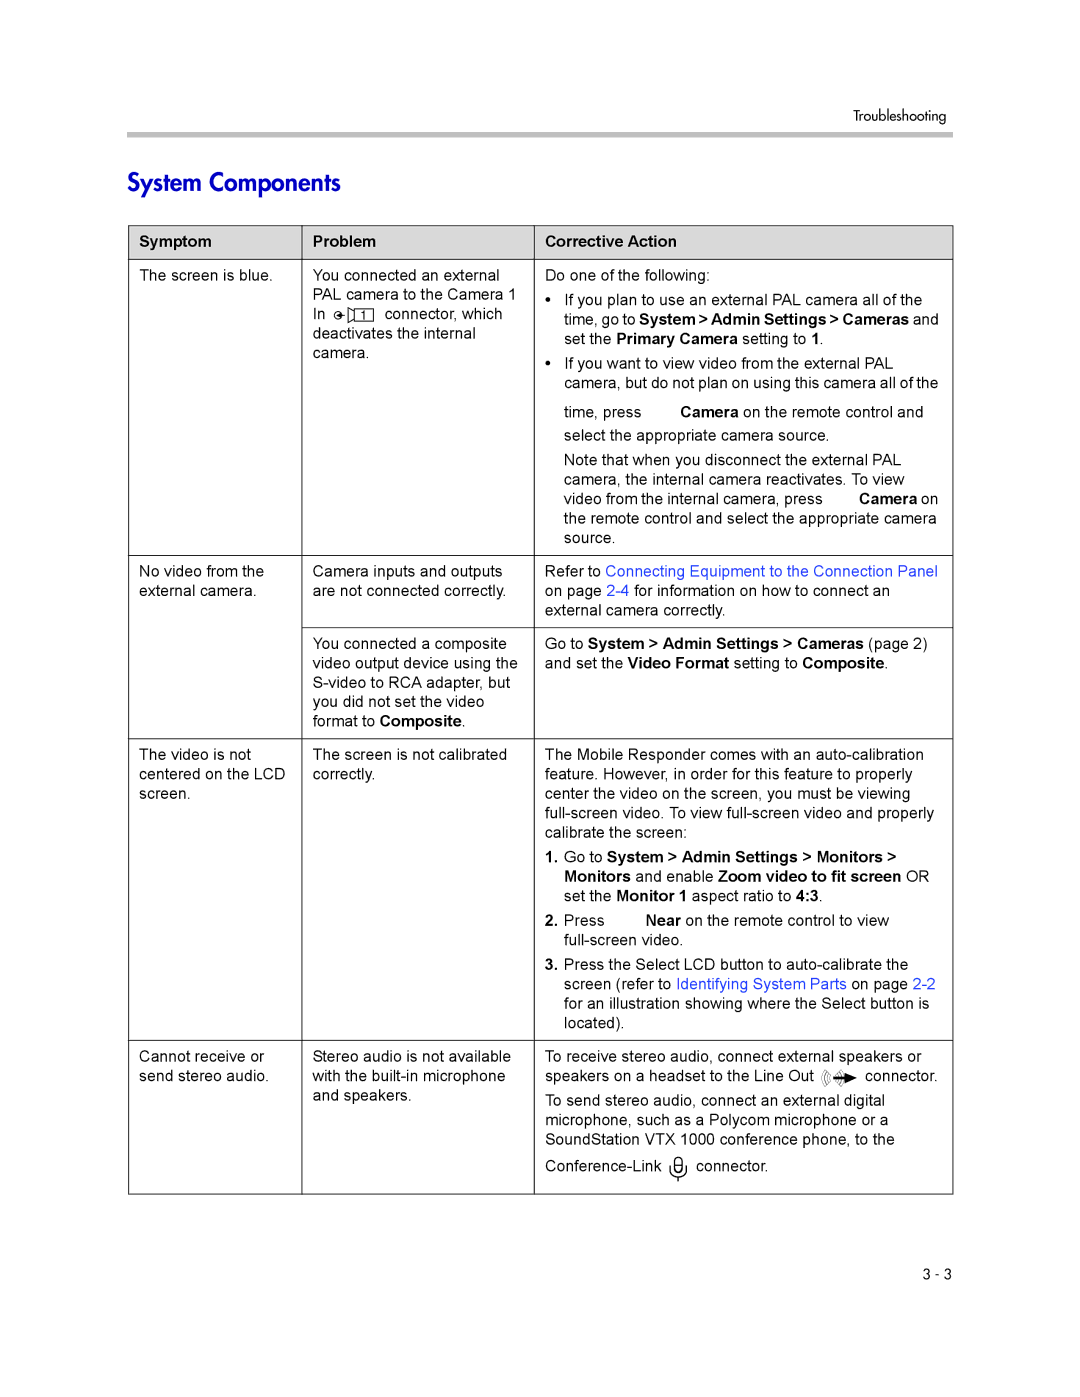
The screen is blue. | You connected an external | Do one of the following: |
|
| |||||
| PAL camera to the Camera 1 | • | If you plan to use an external PAL camera all of the | ||||||
| In |
| 1 connector, which | ||||||
|
|
| time, go to System > Admin Settings > Cameras and | ||||||
|
|
| |||||||
| deactivates the internal |
| |||||||
|
| set the Primary Camera setting to 1. |
|
| |||||
| camera. |
|
|
| |||||
| • | If you want to view video from the external PAL | |||||||
|
|
|
| ||||||
|
|
|
|
| camera, but do not plan on using this camera all of the | ||||
|
|
|
|
| time, press |
| Camera on the remote control and | ||
|
|
|
|
| select the appropriate camera source. |
|
| ||
|
|
|
|
| Note that when you disconnect the external PAL | ||||
|
|
|
|
| camera, the internal camera reactivates. To view | ||||
|
|
|
|
| video from the internal camera, press |
| Camera on | ||
|
|
|
|
| the remote control and select the appropriate camera | ||||
|
|
|
|
| source. |
|
|
|
|
|
|
|
|
| |||||
No video from the | Camera inputs and outputs | Refer to Connecting Equipment to the Connection Panel | |||||||
external camera. | are not connected correctly. | on page | |||||||
|
|
|
| external camera correctly. |
|
| |||
|
|
|
|
| |||||
| You connected a composite | Go to System > Admin Settings > Cameras (page 2) | |||||||
| video output device using the | and set the Video Format setting to Composite. | |||||||
|
|
|
|
|
|
| |||
| you did not set the video |
|
|
|
|
|
| ||
| format to Composite. |
|
|
|
|
|
| ||
|
|
|
|
| |||||
The video is not | The screen is not calibrated | The Mobile Responder comes with an | |||||||
centered on the LCD | correctly. | feature. However, in order for this feature to properly | |||||||
screen. |
|
|
| center the video on the screen, you must be viewing | |||||
|
|
|
| ||||||
|
|
|
| calibrate the screen: |
|
| |||
|
|
|
| 1. | Go to System > Admin Settings > Monitors > | ||||
|
|
|
|
| Monitors and enable Zoom video to fit screen OR | ||||
|
|
|
|
| set the Monitor 1 aspect ratio to 4:3. |
|
| ||
|
|
|
| 2. | Press | Near on the remote control to view | |||
|
|
|
|
|
|
| |||
|
|
|
| 3. | Press the Select LCD button to | ||||
|
|
|
|
| screen (refer to Identifying System Parts on page | ||||
|
|
|
|
| for an illustration showing where the Select button is | ||||
|
|
|
|
| located). |
|
|
|
|
|
|
|
|
| |||||
Cannot receive or | Stereo audio is not available | To receive stereo audio, connect external speakers or | |||||||
send stereo audio. | with the | speakers on a headset to the Line Out |
| connector. | |||||
| |||||||||
| |||||||||
| and speakers. | To send stereo audio, connect an external digital | |||||||
|
|
|
| microphone, such as a Polycom microphone or a | |||||
|
|
|
| SoundStation VTX 1000 conference phone, to the | |||||
|
|
|
| connector. |
|
| |||
|
|
|
|
|
|
|
|
|
|
3 - 3
