CROSS-CUTTING
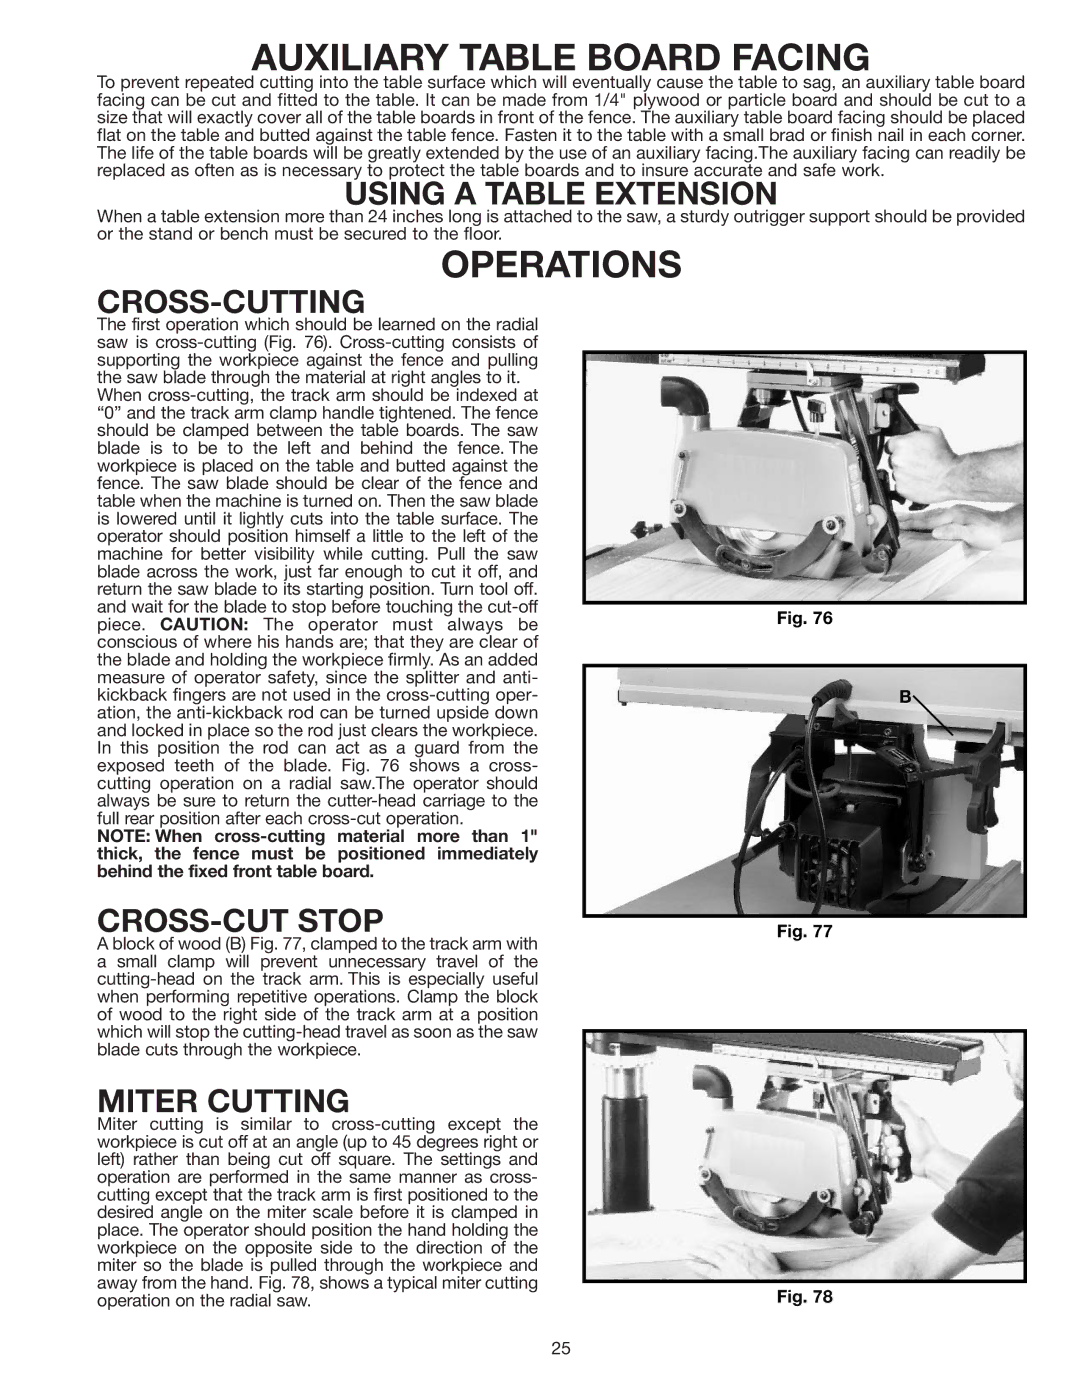
The first operation which should be learned on the radial saw is cross-cutting (Fig. 76). Cross-cutting consists of supporting the workpiece against the fence and pulling the saw blade through the material at right angles to it.
When cross-cutting, the track arm should be indexed at “0” and the track arm clamp handle tightened. The fence should be clamped between the table boards. The saw blade is to be to the left and behind the fence. The workpiece is placed on the table and butted against the fence. The saw blade should be clear of the fence and table when the machine is turned on. Then the saw blade is lowered until it lightly cuts into the table surface. The operator should position himself a little to the left of the machine for better visibility while cutting. Pull the saw blade across the work, just far enough to cut it off, and return the saw blade to its starting position. Turn tool off. and wait for the blade to stop before touching the cut-off piece. CAUTION: The operator must always be conscious of where his hands are; that they are clear of the blade and holding the workpiece firmly. As an added measure of operator safety, since the splitter and anti- kickback fingers are not used in the cross-cutting oper- ation, the anti-kickback rod can be turned upside down and locked in place so the rod just clears the workpiece. In this position the rod can act as a guard from the exposed teeth of the blade. Fig. 76 shows a cross- cutting operation on a radial saw.The operator should always be sure to return the cutter-head carriage to the full rear position after each cross-cut operation.
NOTE: When cross-cutting material more than 1" thick, the fence must be positioned immediately behind the fixed front table board.
CROSS-CUT STOP
A block of wood (B) Fig. 77, clamped to the track arm with a small clamp will prevent unnecessary travel of the cutting-head on the track arm. This is especially useful when performing repetitive operations. Clamp the block of wood to the right side of the track arm at a position which will stop the cutting-head travel as soon as the saw blade cuts through the workpiece.
MITER CUTTING
Miter cutting is similar to cross-cutting except the workpiece is cut off at an angle (up to 45 degrees right or left) rather than being cut off square. The settings and operation are performed in the same manner as cross- cutting except that the track arm is first positioned to the desired angle on the miter scale before it is clamped in place. The operator should position the hand holding the workpiece on the opposite side to the direction of the miter so the blade is pulled through the workpiece and away from the hand. Fig. 78, shows a typical miter cutting operation on the radial saw.