Edge Jointing
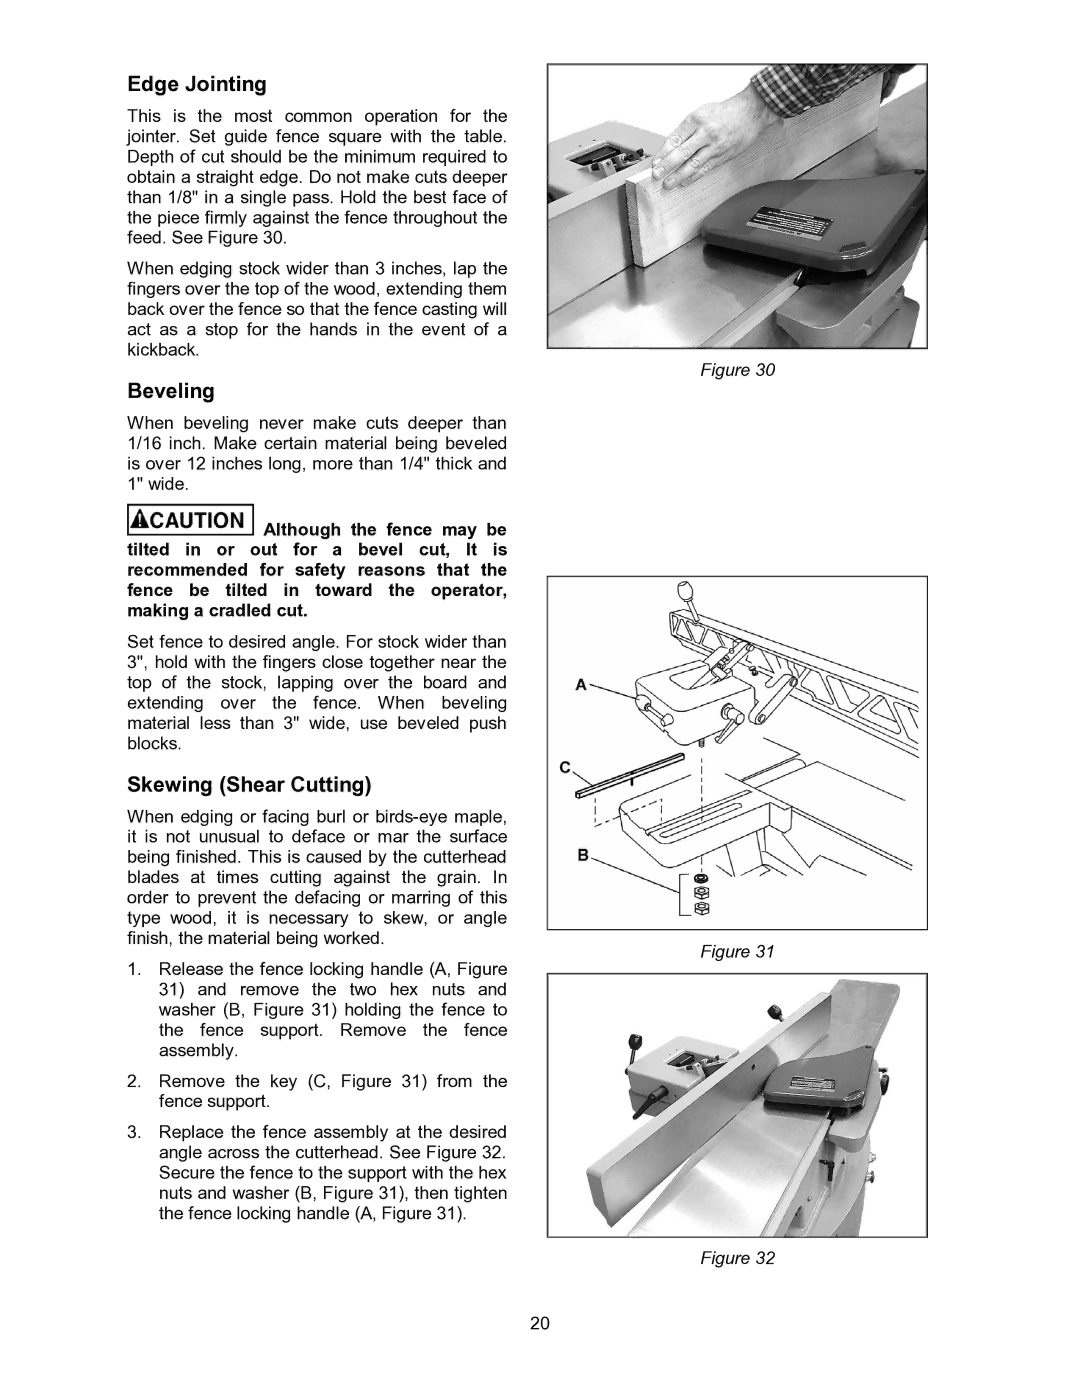
This is the most common operation for the jointer. Set guide fence square with the table. Depth of cut should be the minimum required to obtain a straight edge. Do not make cuts deeper than 1/8" in a single pass. Hold the best face of the piece firmly against the fence throughout the feed. See Figure 30.
When edging stock wider than 3 inches, lap the fingers over the top of the wood, extending them back over the fence so that the fence casting will act as a stop for the hands in the event of a kickback.
Beveling
When beveling never make cuts deeper than 1/16 inch. Make certain material being beveled is over 12 inches long, more than 1/4" thick and 1" wide.
![]() Although the fence may be tilted in or out for a bevel cut, It is recommended for safety reasons that the fence be tilted in toward the operator, making a cradled cut.
Although the fence may be tilted in or out for a bevel cut, It is recommended for safety reasons that the fence be tilted in toward the operator, making a cradled cut.
Set fence to desired angle. For stock wider than 3", hold with the fingers close together near the top of the stock, lapping over the board and extending over the fence. When beveling material less than 3" wide, use beveled push blocks.
Skewing (Shear Cutting)
When edging or facing burl or
1.Release the fence locking handle (A, Figure
31)and remove the two hex nuts and washer (B, Figure 31) holding the fence to the fence support. Remove the fence assembly.
2.Remove the key (C, Figure 31) from the fence support.
3.Replace the fence assembly at the desired angle across the cutterhead. See Figure 32. Secure the fence to the support with the hex nuts and washer (B, Figure 31), then tighten the fence locking handle (A, Figure 31).
Figure 30
Figure 31
Figure 32
20