Tsunami QuickBridge II T1/E1 Quick Install Guide
4.The Choose Install Folder screen is displayed. The recommended installation directory is C:\Program Files\QuickBridge Manager 2.1. Click Next when you have made your selection or to accept the default folder.
5.The Choose Shortcut Folder screen is displayed; click Next when you have made your selections or to accept the default folder.
6.The
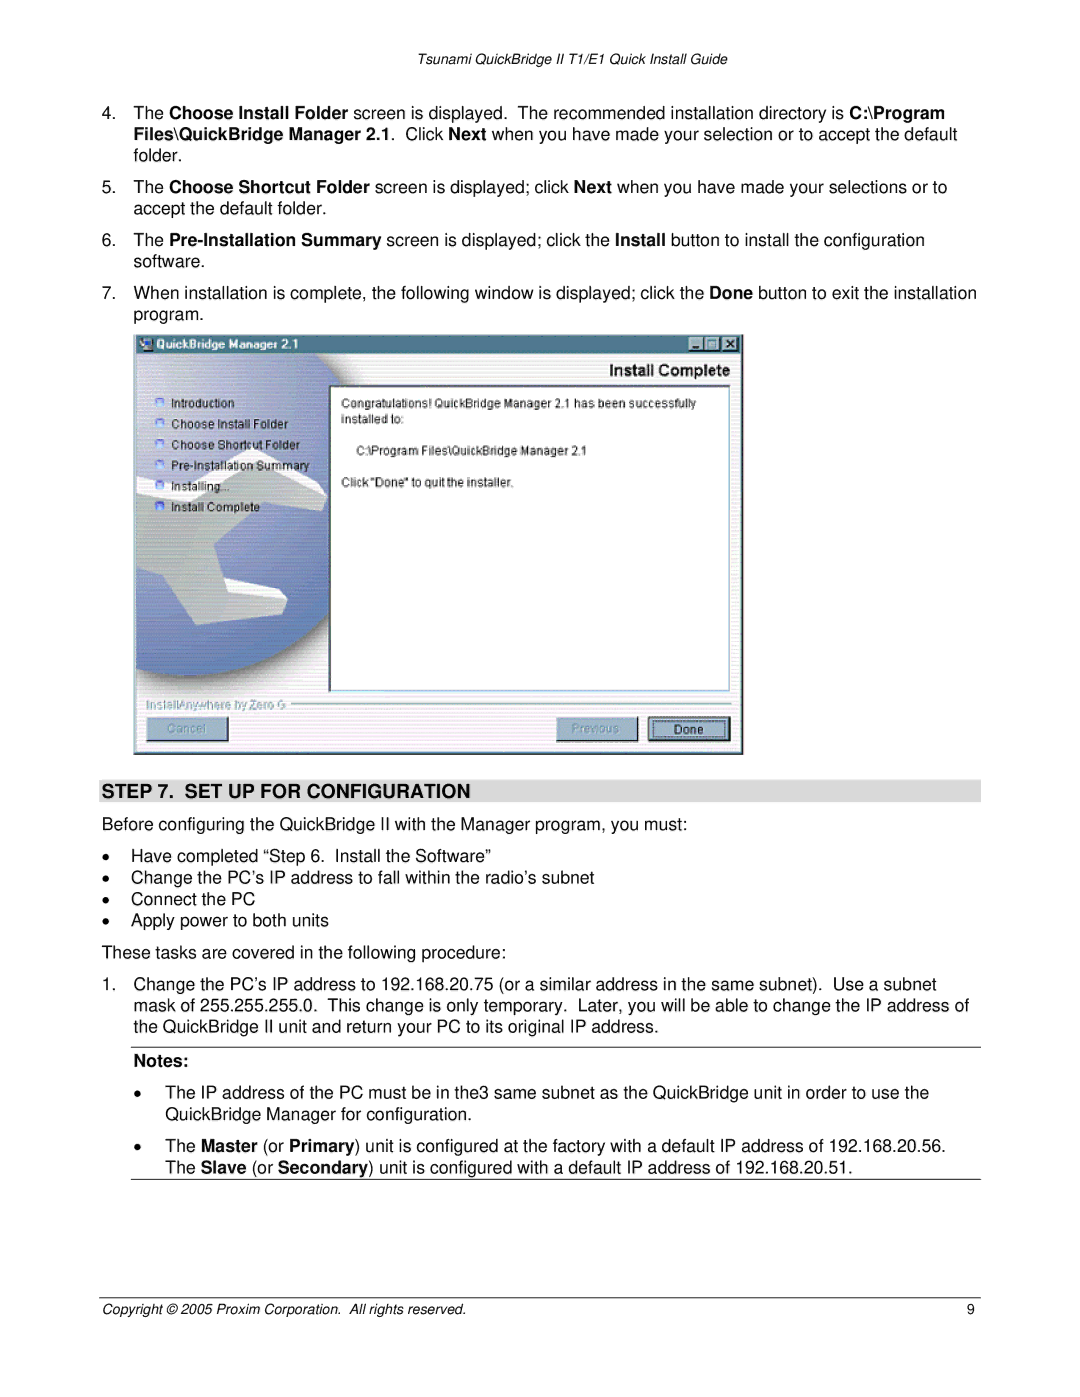
7.When installation is complete, the following window is displayed; click the Done button to exit the installation program.
STEP 7. SET UP FOR CONFIGURATION
Before configuring the QuickBridge II with the Manager program, you must:
•Have completed “Step 6. Install the Software”
•Change the PC’s IP address to fall within the radio’s subnet
•Connect the PC
•Apply power to both units
These tasks are covered in the following procedure:
1.Change the PC’s IP address to 192.168.20.75 (or a similar address in the same subnet). Use a subnet mask of 255.255.255.0. This change is only temporary. Later, you will be able to change the IP address of the QuickBridge II unit and return your PC to its original IP address.
Notes:
•The IP address of the PC must be in the3 same subnet as the QuickBridge unit in order to use the QuickBridge Manager for configuration.
•The Master (or Primary) unit is configured at the factory with a default IP address of 192.168.20.56. The Slave (or Secondary) unit is configured with a default IP address of 192.168.20.51.
Copyright © 2005 Proxim Corporation. All rights reserved. | 9 |