ContentsPage
Features
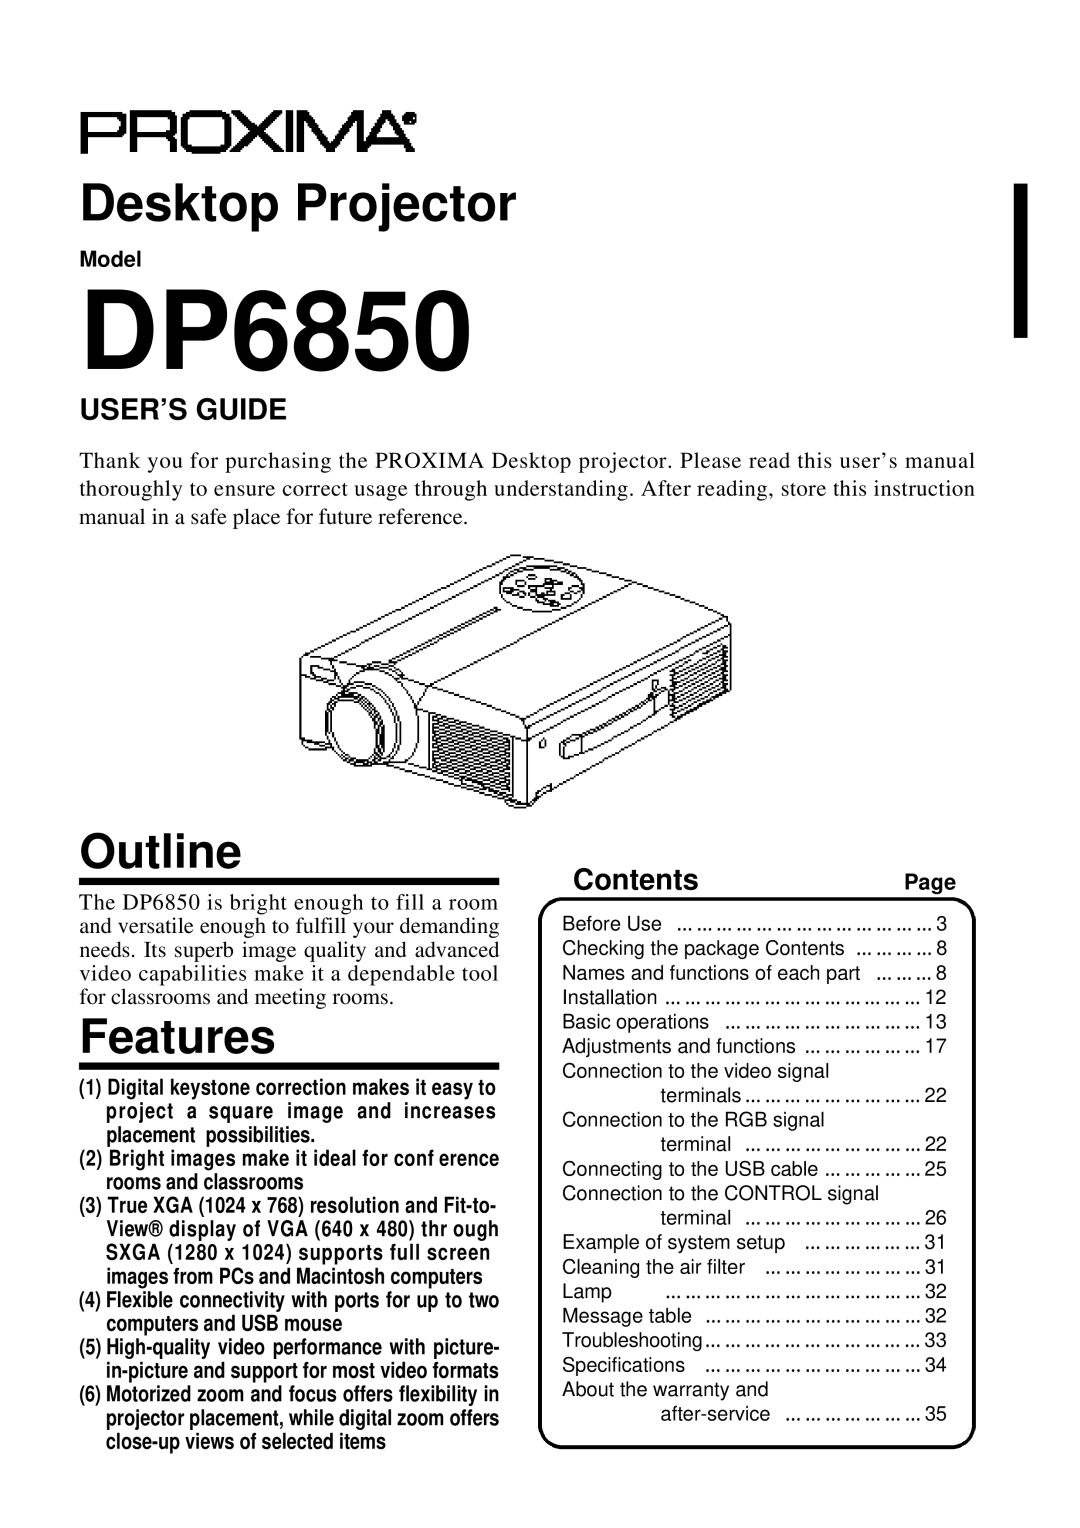
Outline
For the Customers in U.K
Power cord
Video signal cables
Before Use
Video inputs
Do not install on an unstable surface
If a problem should occur
Do not look through the lens when the lamp is on
Use only the indicated power supply
Do not position the power
Handle the power cord with care
Do not allow the laser beam to enter the eyes
Battery usage
Care and maintenance
Clean the projector interior once every two years
Avoid installation in humid or dusty locations
Avoid excessively hot locations
Sound volume
Lens care
Cabinet care
Names and functions of each part
Checking the package Contents
Connecting to the AC in jack
Remote control transmitter
Battery usage cautions
1Remove the battery cover
3Close the battery cover Remote control usage cautions
2Loading the batteries
Typical LCD Projector and Screen Installation
Installation
Using the adjusters
Turn on the power to the connected equipment
Turn on the main power switch of the projector I on
Basic operations
To project
Plug & Play
Turning off the power
Press the STANDBY/ON button for approximately 1 sec
Freeze function
Cancelling the Freeze function
Press the Freeze button
Changing the magnification ratio
Magnify function
Moving the display area
Returning to normal display
Returning to the initial settings
Adjustments and functions
Press the Menu
Using the Setup Menu
RGB
Or rolls, select the mode that matches the input signal
FH horizontal sync frequency
FV vertical sync frequency
Keystone
When canceled, the background color will change to blue
Mirror
Blank
Language
Connection to the RGB signal terminal
Connection to the video signal terminals
Input signals
Signal input jacks
Example of computer signal
Back porch b Front porch d Display interval c Sync a
Initial set signals
USB jack Projector Computer
Connecting the USB cable
Type USB cable
Mouse functions
Connection to the control signal terminal
Projector Computer Mouse jack Mini
Mouse cable PS/2
ADB Mac mouse
Control signal jack
Serial mouse
RS232C communication
System Video
Command data chart
Using the projector default settigns
Changing the projector settings
When data sent by the projector cannot be understood
When a frame error occurs
Cleaning the Air filter
Example of system setup
AC input
Desktop type
Message table
Lamp
Screen displays
Indicators
Troubleshooting
Power Lamp Temp
Digital +10%
NTSC, PAL, SECAM, NTSC4.43, M-PAL, N-PAL
Noise rating 40dB
About the warranty and after-service
Specifications
Dimensional Diagram
About the warranty
Limited Warranty
About the warranty and after-service
Merkmale
Kurzbeschreibung
InhaltSeite
Modell
Page
Warnung Vorsicht
Vor der Inbetriebnahme
Nicht auf unstabilen Flächen aufstellen
Bei Auftreten von Betriebsstörungen
Niemals das Gehäuse öffnen
Nicht modifizieren
Das Netzkabel vorsichtig handhaben
Nur mit der korrekten Netzspannung betreiben
Wartung und Pflege
Die Belüftungsöffn ungen nicht blockieren
Batteriebetrieb
Den Projektor alle zwei Jahre innen säubern lassen
Transport des Projektors
Wenn der Projektor längere Zeit nicht benutzt wird
Übermäßig heiße Plätze vermeiden
Lautstärke
Bezeichnung und Funktion der Teile
Überprüfung des Lieferumfangs
Projektor
Anschluß an die Netzeingangsbuchse AC
Fernbedienungsteil
Mouse / Reset Right
Magnify
Vorsichtsmaßregeln für den
1Den Batteriefachdeckel 2Einlegen der Batterien Abnehmen
Batteriebetrieb Des Fernbedienungsteils
3Den Batteriefachdeckel wieder anbringen
Typische Aufstellung von LCD-Projektor und Leinwand
Aufstellung
Verwendung der Fußversteller
AufsichtSeitenansicht
Projizieren von Bildern
Grundlegende Bedienung
Die Taste Standby / on drücken
Das angeschlossene Gerät einschalten
Ausschalten der Netzversorgung
Grundlegende Bedienung Fortsetzung
Die Taste Standby / on etwa 1 Sekunde lang drücken
Aufheben der FREEZE-Funktion
Festhalten-Funktion
Die FREEZE-Taste drücken
Ändern des Vergrößerungsverhältnisses
Vergrößerungsfunktion
Verschieben des Anzeigebereichs
Zurückstellen auf normale Anzeige
Rückstellung auf die Anfangseinstellungen
Einstellungen und Funktionen
Einstellungen und Funktionen Fortsetzung
Verwendung des Einrichten-Menüs Setup
Video
Einstellgegenstand
Starten
Trapez
Nach dem Löschen ändert sich die Hintergrundfarbe in Blau
Wm Sie die kleine Bildposition für Bild-in-Bild
Sprache
Signaleingänge
Eingangssignale
Anschluß an die Video-Eingangsbuchsen
Anschluß an die RGB-Buchse
Anschluß an die RGB-Buchse Fortsetzung
Beispiel eines Computersignals
SW1 EIN
SW2 EIN
Anzeigeintervall c Sync a
Anfangseinstellungssignale
Projektor Computer
Anschließen des USB-Kabels
Typ B Typ a USB-Kabel
Mausfunktionen
Anschluß an die Steuersignalbuchse
PS/2 Maus
Projektor
ADB-Maus Mac
Steuersignalbuchse Control
Serienmaus
RS232C-Datenaustausch
03H=SECAM 00H 05H=M-PAL
Befehlsdatentabelle
Ändern der Projektoreinstellungen
Projektorstatusabfrage
Verwendung der Vorgabewerte des Projektors
Wenn vom Projektor geschickte Daten nicht verstanden werden
Reinigen des Luftfilters
Systemübersicht Beispiel
Reinigen des Luftfilters Fortsetzung
Es ist kein Signaleingang vorhanden siehe Seite 22
Lampe
Meldungstabelle
Fehlersuche
Meldungstabelle Fortsetzung
Anzeigen
NTSC, PAL, SECAM, Ntsc 4.43, M-PAL, N-PAL
AC100 120V, 3,7A / AC220 240V, 1,5A
Sync. Bereich FH 25 80 kHz FV 56 120 Hz Trapezverzerrung
Rauschwertung 40dB
Garantie und Kundendienst
Technische Daten Fortsetzung
Eingeschränkte Garantie
Garantie und Kundendienst Fortsetzung
Haftungsbeschränkung
Caractéristiques
Aperçu
Manuel d’utilisation
IndexPage
Page
Avant de mettre l’appareil en marche
Precautions
Ne posez pas l’appareil sur une surface instable
En cas de problème
’ouvrez pas la boîte
Ne modifiez pas le projecteur
Manipulez le cordon électrique a vec précaution
Branchez uniquement sur un courant à la tension indiquée
Ne pas diriger le faisceau laser dans les yeux
Branchez uniquement sur un
Ne bouchez pas les sorties de ventilation
Entretien et maintenance
Utilisation des piles
Nettoyez l’intérieur du pr ojecteur tous les deux ans
Evitez les endroits trop chauds
Volume sonore
Entretien des objectifs
Entretien de la boîte
Nomenclature et fonction des pièces
Vérification du contenu de l’emballage
Unité principale
Nomenclature et fonction des pièces suite
Commande
Raccordement à la prise AC
Emetteur à télécommande
1Retirez le couvercle 2Mise en place des piles Du logement
Précautions d’utilisation de la télécommande
Précautions d’utilisation des piles
Utilisation des ajusteurs
Installation d’un projecteur ACL et d’un écran
Vue d’en haut
Vue avant Vue de côté
Projection
Fonctionnement de base
Allumez l’interrupteur général du projecteur I allumé
Appuyez sur la touche Standby / on
Pour éteindre l’appareil
Fonctionnement de base suite
Prêt à jouer
Appuyez sur la touche STANDBY/ON pendant environ 1 seconde
Annulation de l’arrêt sur image
Arrêt sur image
Appuyez sur la touche Freeze
Comment modifier le taux d’agrandissement
Agrandissement
Comment déplacer la zone d’affichage
Comment revenir sur l’affichage normal
Comment rétablir les réglages d’origine
Réglages et fonctions
Réglages et fonctions suite
Utilisation du menu Configuration
Paramètre Description du réglage
Entree
Demarr
Aucun signal ne passe pendant environ 5 minutes
Après l’annulation, la couleur du fond devient bleue
Langue
Connexion à la prise de signal RGB
Connexion aux prises de signal vidéo
Prises d’entrée de signal
Signaux d’entrée
Exemple de signal ordinateur
Connexion à la prise de signal RGB suite
Signaux de réglage d’origine
Connexion à la prise signal RGB
Palier arrière b Palier avant d Intervalle d’affichage c
Synchronisation a
Prise USB Projecteur Ordinateur
Connexion au système câble USB
Modèle B
Câble USB
PS/2 Souris
Fonctionnement de la souris
Projecteur Ordinateur
Souris ADB Mac
Prise de signal de Commande
Souris en série
Communication RS232C
EQUIL. CHROM. R
Tableau des données de commande
EQUIL. CHROM. B
Reglage Auto
Modification des réglages du projecteur
Interrogation sur le statut du projecteur
Utilisation des réglages par défaut du projecteur
En cas d’erreur de cadre
Nettoyage du filtre à air
Exemple de configuration
Magnétoscope Haut-parleurs avec ampli incorporé
Tableau des messages d’information
Nettoyage du filtre à air suite
Ecrans d’affichage
Changez LA Lampe
Dépannage
Tableau des messages d’information suite
Témoins
Marche Lampe Temp
NTSC, PAL, SECAM, NTSC4,43, M-PAL, N-PAL
Caractéristiques techniques suite
Garantie et service après-vente
Garantie limitée
Garantie et service après-vente suite
IndicePagina
Caratteristiche
Modello
Page
Avvertenza Attenzione
Prima dell’utilizzo
Non installare il proiettore su superfici instabili
Caso di problemi
Non effettuare modifiche
Non utilizzare nella stanza da bagno
Evitare che il raggio laser entri nell’obiettivo
Maneggiare accuratamente il cavo di alimentazione
Non sedersi o appoggiare ogg etti pesanti sul proiettore
Evitare di eseguire l’installazione
Non bloccare le aperture di ventilazione
Pulire la parte interna del proiettore
Spostamento del proiettore
Volume audio
Nel caso in cui il proiettore non
Venga utilizzato per un lungo
Nomi e funzioni delle singole parti
Verifica del contenuto dell’imballaggio
Unità principale
Collegamento alla presa AC in ingresso in c.a
Nomi e funzioni delle singole parti segue
Ingresso RGB
Comando Control
Trasmettitore del telecomando
Precauzioni per l’utilizzo del telecomando
2Inserimento delle batterie
Utilizzo dei dispositivi di regolazione
Installazione
Veduta dall’alto Veduta laterale
Veduta anteriore Veduta laterale
Per proiettare
Operazioni di base
Premere il tasto Standby / on Attesa / Attivazione
Attivare l’alimentazione alle apparecchiature collegate
Disattivazione dell’alimentazione
Operazioni di base segue
Annullamento della funzione Freeze Fermo Immagine
Funzione Freeze Fermo immagine
Premere il tasto Freeze Fermo Immagine
Funzione Magnify Ingrandimento
Ripristino della visualizzazione a dimensioni normali
Variazione del rapporto di ingrandimento
Spostamento dell’area di visualizzazione
Ripristino delle impostazioni iniziali
Regolazioni e funzioni
Regolazioni e funzioni segue
Utilizzo del Menu Setup Menu di Impostazione
Voce soggetta a Descrizione della regolazione
Nitidezza
Voce soggetta a regolazione
Ingresso
Alcun segnale
Riduzione distorsione trapezoidale
Presenza di alcun segnale per circa 5 min
Lingua
Comunicazione
Collegamento al morsetto del segnale RGB
Collegamento ai morsetti di segnale video
Segnali di ingresso
Prese jack dell’ingresso di segnale
Esempio di segnali computer
Segnali dell’impostazione iniziale
Collegamento al morsetto del segnale RGB segue
Proiettore Computer
Collegamento del cavo USB
Tipo a
Cavo USB
PS/2 mouse
Funzioni del mouse
Cavo del mouse PS/2
Mouse ADB Mac
Presa jack del segnale di Comando
Mouse seriale
Nr. di pin
Comunicazione RS232C
Grafico dei dati di comando
Nel caso in cui si verifichi un errore di fotogramma
Utilizzo delle impostazioni di default del proiettore
Richiesta dello stato del proiettore
Variazione delle impostazioni del proiettore
Pulizia del filtro dell’aria
Esempio di impostazione del sistema
Di tipo Notebook
Lampada
Pulizia del filtro dell’aria segue
Tabella messaggi
Visualizzazioni a video
Tabella messaggi segue
Indicatori
Alimentazione Lampada
Digitale +10 %
NTSC, PAL, SECAM, Ntsc 4.43, PAL-M, PAL-N
Garanzia e servizio assistenza
Dati caratteristici segue
Garanzia limitata
Garanzia e servizio assistenza segue