PROAV9350 specifications
Proxima ASA's PROAV9350 is a cutting-edge projector designed for a range of professional applications, including business presentations, educational settings, and home cinema installations. This versatile device stands out in the competitive market of projection technology due to its high resolution, powerful brightness, and advanced connectivity options.One of the key features of the PROAV9350 is its native 4K resolution, which delivers stunningly clear and detailed images. This high-definition capability makes it ideal for displaying intricate visuals, whether for corporate presentations or cinematic films. Coupled with a high contrast ratio, the projector ensures vibrant colors and deep blacks, enhancing the overall viewing experience.
Brightness is another area where the PROAV9350 excels. With a luminous output of 5,000 lumens, it can easily adapt to various lighting conditions. This makes it suitable for both well-lit conference rooms and darker cinema settings, allowing for flexible usage without compromising image quality. The robust brightness ensures that audiences are captivated, capturing every detail of the content being presented.
Connectivity is crucial for modern projectors, and the PROAV9350 does not disappoint. Featuring multiple input options, including HDMI, USB-C, and VGA, users can easily connect various devices, from laptops and tablets to gaming consoles. Wireless connectivity is also supported, offering the convenience of streaming presentations directly from smartphones or tablets without the need for cumbersome cables.
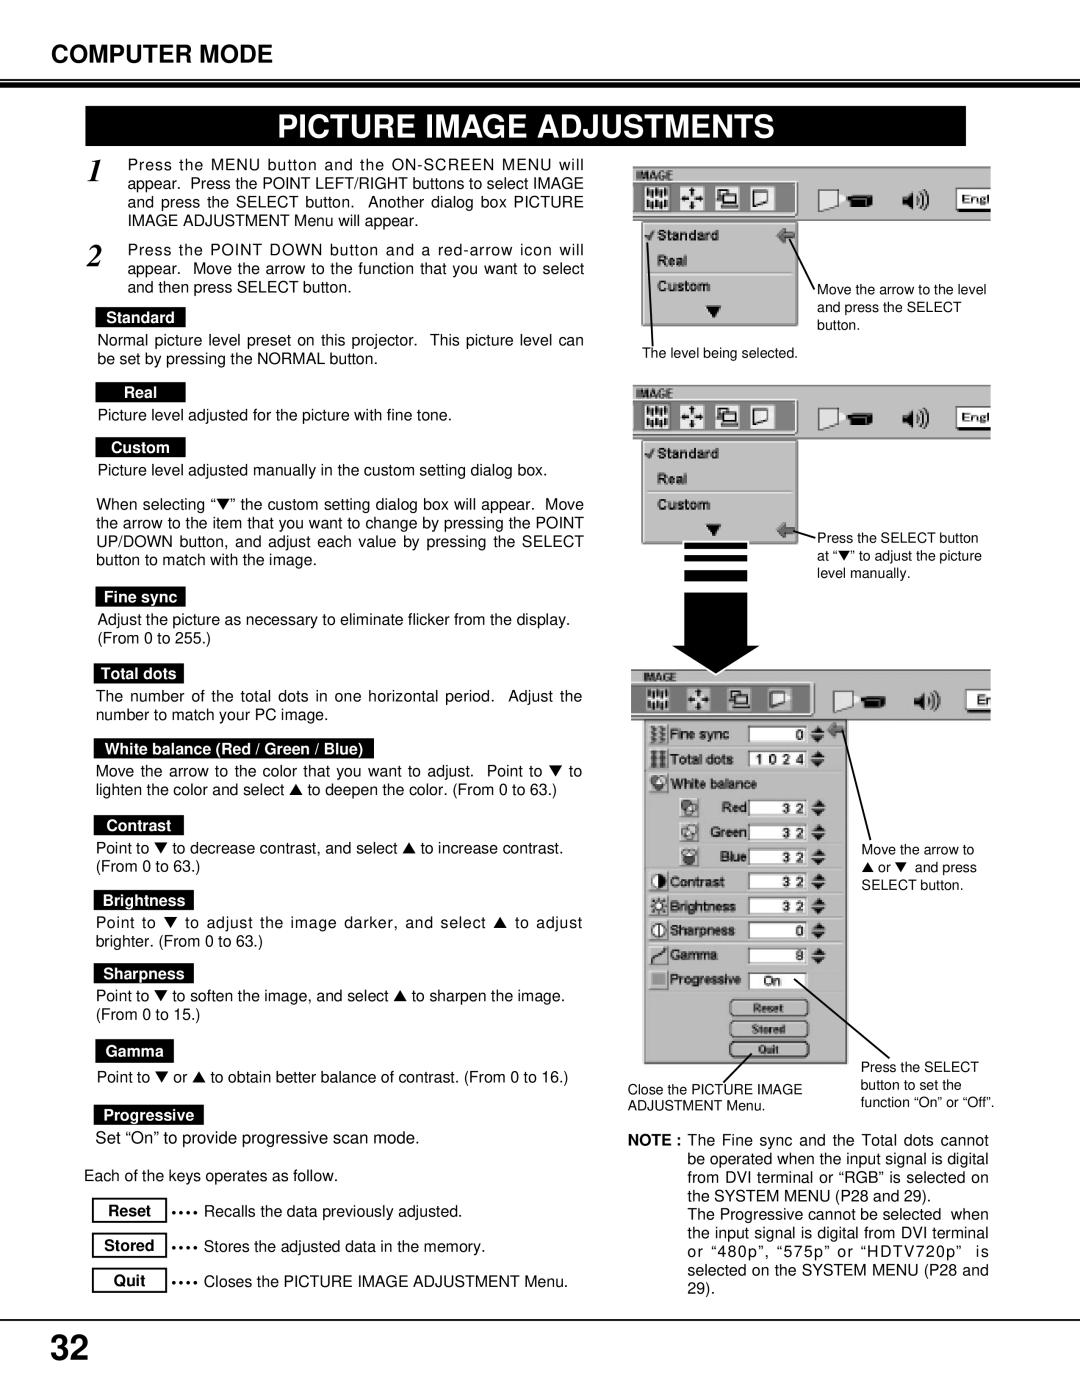
The PROAV9350 incorporates advanced image-processing technologies, ensuring sharp images and smooth motion, which is particularly beneficial when displaying videos or fast-paced content. Furthermore, its built-in keystone correction feature enables users to adjust the image shape, allowing for flexibility in projector placement without compromising the clarity of the projected image.
Durability and reliability are additional highlights of the PROAV9350. Designed for long-term use, it features a robust cooling system that minimizes overheating, enhancing the projector's lifespan. Its energy-efficient operation not only translates to lower energy costs but also reflects a commitment to sustainability.
In summary, Proxima ASA's PROAV9350 projector combines high-resolution projection, powerful brightness, versatile connectivity, and advanced image-processing technologies to meet the needs of various users. Its durability and energy efficiency make it a reliable choice for both professional and personal use, ensuring that presentations and screenings are always impressive and engaging.

