QSTD2400 Series DVR User’s Manual
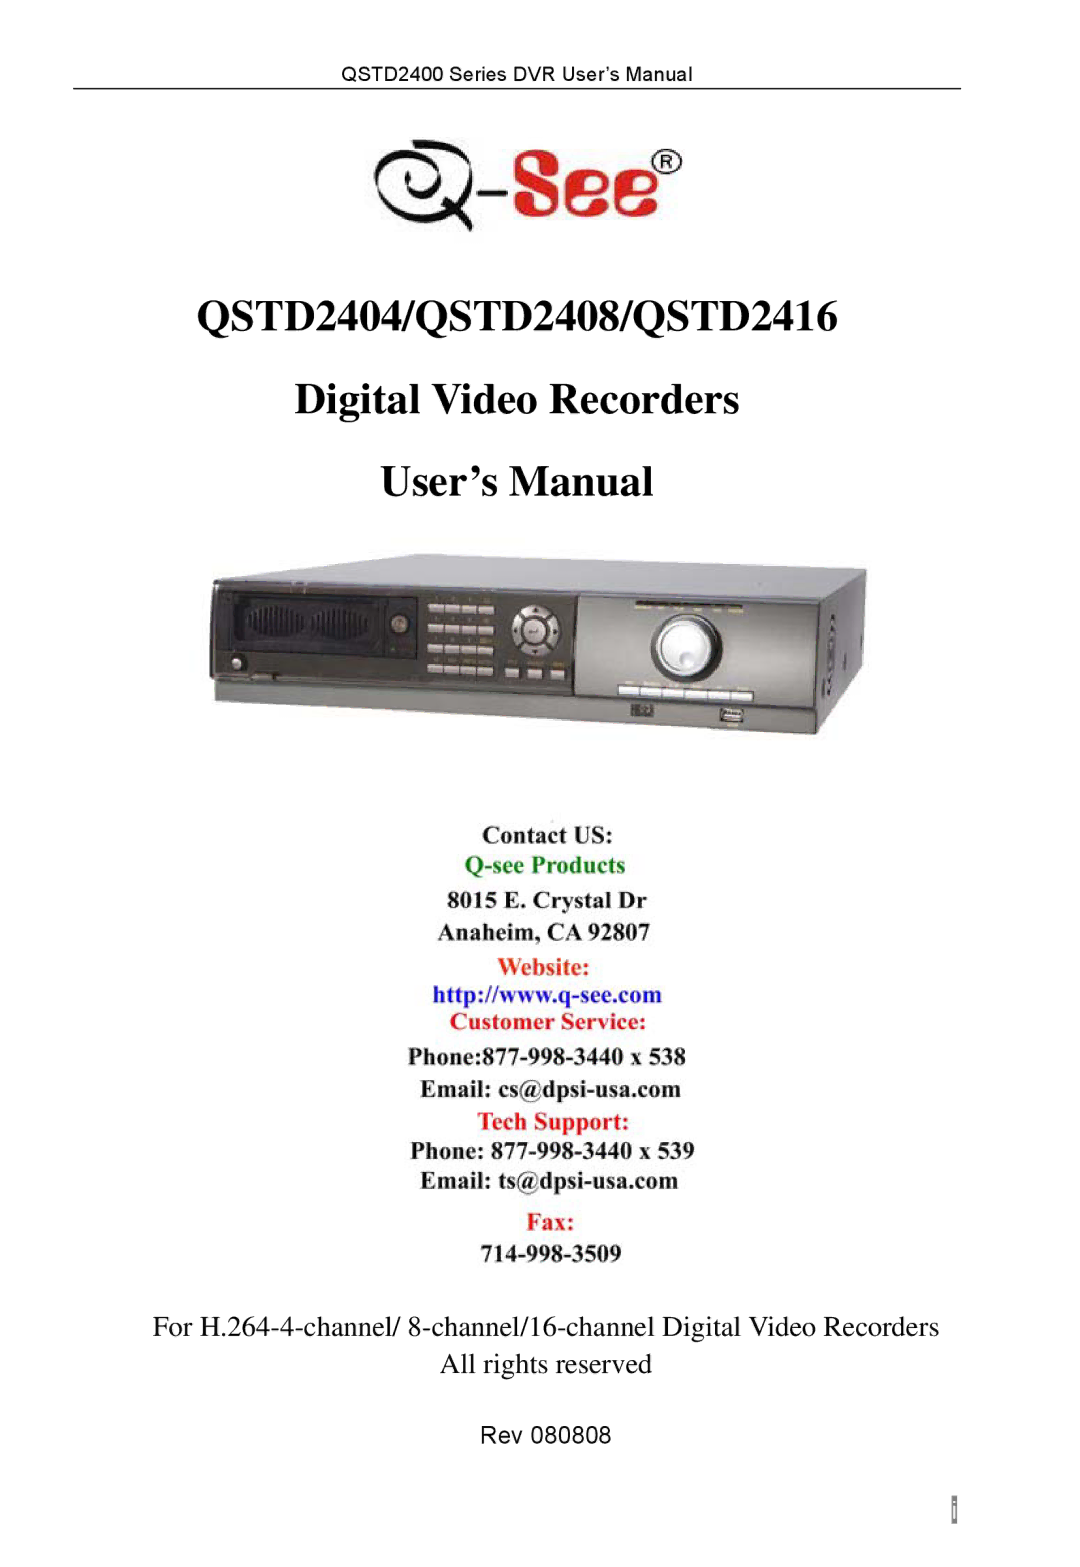
QSTD2404/QSTD2408/QSTD2416
Digital Video Recorders
User’s Manual
For H.264-4-channel/ 8-channel/16-channel Digital Video Recorders
All rights reserved