Mounting Directly on the Wall
For this mounting method, you need two wood screws (not supplied) with heads that fit into the keyhole slots on the mounting bracket.
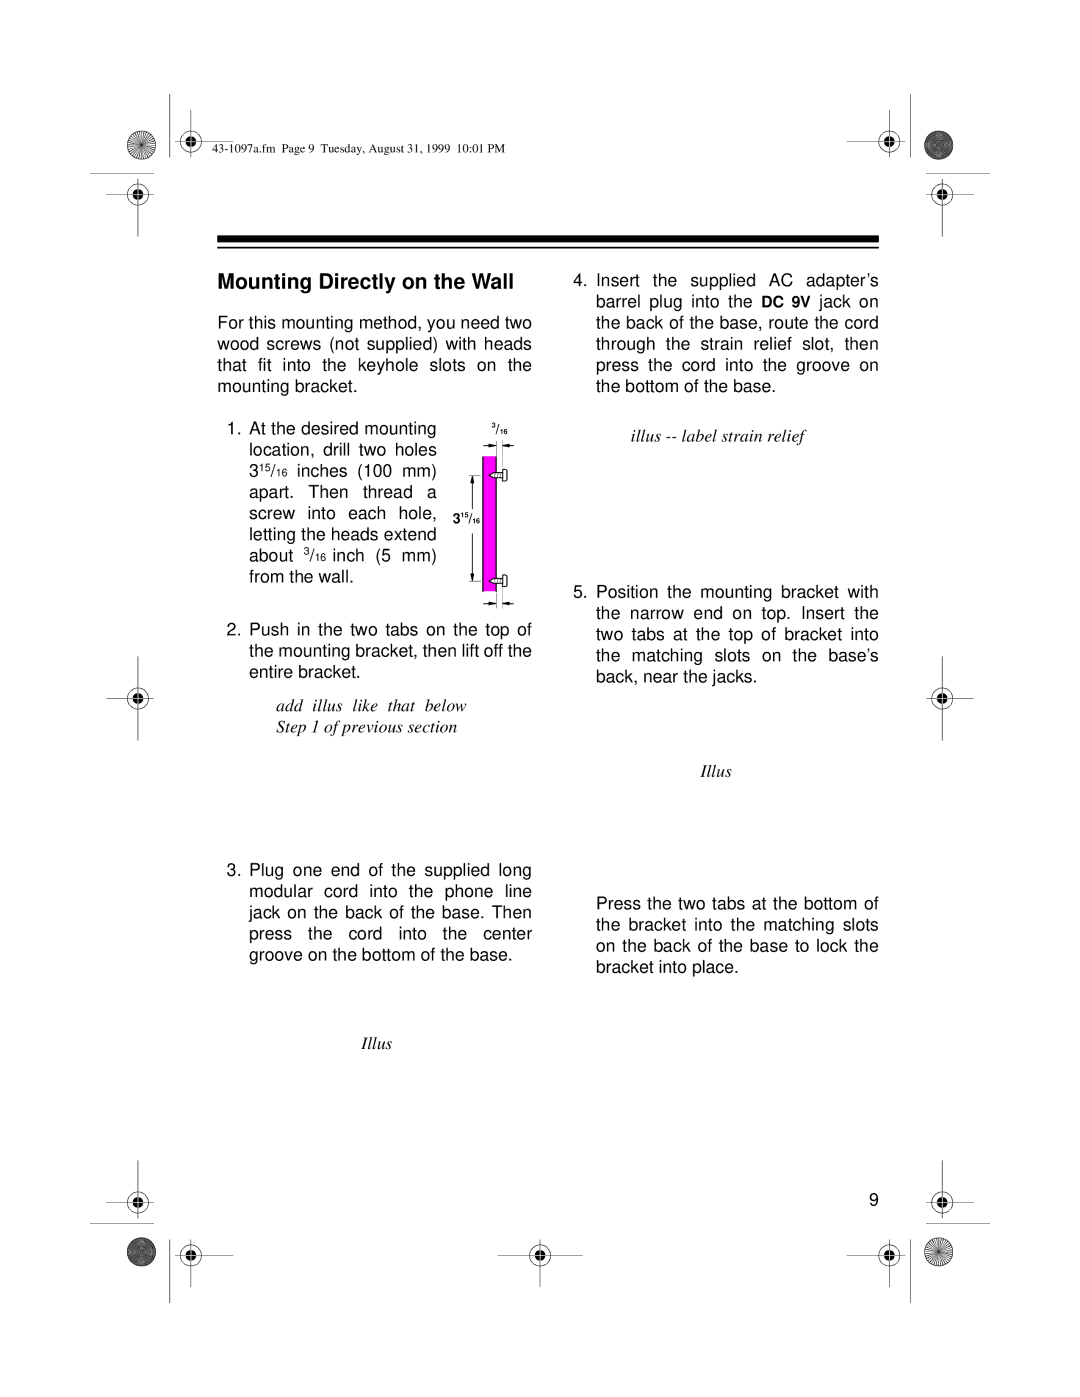
1. At the desired mounting | 3/16 | |||||
location, drill two holes |
|
|
|
|
| |
|
|
|
|
| ||
315/16 inches (100 mm) |
|
|
|
|
| |
|
|
|
|
| ||
|
|
|
|
| ||
apart. | Then thread a |
|
|
|
|
|
screw | into each hole, |
|
|
|
|
|
315/16 |
|
|
| |||
letting the heads extend |
|
|
|
|
| |
|
|
|
|
| ||
about 3/16 inch (5 mm) |
|
|
|
|
| |
from the wall. |
|
|
|
|
| |
|
|
|
|
| ||
|
|
|
|
|
|
|
2.Push in the two tabs on the top of the mounting bracket, then lift off the entire bracket.
add illus like that below Step 1 of previous section
4.Insert the supplied AC adapter’s barrel plug into the DC 9V jack on the back of the base, route the cord through the strain relief slot, then press the cord into the groove on the bottom of the base.
illus
5.Position the mounting bracket with the narrow end on top. Insert the two tabs at the top of bracket into the matching slots on the base’s back, near the jacks.
Illus
3.Plug one end of the supplied long modular cord into the phone line jack on the back of the base. Then press the cord into the center groove on the bottom of the base.
Press the two tabs at the bottom of the bracket into the matching slots on the back of the base to lock the bracket into place.
Illus
9