Hotplate

Check each burner in turn. Push in tap and turn to the large flame symbol. Press ignition switch on facia panel.

Grill

Open the grill compartment door.

LP gas versions of this cooker have a grill flame supervision device with stops the flow of gas to the grill if the flame goes out. Turn the knob to the large flame symbol. Press in the grill knob. This lets gas through to the burner. Keep holding the knob pressed in and press the igniter button or light with a match. Keep holding the button for about 10 seconds

If when you let go of the control knob the burner goes out, the safety device has not held in. Turn off the grill and wait one minute then try again this time holding in the button for slightly longer.

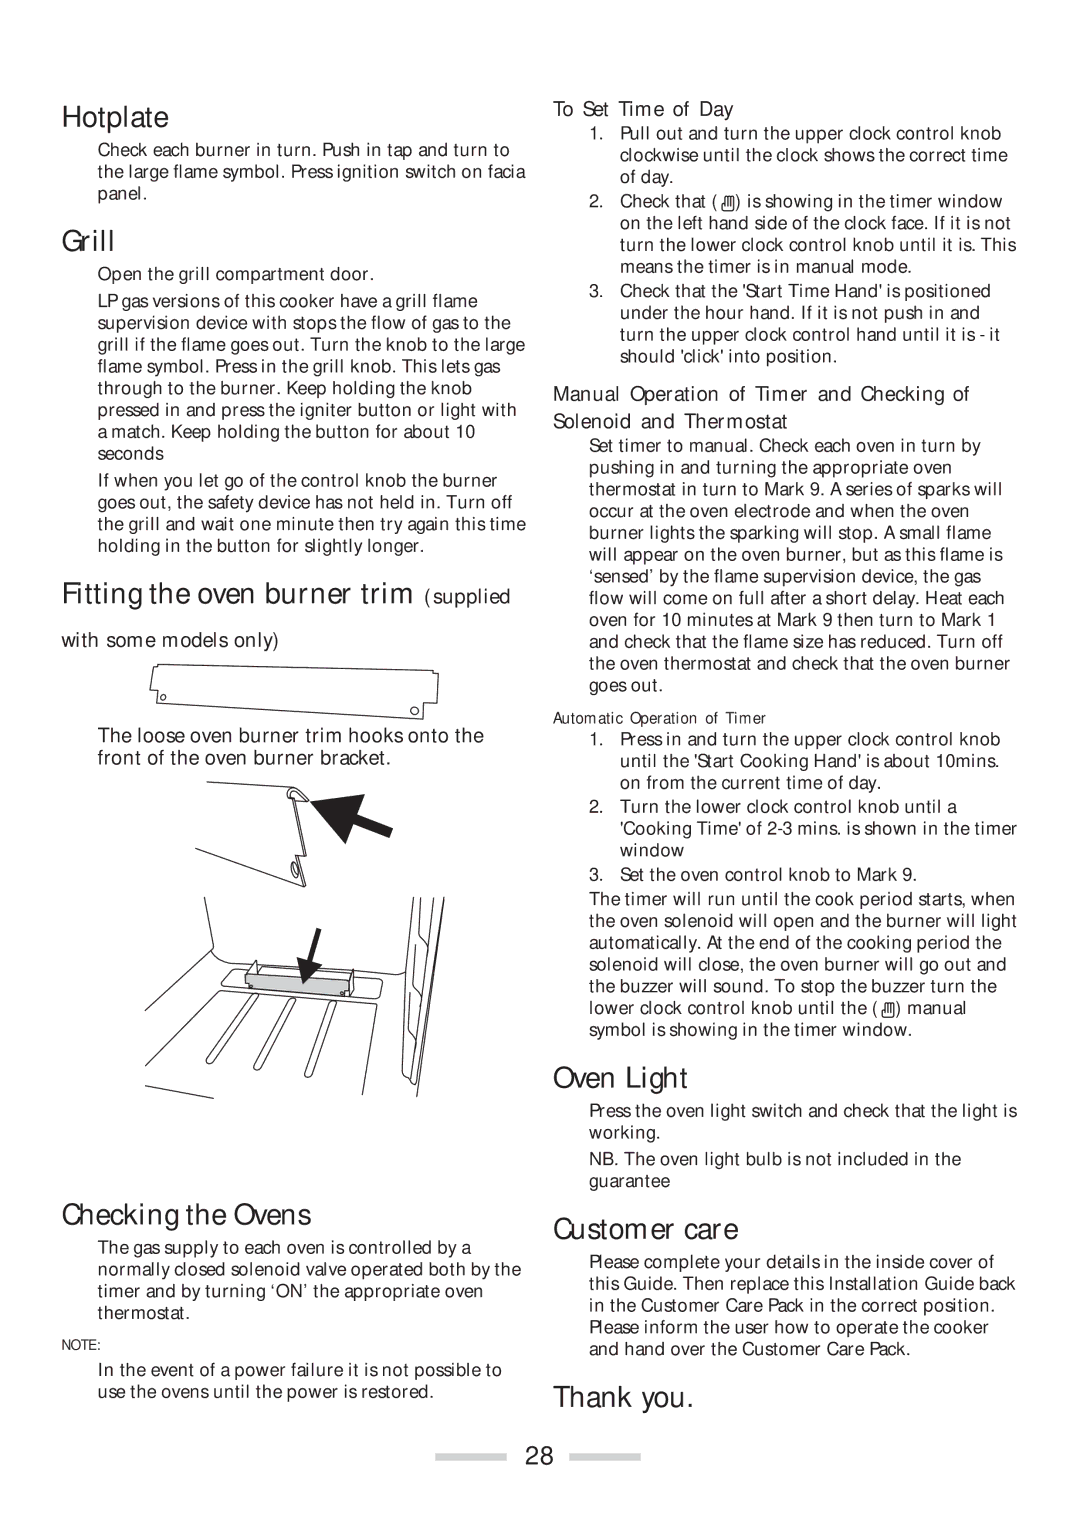
Fitting the oven burner trim (supplied

with some models only)

The loose oven burner trim hooks onto the front of the oven burner bracket.

Checking the Ovens

The gas supply to each oven is controlled by a normally closed solenoid valve operated both by the timer and by turning ‘ON’ the appropriate oven thermostat.

NOTE:

In the event of a power failure it is not possible to use the ovens until the power is restored.

To Set Time of Day

1.Pull out and turn the upper clock control knob clockwise until the clock shows the correct time of day.

2. Check that ( ) is showing in the timer window on the left hand side of the clock face. If it is not turn the lower clock control knob until it is. This means the timer is in manual mode.

3.Check that the 'Start Time Hand' is positioned under the hour hand. If it is not push in and turn the upper clock control hand until it is - it should 'click' into position.

Manual Operation of Timer and Checking of Solenoid and Thermostat

Set timer to manual. Check each oven in turn by pushing in and turning the appropriate oven thermostat in turn to Mark 9. A series of sparks will occur at the oven electrode and when the oven burner lights the sparking will stop. A small flame will appear on the oven burner, but as this flame is ‘sensed’ by the flame supervision device, the gas flow will come on full after a short delay. Heat each oven for 10 minutes at Mark 9 then turn to Mark 1 and check that the flame size has reduced. Turn off the oven thermostat and check that the oven burner goes out.

Automatic Operation of Timer

1.Press in and turn the upper clock control knob until the 'Start Cooking Hand' is about 10mins. on from the current time of day.

2.Turn the lower clock control knob until a 'Cooking Time' of 2-3 mins. is shown in the timer window

3.Set the oven control knob to Mark 9.

The timer will run until the cook period starts, when the oven solenoid will open and the burner will light automatically. At the end of the cooking period the solenoid will close, the oven burner will go out and the buzzer will sound. To stop the buzzer turn the lower clock control knob until the ( ) manual symbol is showing in the timer window.

Oven Light

Press the oven light switch and check that the light is working.

NB. The oven light bulb is not included in the guarantee

Customer care

Please complete your details in the inside cover of this Guide. Then replace this Installation Guide back in the Customer Care Pack in the correct position. Please inform the user how to operate the cooker and hand over the Customer Care Pack.

Thank you.

28

Page 28
Image 28
Rangemaster 110 installation instructions Hotplate, Checking the Ovens, Oven Light, Customer care, Thank you

110 specifications

The Rangemaster 110 is a remarkable piece of culinary equipment that stands out for its blend of classic design, modern technology, and exceptional performance. Designed for the serious home cook and culinary enthusiast, this range cooker offers a host of features that cater to both functionality and aesthetics.

One of the main characteristics of the Rangemaster 110 is its impressive size. Measuring 110cm wide, it provides ample cooking space, making it an ideal choice for larger kitchens and those who often cook for family and friends. The range features multiple ovens, allowing for versatile cooking modes. Typically, you will find a conventional oven, a fan oven for even heat distribution, and even a separate grill, providing users with the ultimate flexibility in meal preparation.

In terms of cooking technologies, the Rangemaster 110 is equipped with innovative features such as the multifunction oven. This technology enables various cooking methods, including baking, roasting, and grilling, ensuring that every dish comes out perfectly. The dual fuel option is another highlight, offering the efficiency of gas hobs combined with the consistent heat of electric ovens, giving home cooks the best of both worlds.

The design of the Rangemaster 110 is equally impressive. Available in a variety of colors, from traditional cream and black to more contemporary shades, it can seamlessly integrate into any kitchen decor. The elegant finish and classic styling give the cooker a timeless appeal, making it a centerpiece in any cooking space.

Additional features include heavy-duty cast-iron pan supports that provide excellent stability for cookware, and the ergonomic controls that allow for precise adjustments while cooking. A built-in timer and temperature gauge enhance convenience, ensuring that dishes are cooked to perfection every time.

Cleaning is made easier with self-cleaning functions in the ovens, reducing the time and effort needed to maintain the appliance. The Rangemaster 110's commitment to energy efficiency also stands out, as it typically boasts good energy ratings, making it an environmentally friendly choice.

In summary, the Rangemaster 110 is a sophisticated range cooker that combines traditional craftsmanship with modern innovations. Its combination of size, diverse cooking functions, and stylish aesthetics make it an excellent addition to any kitchen, catering to the needs of passionate cooks who demand both performance and elegance.