Chapter 1: Connections and Setup
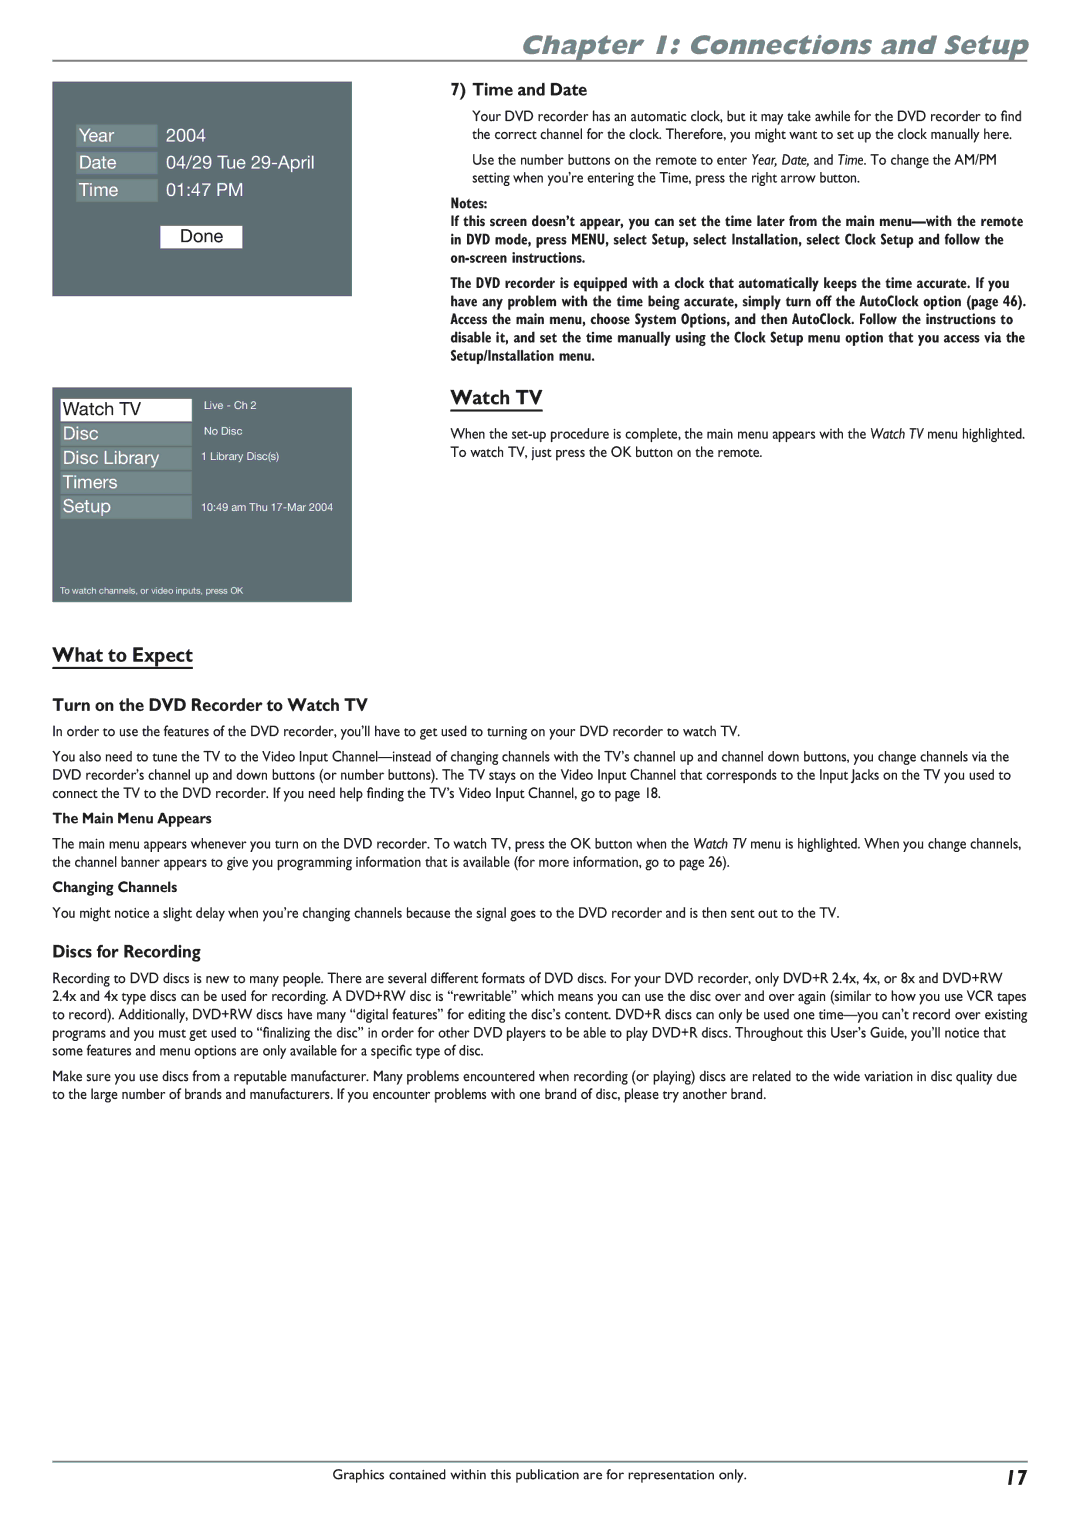
7) Time and Date
Year | 2004 |
| |
|
| 04/29 Tue | |
Date | |||
|
| 01:47 PM | |
Time |
| ||
|
|
|
|
|
| Done | |
Watch TV | Live - Ch 2 |
| |
|
|
Disc | No Disc |
|
|
Disc Library | 1 Library Disc(s) |
|
|
Timers |
|
|
|
Setup | 10:49 am Thu |
|
|
To watch channels, or video inputs, press OK
What to Expect
Turn on the DVD Recorder to Watch TV
Your DVD recorder has an automatic clock, but it may take awhile for the DVD recorder to find the correct channel for the clock. Therefore, you might want to set up the clock manually here.
Use the number buttons on the remote to enter Year, Date, and Time. To change the AM/PM setting when you’re entering the Time, press the right arrow button.
Notes:
If this screen doesn’t appear, you can set the time later from the main
The DVD recorder is equipped with a clock that automatically keeps the time accurate. If you have any problem with the time being accurate, simply turn off the AutoClock option (page 46). Access the main menu, choose System Options, and then AutoClock. Follow the instructions to disable it, and set the time manually using the Clock Setup menu option that you access via the Setup/Installation menu.
Watch TV
When the
In order to use the features of the DVD recorder, you’ll have to get used to turning on your DVD recorder to watch TV.
You also need to tune the TV to the Video Input
The Main Menu Appears
The main menu appears whenever you turn on the DVD recorder. To watch TV, press the OK button when the Watch TV menu is highlighted. When you change channels, the channel banner appears to give you programming information that is available (for more information, go to page 26).
Changing Channels
You might notice a slight delay when you’re changing channels because the signal goes to the DVD recorder and is then sent out to the TV.
Discs for Recording
Recording to DVD discs is new to many people. There are several different formats of DVD discs. For your DVD recorder, only DVD+R 2.4x, 4x, or 8x and DVD+RW
2.4x and 4x type discs can be used for recording. A DVD+RW disc is “rewritable” which means you can use the disc over and over again (similar to how you use VCR tapes to record). Additionally, DVD+RW discs have many “digital features” for editing the disc’s content. DVD+R discs can only be used one
Make sure you use discs from a reputable manufacturer. Many problems encountered when recording (or playing) discs are related to the wide variation in disc quality due to the large number of brands and manufacturers. If you encounter problems with one brand of disc, please try another brand.
Graphics contained within this publication are for representation only. | 17 |