Chapter 3: Recording, Playback & Features
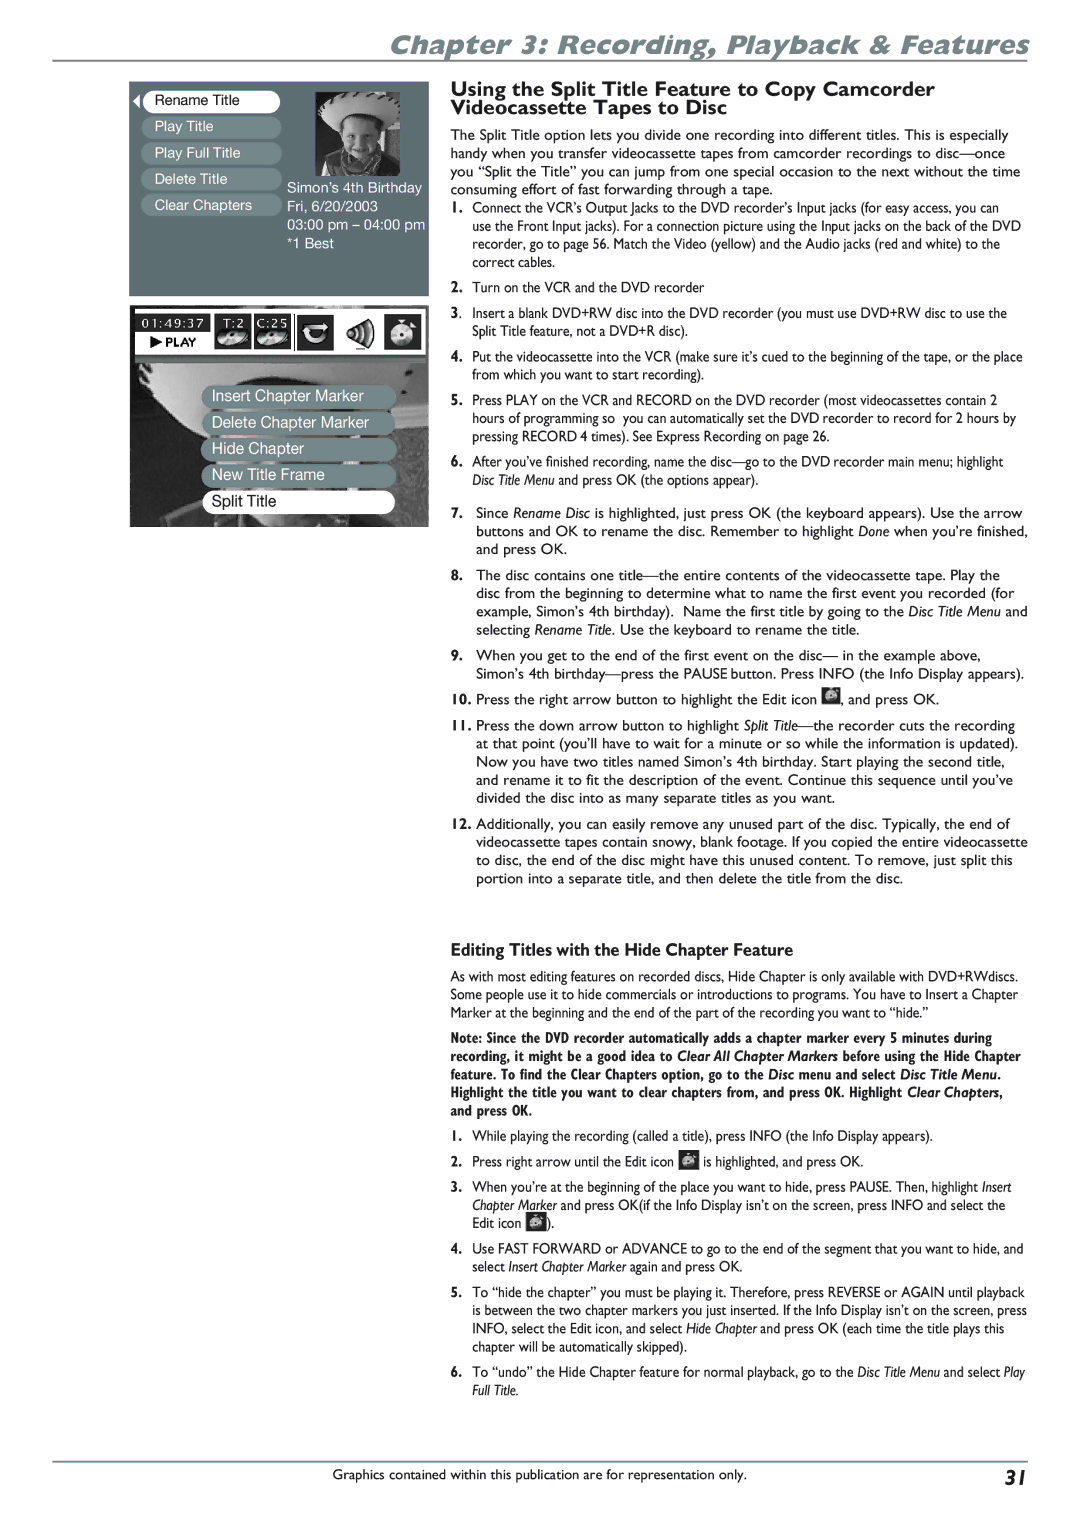
Rename Title
Play Title
Play Full Title
Delete Title
Simon’s 4th Birthday
Clear Chapters | Fri, 6/20/2003 |
03:00 pm – 04:00 pm *1 Best
Insert Chapter Marker
Delete Chapter Marker
Hide Chapter
New Title Frame
Split Title
Using the Split Title Feature to Copy Camcorder Videocassette Tapes to Disc
The Split Title option lets you divide one recording into different titles. This is especially handy when you transfer videocassette tapes from camcorder recordings to
1.Connect the VCR’s Output Jacks to the DVD recorder’s Input jacks (for easy access, you can use the Front Input jacks). For a connection picture using the Input jacks on the back of the DVD recorder, go to page 56. Match the Video (yellow) and the Audio jacks (red and white) to the correct cables.
2.Turn on the VCR and the DVD recorder
3. Insert a blank DVD+RW disc into the DVD recorder (you must use DVD+RW disc to use the Split Title feature, not a DVD+R disc).
4.Put the videocassette into the VCR (make sure it’s cued to the beginning of the tape, or the place from which you want to start recording).
5.Press PLAY on the VCR and RECORD on the DVD recorder (most videocassettes contain 2 hours of programming so you can automatically set the DVD recorder to record for 2 hours by pressing RECORD 4 times). See Express Recording on page 26.
6.After you’ve finished recording, name the
7.Since Rename Disc is highlighted, just press OK (the keyboard appears). Use the arrow buttons and OK to rename the disc. Remember to highlight Done when you’re finished, and press OK.
8.The disc contains one
9.When you get to the end of the first event on the disc— in the example above, Simon’s 4th
10.Press the right arrow button to highlight the Edit icon ![]() , and press OK.
, and press OK.
11.Press the down arrow button to highlight Split
12.Additionally, you can easily remove any unused part of the disc. Typically, the end of videocassette tapes contain snowy, blank footage. If you copied the entire videocassette to disc, the end of the disc might have this unused content. To remove, just split this portion into a separate title, and then delete the title from the disc.
Editing Titles with the Hide Chapter Feature
As with most editing features on recorded discs, Hide Chapter is only available with DVD+RWdiscs. Some people use it to hide commercials or introductions to programs. You have to Insert a Chapter Marker at the beginning and the end of the part of the recording you want to “hide.”
Note: Since the DVD recorder automatically adds a chapter marker every 5 minutes during recording, it might be a good idea to Clear All Chapter Markers before using the Hide Chapter feature. To find the Clear Chapters option, go to the Disc menu and select Disc Title Menu. Highlight the title you want to clear chapters from, and press OK. Highlight Clear Chapters, and press OK.
1.While playing the recording (called a title), press INFO (the Info Display appears).
2.Press right arrow until the Edit icon ![]() is highlighted, and press OK.
is highlighted, and press OK.
3.When you’re at the beginning of the place you want to hide, press PAUSE. Then, highlight Insert
Chapter Marker and press OK(if the Info Display isn’t on the screen, press INFO and select the Edit icon ![]() ).
).
4.Use FAST FORWARD or ADVANCE to go to the end of the segment that you want to hide, and select Insert Chapter Marker again and press OK.
5.To “hide the chapter” you must be playing it. Therefore, press REVERSE or AGAIN until playback is between the two chapter markers you just inserted. If the Info Display isn’t on the screen, press INFO, select the Edit icon, and select Hide Chapter and press OK (each time the title plays this chapter will be automatically skipped).
6.To “undo” the Hide Chapter feature for normal playback, go to the Disc Title Menu and select Play Full Title.
Graphics contained within this publication are for representation only. | 31 |