Chapter 1: Connections and Setup
2) Connection List
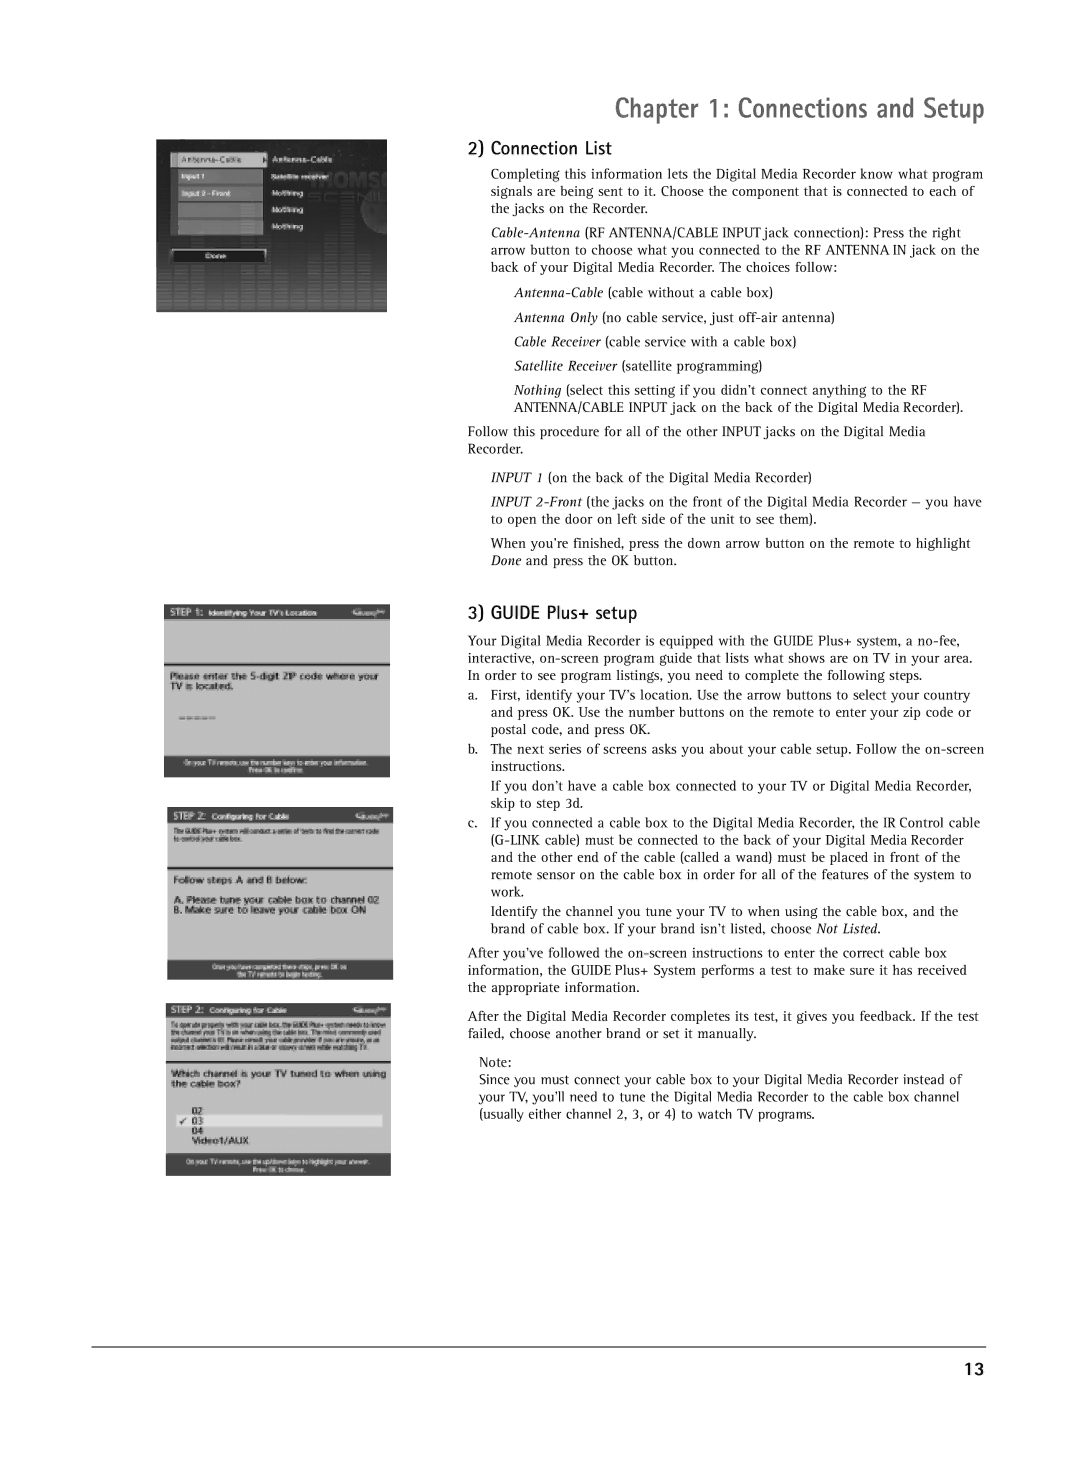
Completing this information lets the Digital Media Recorder know what program signals are being sent to it. Choose the component that is connected to each of the jacks on the Recorder.
Antenna Only (no cable service, just
Cable Receiver (cable service with a cable box)
Satellite Receiver (satellite programming)
Nothing (select this setting if you didn’t connect anything to the RF ANTENNA/CABLE INPUT jack on the back of the Digital Media Recorder).
Follow this procedure for all of the other INPUT jacks on the Digital Media Recorder.
INPUT 1 (on the back of the Digital Media Recorder)
INPUT
When you’re finished, press the down arrow button on the remote to highlight Done and press the OK button.
3) GUIDE Plus+ setup
Your Digital Media Recorder is equipped with the GUIDE Plus+ system, a
a.First, identify your TV’s location. Use the arrow buttons to select your country and press OK. Use the number buttons on the remote to enter your zip code or postal code, and press OK.
b.The next series of screens asks you about your cable setup. Follow the
If you don’t have a cable box connected to your TV or Digital Media Recorder, skip to step 3d.
c.If you connected a cable box to the Digital Media Recorder, the IR Control cable
Identify the channel you tune your TV to when using the cable box, and the brand of cable box. If your brand isn’t listed, choose Not Listed.
After you’ve followed the
After the Digital Media Recorder completes its test, it gives you feedback. If the test failed, choose another brand or set it manually.
Note:
Since you must connect your cable box to your Digital Media Recorder instead of your TV, you’ll need to tune the Digital Media Recorder to the cable box channel (usually either channel 2, 3, or 4) to watch TV programs.
13