Chapter 3: Using the Recorder’s Features
Watching one channel while you record another channel to the Digital Media Recorder
If you want to watch another channel while you’re recording, you need to make sure you’ve connected an RF signal splitter (go to page 4 for details), and do the following:
1.Make sure the Digital Media Recorder and the TV are on. Tune the TV to the appropriate Video Input Channel (if you need help, go to page 16).
2.Using the Digital Media Recorder’s channel buttons, tune to the program you want to record. Press the RECORD button.
3.If the remote that came with your Digital Media Recorder operates your TV, just press the TV button and use the channel up and down buttons to go to a different channel.
If the remote doesn’t operate your TV, use the TV’s remote control to change channels.
Notes:
The remote that came with your Digital Media Recorder is a programmable Universal remote that can be programmed to operate many brands and models of TVs. Go to page 19 if you want to program the remote).
You won’t be able to pause live TV when you’re recording one channel, and watching another channel.
Record continuously so the program will appear as one title in the Video menu.
Recording from the GUIDE Plus+ on-screen programming guide
You can schedule recordings from the GUIDE Plus+
1.If the program guide isn’t on the TV, press the GUIDE button on the remote control (the listings guide appears).
2.Use the remote control’s arrow button to highlight the program you want to record.
3.Press the 3 button on the remote.
Note: The 3 button corresponds to the GUIDE Plus+ System’s action buttons and says record next to it. DON’T press the RECORD button.
4. To change the frequency of the recording (one time, daily, weekly, etc.), go to the GUIDE Plus+ Schedule menu (see page 30 for more info).
Note:
If recording that you set up through the GUIDE Plus+ system conflicts with a timer recording that you set up via the Digital Media Recorder’s Recording menu, the Timer recording you set up in the Digital Media Recorder’s Recording menu system will be recorded instead of the one you scheduled through the GUIDE Plus+ system.
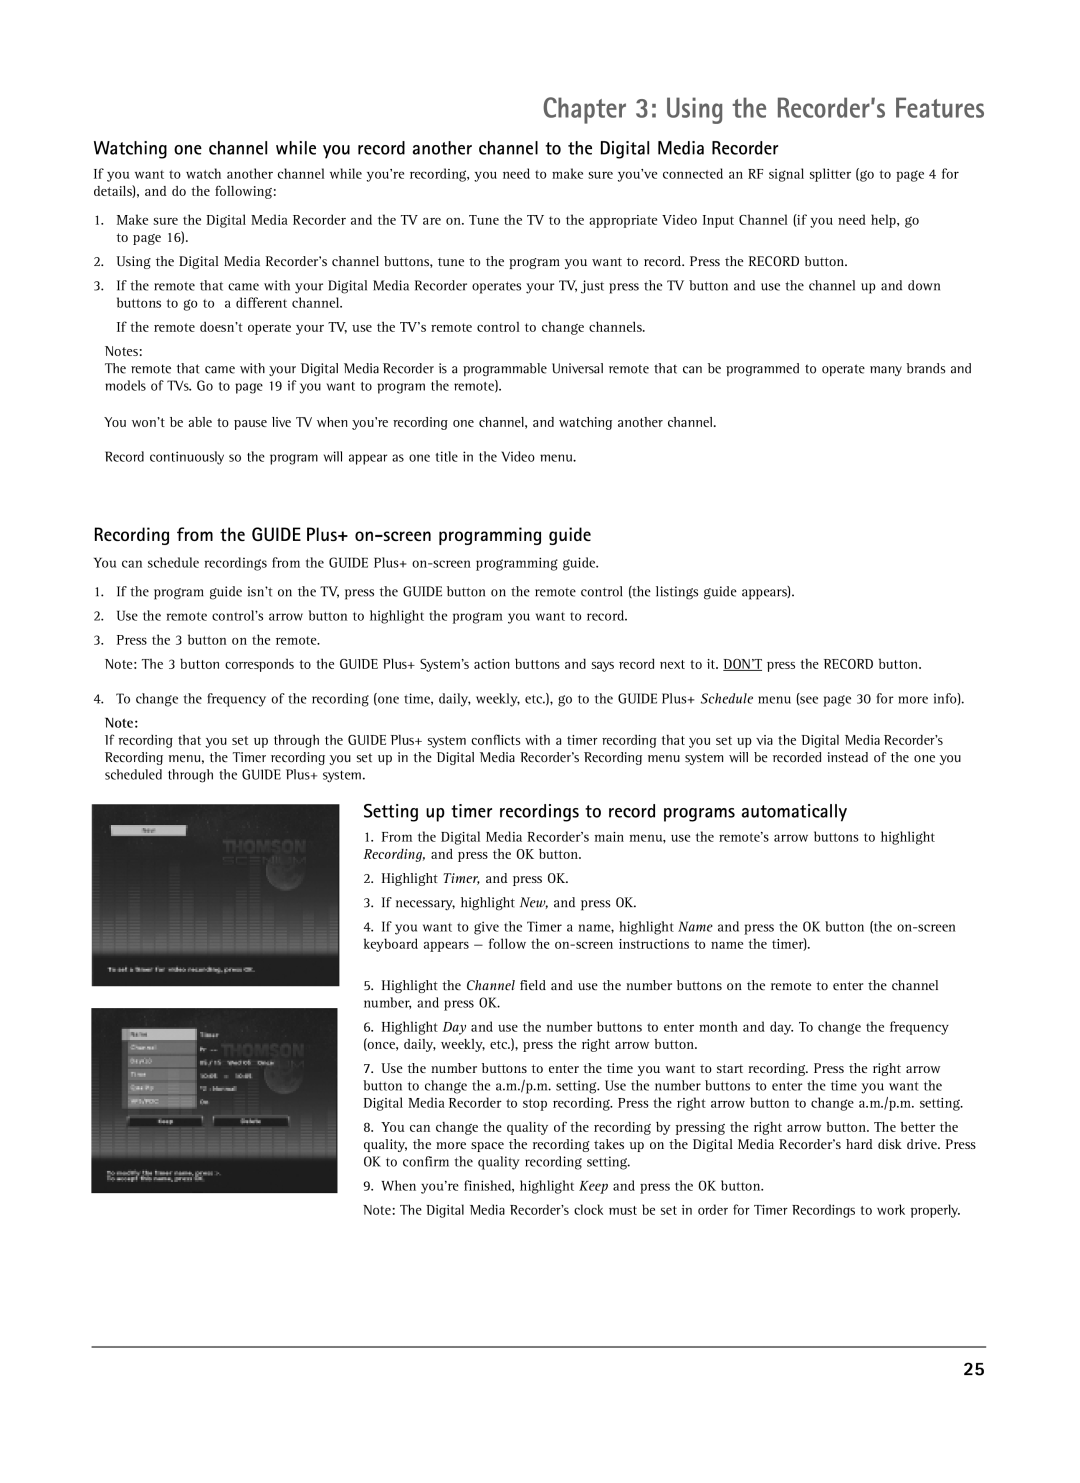
Setting up timer recordings to record programs automatically
1.From the Digital Media Recorder’s main menu, use the remote’s arrow buttons to highlight Recording, and press the OK button.
2.Highlight Timer, and press OK.
3.If necessary, highlight New, and press OK.
4.If you want to give the Timer a name, highlight Name and press the OK button (the
5.Highlight the Channel field and use the number buttons on the remote to enter the channel number, and press OK.
6.Highlight Day and use the number buttons to enter month and day. To change the frequency (once, daily, weekly, etc.), press the right arrow button.
7.Use the number buttons to enter the time you want to start recording. Press the right arrow button to change the a.m./p.m. setting. Use the number buttons to enter the time you want the Digital Media Recorder to stop recording. Press the right arrow button to change a.m./p.m. setting.
8.You can change the quality of the recording by pressing the right arrow button. The better the
quality, the more space the recording takes up on the Digital Media Recorder’s hard disk drive. Press OK to confirm the quality recording setting.
9.When you’re finished, highlight Keep and press the OK button.
Note: The Digital Media Recorder’s clock must be set in order for Timer Recordings to work properly.
25