MAINTENANCE

VALVE REPLACEMENT

1)Shut off the gas supply.

2)Remove the louvers (and bay door if it is on).

3)Open the flush door and remove the door.

4)Remove the logs and brick panels.

5)Remove the grate by loosening the two screws and sliding the grate out.

11)Push the valve assembly to the left and lift the entrire assembly out.

12)Remove the valve by removing the 4 screws in the base of the valve tray.

5)Reconnect the pilot tube nut with a 7/16" wrench.

6)Re-attach the valve mounting bracket to the valve tray.

Grate screws

6)Remove the burner assembly by removing the 2 screws and lifting it out.

7)Remove the 2 screws holding the Air Intake Hood to the rear firebox wall and lift out.

8)Disconnect the inlet gas line.

9)Disconnect the TP wire, the TH wire, and the TH/TP wire from the valve.

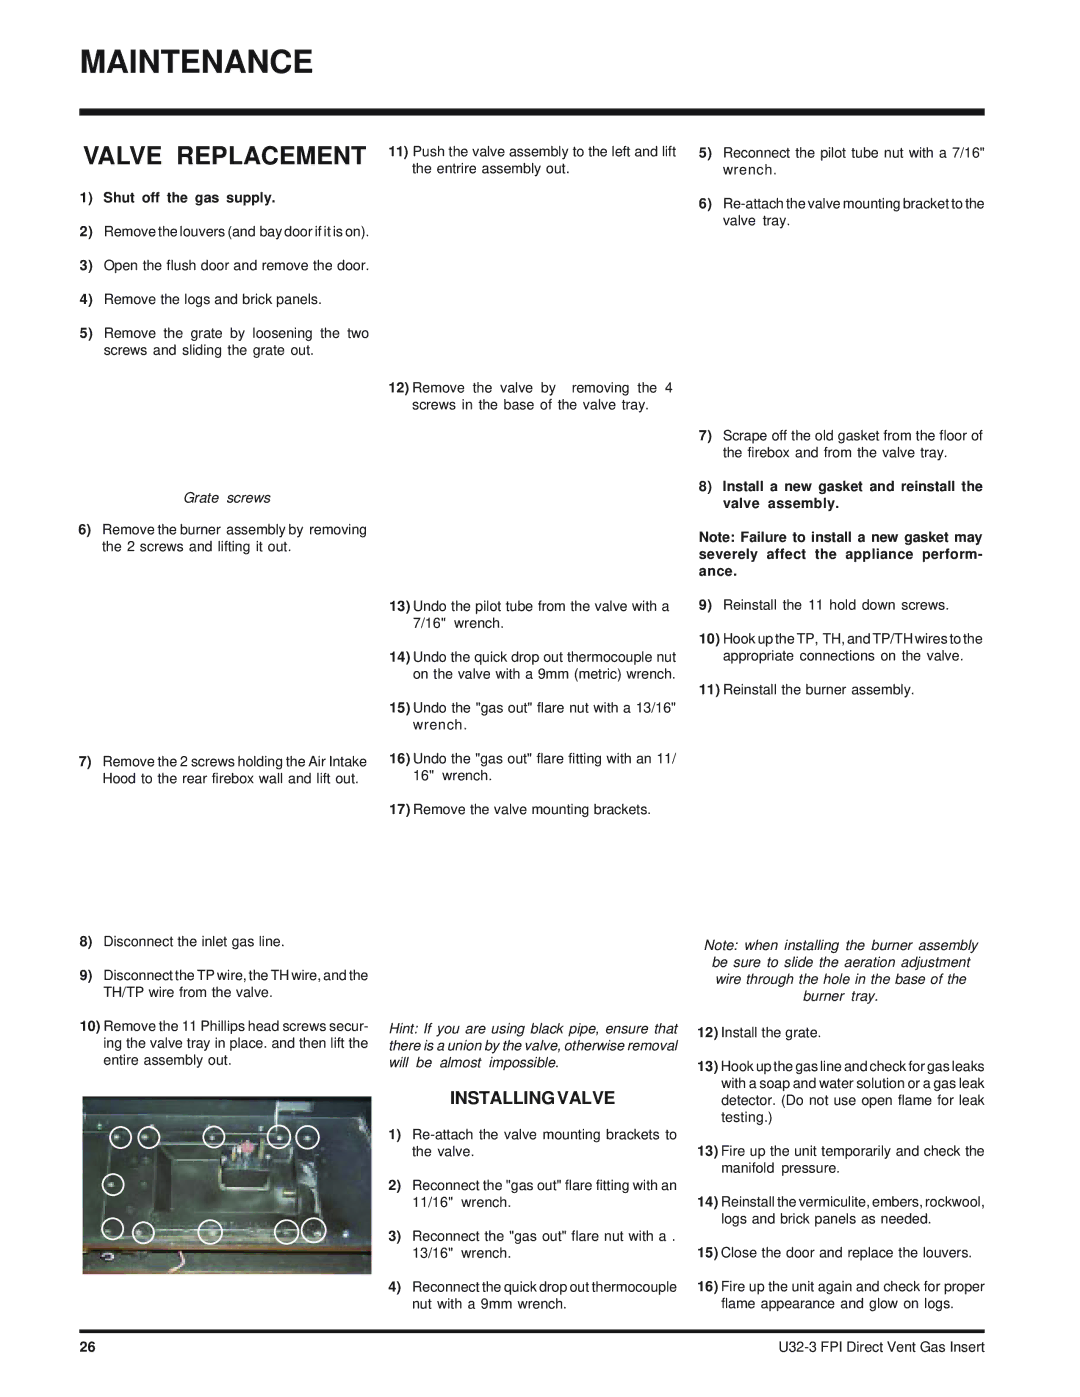
10)Remove the 11 Phillips head screws secur- ing the valve tray in place. and then lift the entire assembly out.

13)Undo the pilot tube from the valve with a 7/16" wrench.

14)Undo the quick drop out thermocouple nut on the valve with a 9mm (metric) wrench.

15)Undo the "gas out" flare nut with a 13/16" wrench.

16)Undo the "gas out" flare fitting with an 11/ 16" wrench.

17)Remove the valve mounting brackets.

Hint: If you are using black pipe, ensure that there is a union by the valve, otherwise removal will be almost impossible.

INSTALLING VALVE

1)Re-attach the valve mounting brackets to the valve.

2)Reconnect the "gas out" flare fitting with an 11/16" wrench.

3)Reconnect the "gas out" flare nut with a . 13/16" wrench.

4)Reconnect the quick drop out thermocouple nut with a 9mm wrench.

7)Scrape off the old gasket from the floor of the firebox and from the valve tray.

8)Install a new gasket and reinstall the valve assembly.

Note: Failure to install a new gasket may severely affect the appliance perform- ance.

9)Reinstall the 11 hold down screws.

10)Hook up the TP, TH, and TP/TH wires to the appropriate connections on the valve.

11)Reinstall the burner assembly.

Note: when installing the burner assembly be sure to slide the aeration adjustment wire through the hole in the base of the burner tray.

12)Install the grate.

13)Hook up the gas line and check for gas leaks with a soap and water solution or a gas leak detector. (Do not use open flame for leak testing.)

13)Fire up the unit temporarily and check the manifold pressure.

14)Reinstall the vermiculite, embers, rockwool, logs and brick panels as needed.

15)Close the door and replace the louvers.

16)Fire up the unit again and check for proper flame appearance and glow on logs.

26

U32-3 FPI Direct Vent Gas Insert

Page 26
Image 26
Regency U32-NG3 Valve Replacement, Shut off the gas supply, Install a new gasket and reinstall the valve assembly

U32-NG3 specifications

The Regency U32-NG3 is an innovative and elegant gas fireplace designed to enhance the ambiance of any living space while providing efficient heating. With its sleek design and modern technology, the U32-NG3 is a prime example of Regency's commitment to quality craftsmanship and customer satisfaction.

One of the main features of the U32-NG3 is its clean, contemporary lines that fit seamlessly into both traditional and modern interiors. The fireplace boasts a large viewing area, thanks to its expansive glass front. This design not only provides an unobstructed view of the flames but also allows for greater heat output, making the U32-NG3 an efficient choice for heating.

The U32-NG3 is designed with a direct vent system, which ensures that combustion gases are vented outside the home, promoting a clean indoor environment. This feature also maximizes the efficiency of the fireplace, as it draws air from outside for combustion, reducing heating costs. The direct vent technology is particularly beneficial for homes in colder climates as it minimizes the draw of warm air from the living space.

In terms of heating capacity, the U32-NG3 is powerful, capable of delivering up to 30,000 BTUs. This output is suitable for medium to large rooms, ensuring a cozy atmosphere on cold winter evenings. Homeowners can also customize the flame height and heat output to suit their comfort needs.

Safety is a top priority with the U32-NG3. It includes advanced safety features such as an automatic shut-off system that activates in case of a malfunction or blockage in the venting system. The fireplace also has a safety screen that prevents unintended contact with the flames while allowing for maximum heat circulation.

The U32-NG3 is equipped with state-of-the-art electronic ignition, which ensures quick and reliable startups at the push of a button. Additionally, the fireplace can be operated remotely with a convenient wall switch or optional remote control, adding further ease of use.

In conclusion, the Regency U32-NG3 is a versatile gas fireplace that combines style, efficiency, and advanced technology. Its focus on safety, ease of use, and impressive heating capabilities make it an ideal choice for homeowners looking to upgrade their living space with a modern heating solution. With the U32-NG3, you can create a warm and inviting atmosphere while enjoying all the benefits of a high-quality gas fireplace.