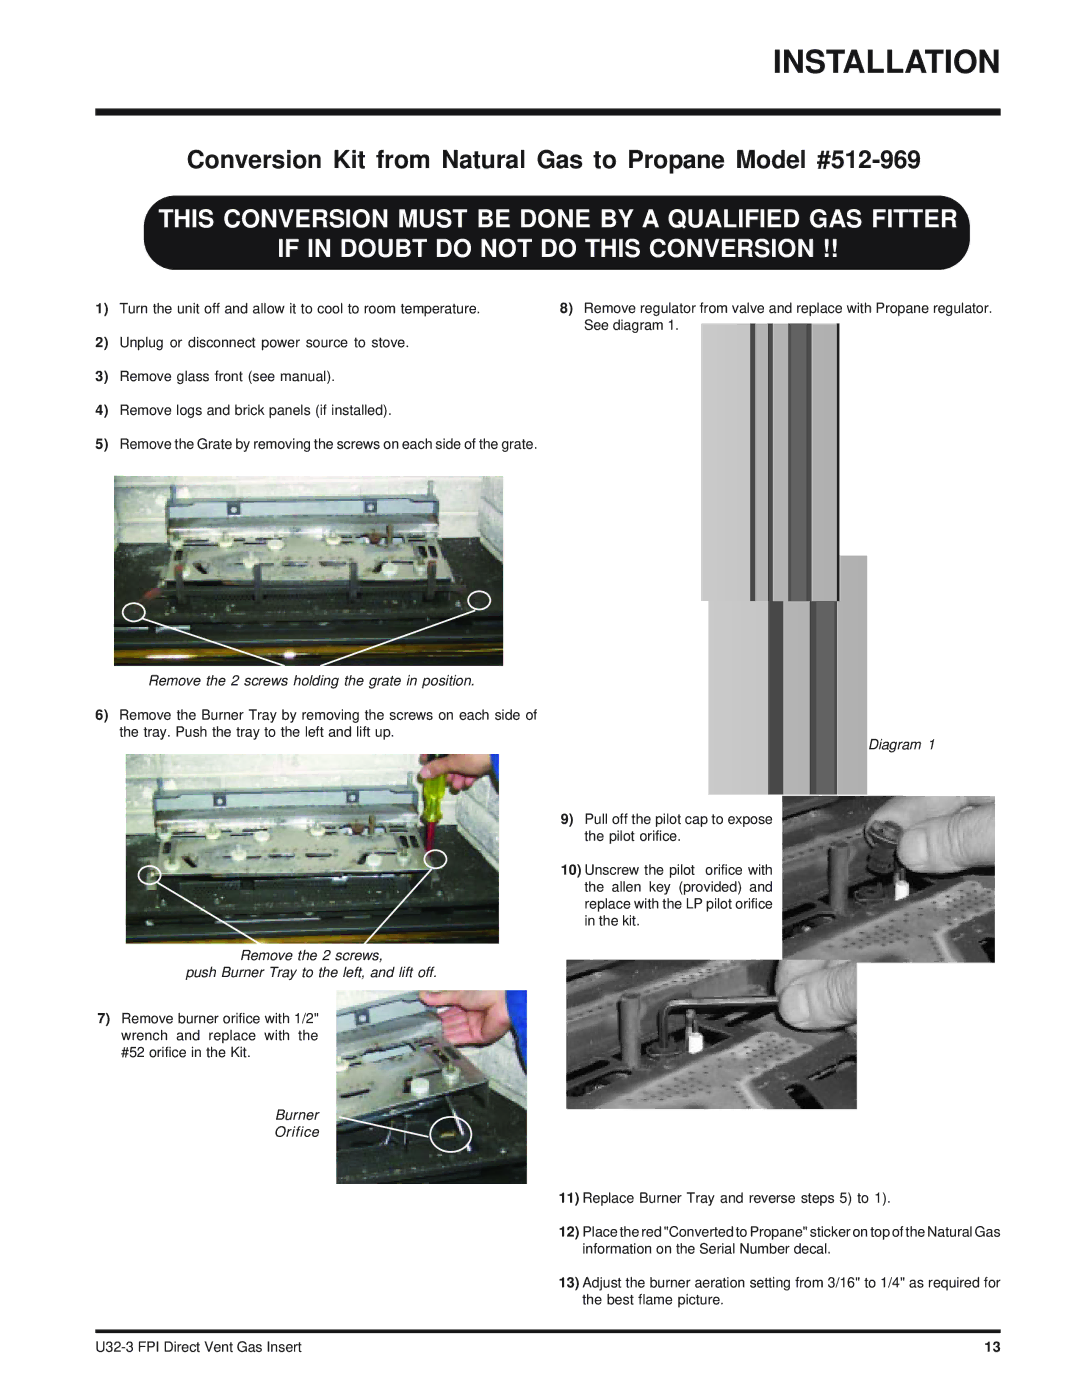
U32-NG3 specifications
The Regency U32-NG3 is an innovative and elegant gas fireplace designed to enhance the ambiance of any living space while providing efficient heating. With its sleek design and modern technology, the U32-NG3 is a prime example of Regency's commitment to quality craftsmanship and customer satisfaction.One of the main features of the U32-NG3 is its clean, contemporary lines that fit seamlessly into both traditional and modern interiors. The fireplace boasts a large viewing area, thanks to its expansive glass front. This design not only provides an unobstructed view of the flames but also allows for greater heat output, making the U32-NG3 an efficient choice for heating.
The U32-NG3 is designed with a direct vent system, which ensures that combustion gases are vented outside the home, promoting a clean indoor environment. This feature also maximizes the efficiency of the fireplace, as it draws air from outside for combustion, reducing heating costs. The direct vent technology is particularly beneficial for homes in colder climates as it minimizes the draw of warm air from the living space.
In terms of heating capacity, the U32-NG3 is powerful, capable of delivering up to 30,000 BTUs. This output is suitable for medium to large rooms, ensuring a cozy atmosphere on cold winter evenings. Homeowners can also customize the flame height and heat output to suit their comfort needs.
Safety is a top priority with the U32-NG3. It includes advanced safety features such as an automatic shut-off system that activates in case of a malfunction or blockage in the venting system. The fireplace also has a safety screen that prevents unintended contact with the flames while allowing for maximum heat circulation.
The U32-NG3 is equipped with state-of-the-art electronic ignition, which ensures quick and reliable startups at the push of a button. Additionally, the fireplace can be operated remotely with a convenient wall switch or optional remote control, adding further ease of use.
In conclusion, the Regency U32-NG3 is a versatile gas fireplace that combines style, efficiency, and advanced technology. Its focus on safety, ease of use, and impressive heating capabilities make it an ideal choice for homeowners looking to upgrade their living space with a modern heating solution. With the U32-NG3, you can create a warm and inviting atmosphere while enjoying all the benefits of a high-quality gas fireplace.

