4
3 trimmer/edger assembly
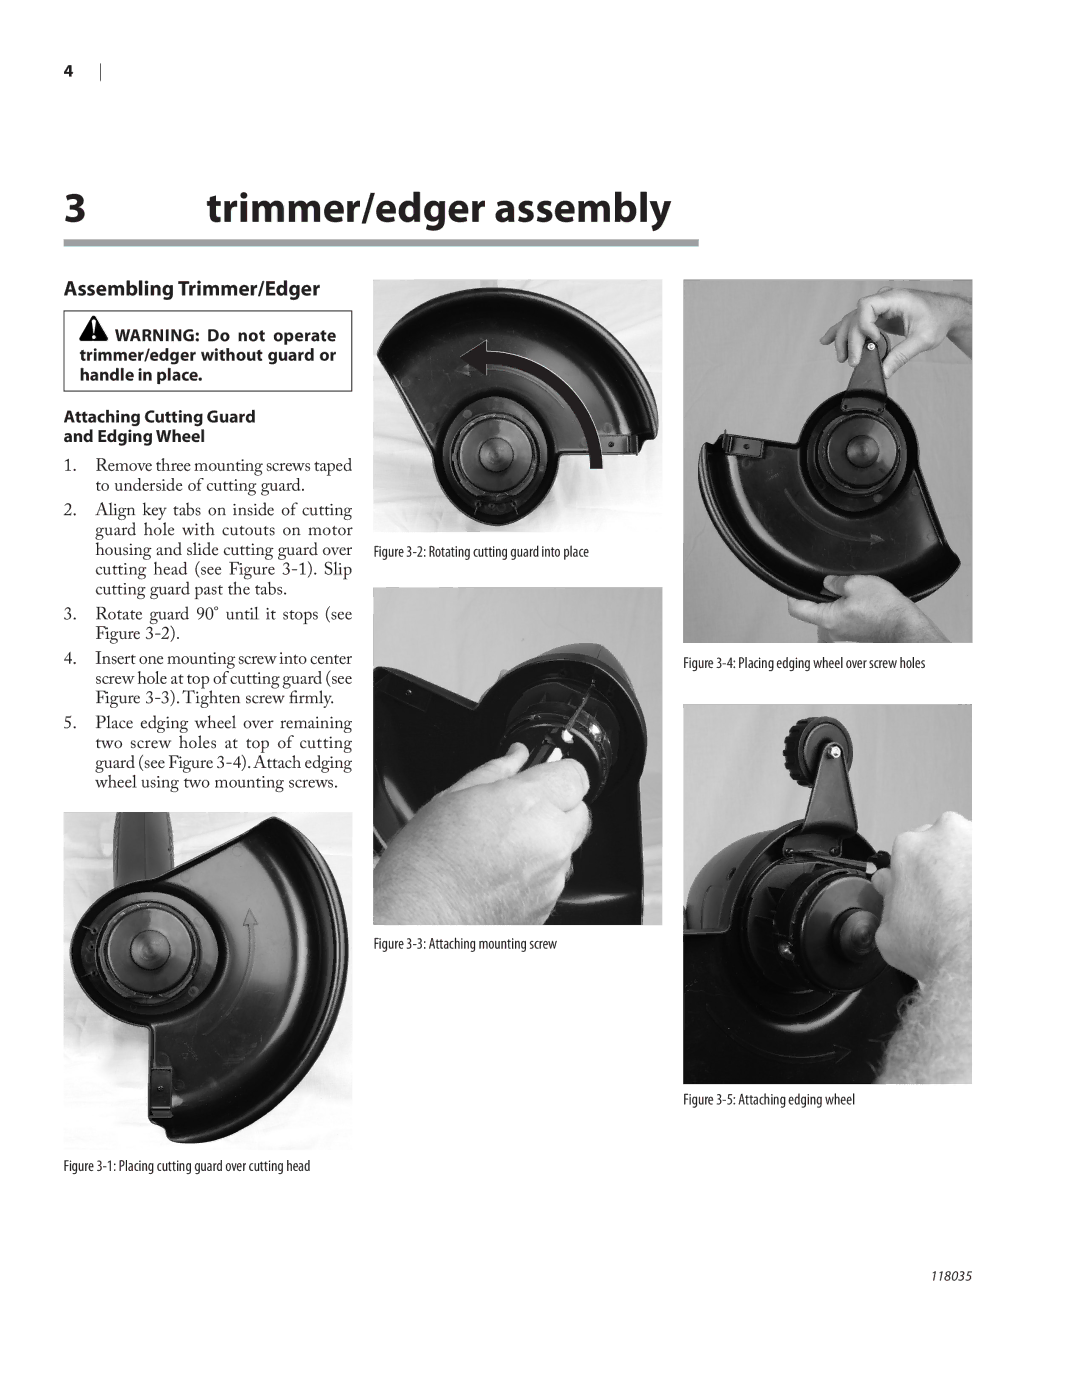
Assembling Trimmer/Edger
![]() WARNING: Do not operate trimmer/edger without guard or handle in place.
WARNING: Do not operate trimmer/edger without guard or handle in place.
Attaching Cutting Guard
and Edging Wheel
1.Remove three mounting screws taped to underside of cutting guard.
2.Align key tabs on inside of cutting guard hole with cutouts on motor
housing and slide cutting guard over Figure
cutting guard past the tabs.
3.Rotate guard 90° until it stops (see Figure
4. | Insert one mounting screw into center | Figure |
| screw hole at top of cutting guard (see |
|
| Figure |
|
5. | Place edging wheel over remaining |
|
| two screw holes at top of cutting |
|
| guard (see Figure |
|
| wheel using two mounting screws. |
|