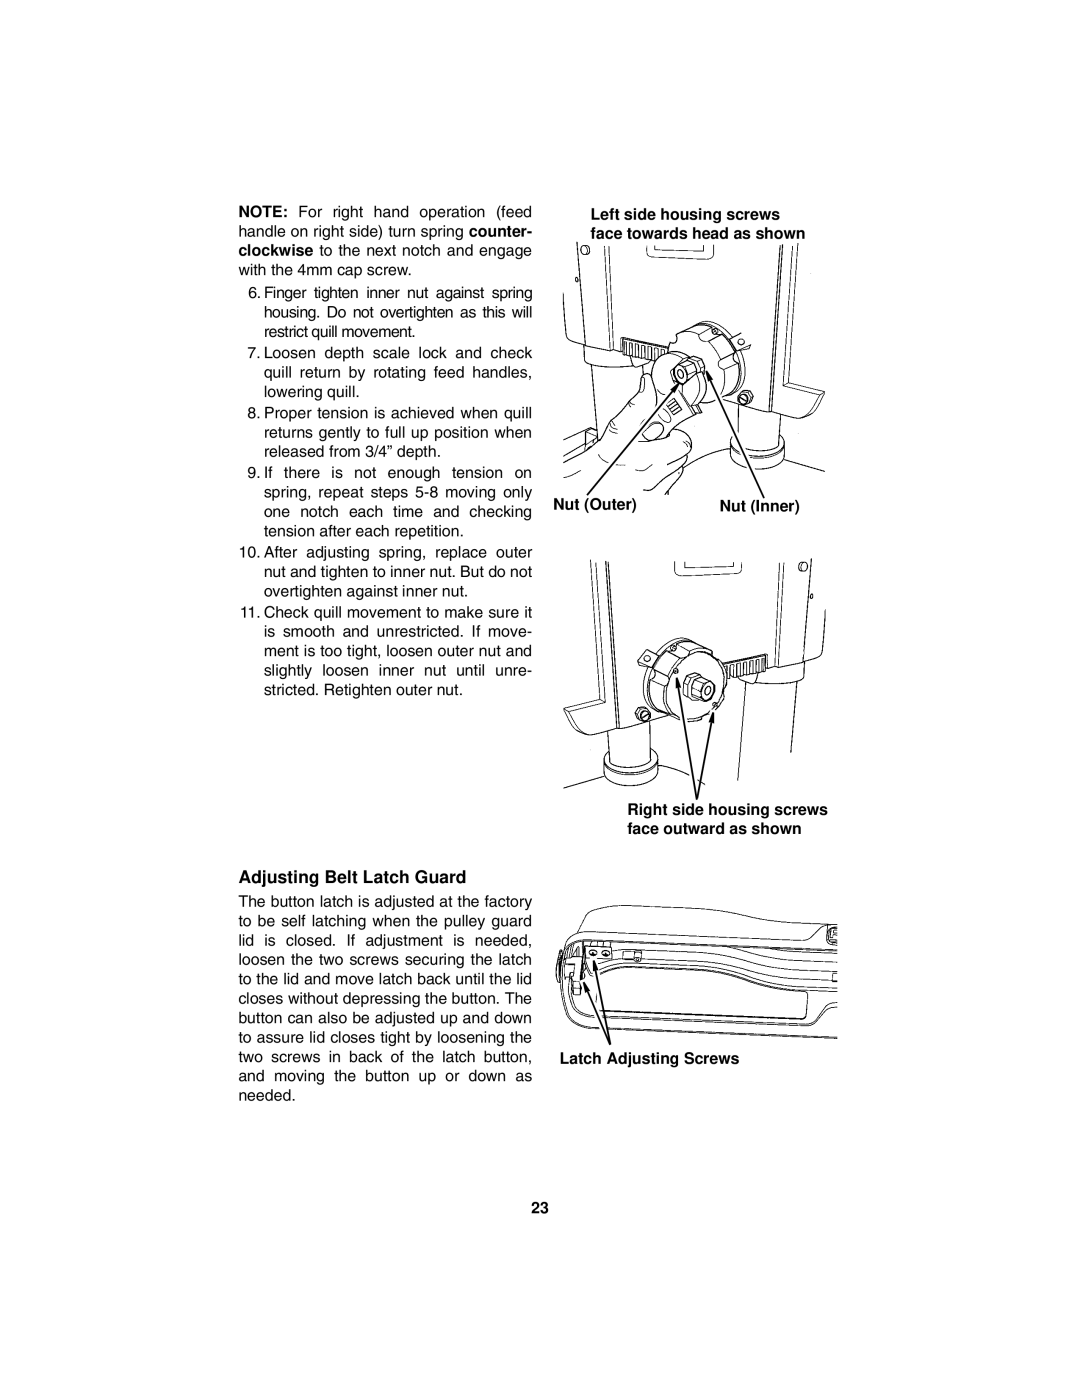
NOTE: For right hand operation (feed handle on right side) turn spring counter- clockwise to the next notch and engage with the 4mm cap screw.
6.Finger tighten inner nut against spring housing. Do not overtighten as this will restrict quill movement.
7.Loosen depth scale lock and check quill return by rotating feed handles, lowering quill.
8.Proper tension is achieved when quill returns gently to full up position when released from 3/4” depth.
9.If there is not enough tension on spring, repeat steps
10.After adjusting spring, replace outer nut and tighten to inner nut. But do not overtighten against inner nut.
11.Check quill movement to make sure it is smooth and unrestricted. If move- ment is too tight, loosen outer nut and slightly loosen inner nut until unre- stricted. Retighten outer nut.
Left side housing screws face towards head as shown
Nut (Outer) | Nut (Inner) |
Right side housing screws face outward as shown
Adjusting Belt Latch Guard
The button latch is adjusted at the factory |
|
to be self latching when the pulley guard |
|
lid is closed. If adjustment is needed, |
|
loosen the two screws securing the latch |
|
to the lid and move latch back until the lid |
|
closes without depressing the button. The |
|
button can also be adjusted up and down |
|
to assure lid closes tight by loosening the |
|
two screws in back of the latch button, | Latch Adjusting Screws |
and moving the button up or down as |
|
needed. |
|
23