Basic Saw Operations
Using the Miter Gauge
The miter gauge is used when crosscut- ting, miter cutting, bevel cutting, com- pound miter cutting, dadoing and when rabbeting across the end of a narrow workpiece.
WARNING: For your own safety, always observe the following safety precautions in addition to the safety instructions of pages 3 thru 9 and 35 thru 38.
Additional Safety Instructions for Crosscutting
Before Starting:
•Never use the rip fence when crosscut- ting except as specifically instructed.
•An auxiliary wood facing attached to the miter gauge can help prevent work- piece twisting and throwbacks. Attach it to the slots provided. Make the facing long enough and big enough to support your work. Make sure, however, it will not interfere with the sawblade guard.
•Use jigs or fixtures to help hold any piece too small to extend across the full length of the miter gauge face during the cut. This lets you properly hold the miter gauge and workpiece and helps keep your hands away from the blade.
While cutting:
•To reduce the risk of blade contact, always hold the miter gauge as shown in the this section.
Crosscutting
Definition: A cutting or shaping operation made across the width of a workpiece. The graduations on the miter gauge pro- vide ample accuracy for average wood- working. In some cases where extreme accuracy is required, make a trial cut and then recheck it with a precision square, or protractor.
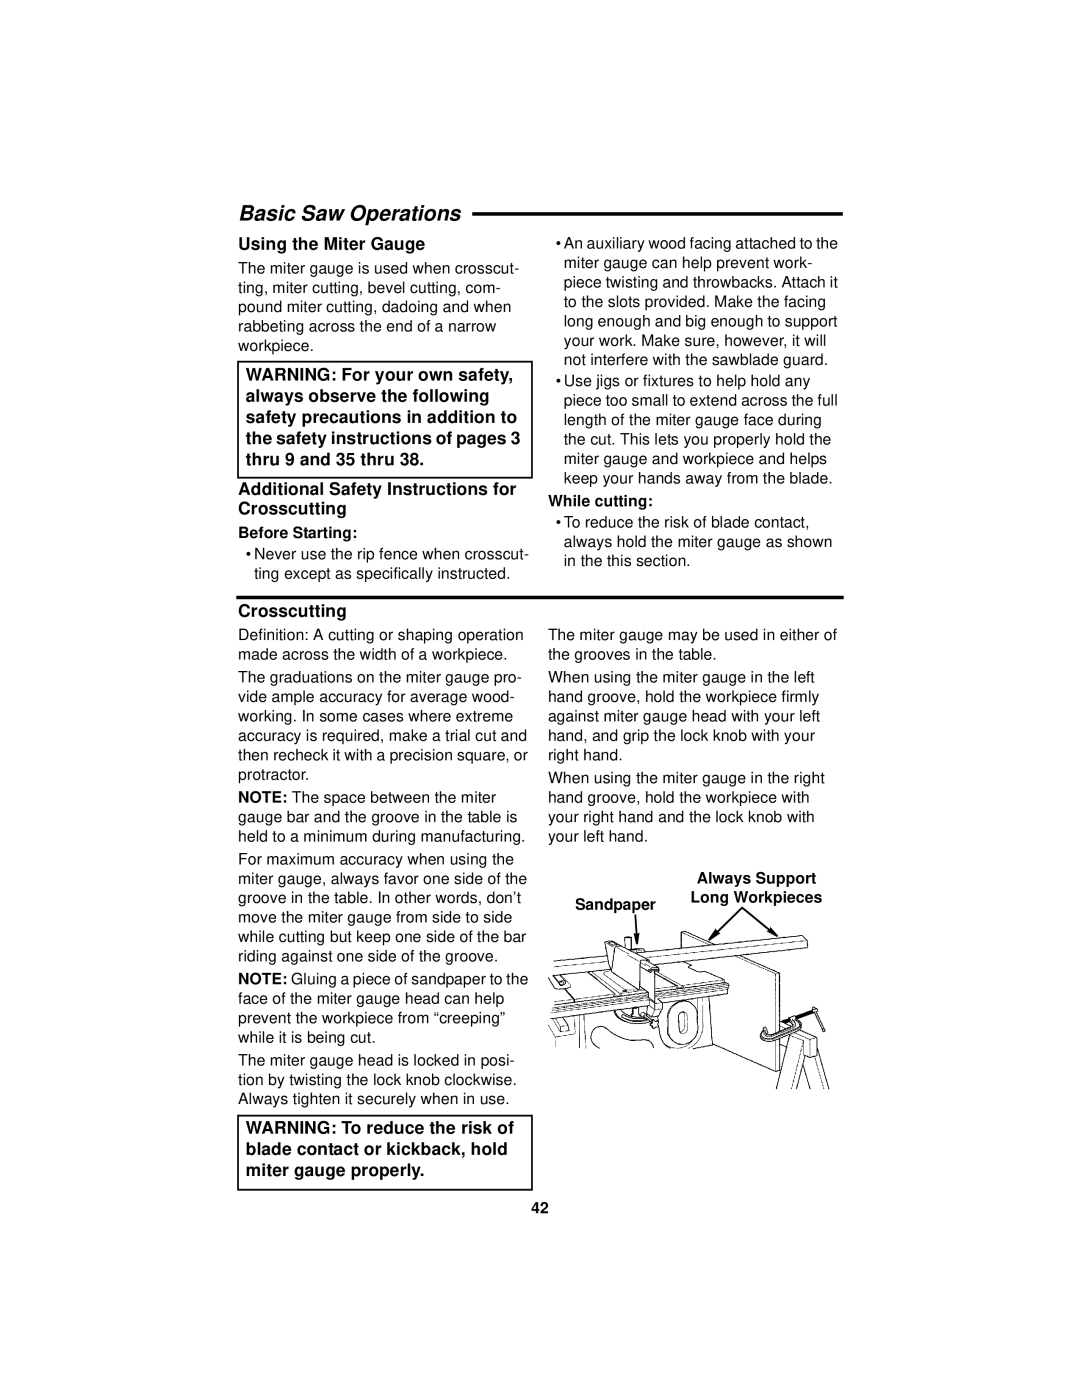
NOTE: The space between the miter gauge bar and the groove in the table is held to a minimum during manufacturing. For maximum accuracy when using the miter gauge, always favor one side of the groove in the table. In other words, don’t move the miter gauge from side to side while cutting but keep one side of the bar riding against one side of the groove. NOTE: Gluing a piece of sandpaper to the face of the miter gauge head can help prevent the workpiece from “creeping” while it is being cut.
The miter gauge head is locked in posi- tion by twisting the lock knob clockwise. Always tighten it securely when in use.
The miter gauge may be used in either of the grooves in the table.
When using the miter gauge in the left hand groove, hold the workpiece firmly against miter gauge head with your left hand, and grip the lock knob with your right hand.
When using the miter gauge in the right hand groove, hold the workpiece with your right hand and the lock knob with your left hand.
| Always Support |
Sandpaper | Long Workpieces |
|
WARNING: To reduce the risk of blade contact or kickback, hold miter gauge properly.
42