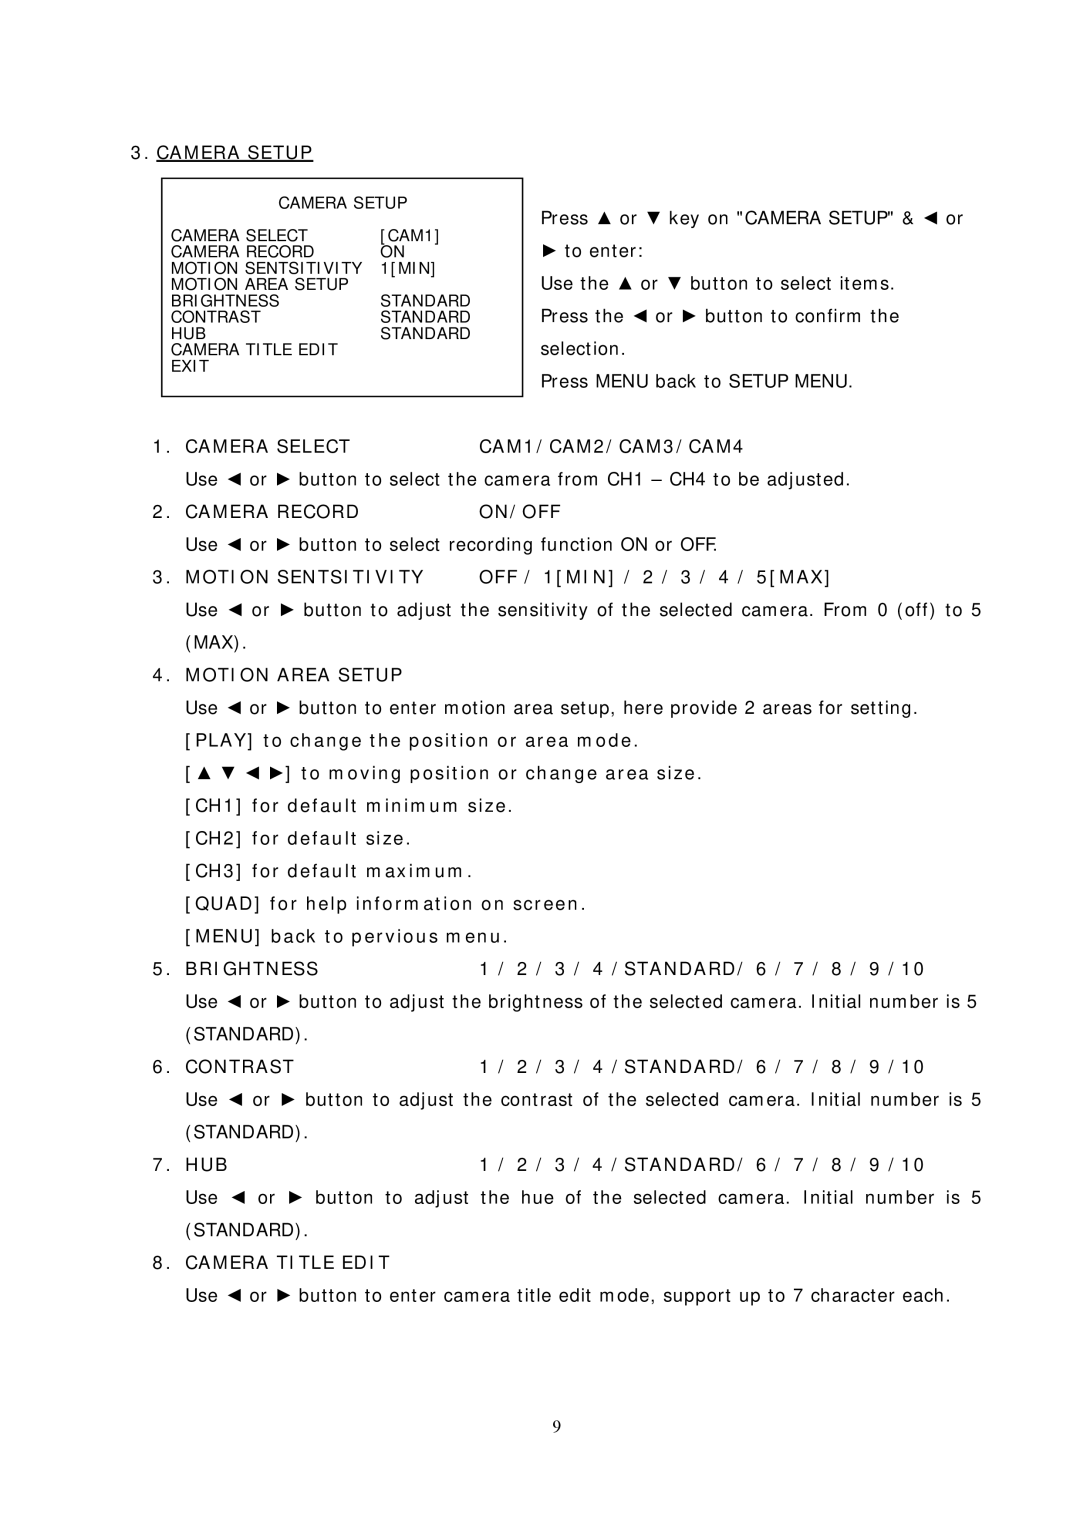
3.CAMERA SETUP
CAMERA SETUP
CAMERA SELECT | [CAM1] |
CAMERA RECORD | ON |
MOTION SENTSITIVITY | 1[MIN] |
MOTION AREA SETUP |
|
BRIGHTNESS | STANDARD |
CONTRAST | STANDARD |
HUB | STANDARD |
CAMERA TITLE EDIT |
|
EXIT |
|
Press ▲ or ▼ key on "CAMERA SETUP" & ◄ or
►to enter:
Use the ▲ or ▼ button to select items. Press the ◄ or ► button to confirm the selection.
Press MENU back to SETUP MENU.
1. CAMERA SELECT | CAM1/CAM2/CAM3/CAM4 |
Use ◄ or ► button to select the camera from CH1 – CH4 to be adjusted.
2. CAMERA RECORD | ON/OFF |
Use ◄ or ► button to select recording function ON or OFF.
3. MOTION SENTSITIVITY | OFF / 1[MIN] / 2 / 3 / 4 / 5[MAX] |
Use ◄ or ► button to adjust the sensitivity of the selected camera. From 0 (off) to 5 (MAX).
4.MOTION AREA SETUP
Use ◄ or ► button to enter motion area setup, here provide 2 areas for setting.
[PLAY] to change the position or area mode.
[▲ ▼ ◄ ►] to moving position or change area size. [CH1] for default minimum size.
[CH2] for default size.
[CH3] for default maximum.
[QUAD] for help information on screen. [MENU] back to pervious menu.
5. BRIGHTNESS | 1 / 2 / 3 / 4 /STANDARD/ 6 / 7 / 8 / 9 /10 |
Use ◄ or ► button to adjust the brightness of the selected camera. Initial number is 5 (STANDARD).
6. CONTRAST | 1 / 2 / 3 / 4 /STANDARD/ 6 / 7 / 8 / 9 /10 |
Use ◄ or ► button to adjust the contrast of the selected camera. Initial number is 5 (STANDARD).
7. HUB | 1 / 2 / 3 / 4 /STANDARD/ 6 / 7 / 8 / 9 /10 |
Use ◄ or ► button to adjust the hue of the selected camera. Initial number is 5 (STANDARD).
8.CAMERA TITLE EDIT
Use ◄ or ► button to enter camera title edit mode, support up to 7 character each.
9
