INSTALLING THE INDOOR UNIT
Cutting/Extending the Piping
5 metres of piping is supplied with the air conditioner(Optional). This length can if necessary be:
◆Extended to a maximum of 15 metres
◆Shortened as required
☛If more than 5 metres of piping is required:
◆The assembly cable must also be extended
◆Refrigerant must be added to the circuit by an approved installer; otherwise, the indoor unit may freeze
1Make sure that you have the required tools available (pipe cutter, reamer, flaring tool and pipe holder).
2 If you wish to shorten the piping, cut it using a pipe cutter, taking care to ensure that the cut edge remains at a 90° angle with the side of the pipe, and referring to the illustrations below for examples of edges cut correctly and incorrectly.
90O | Oblique | Rough | Burr |
O | x | x | x |
3To prevent any gas from leaking out, remove all burrs at the cut end of the pipe, using a reamer.
4Slide a flare nut on to the pipe and modify the flare.
Pipe | Outer Diameter (D) | Depth (A) |
Liquid refrigerant | 6.35 mm | 1.3 mm |
Gas refrigerant | 9.52 mm | 1.8 mm |
Gas refrigerant | 12.70 mm | 2.0 mm |
5Check that the flaring is correct, referring to the illustrations below for
examples of incorrect flaring.
x | x | x | x |
Inclined | Damaged Surface | Cracked | Uneven Thickness |
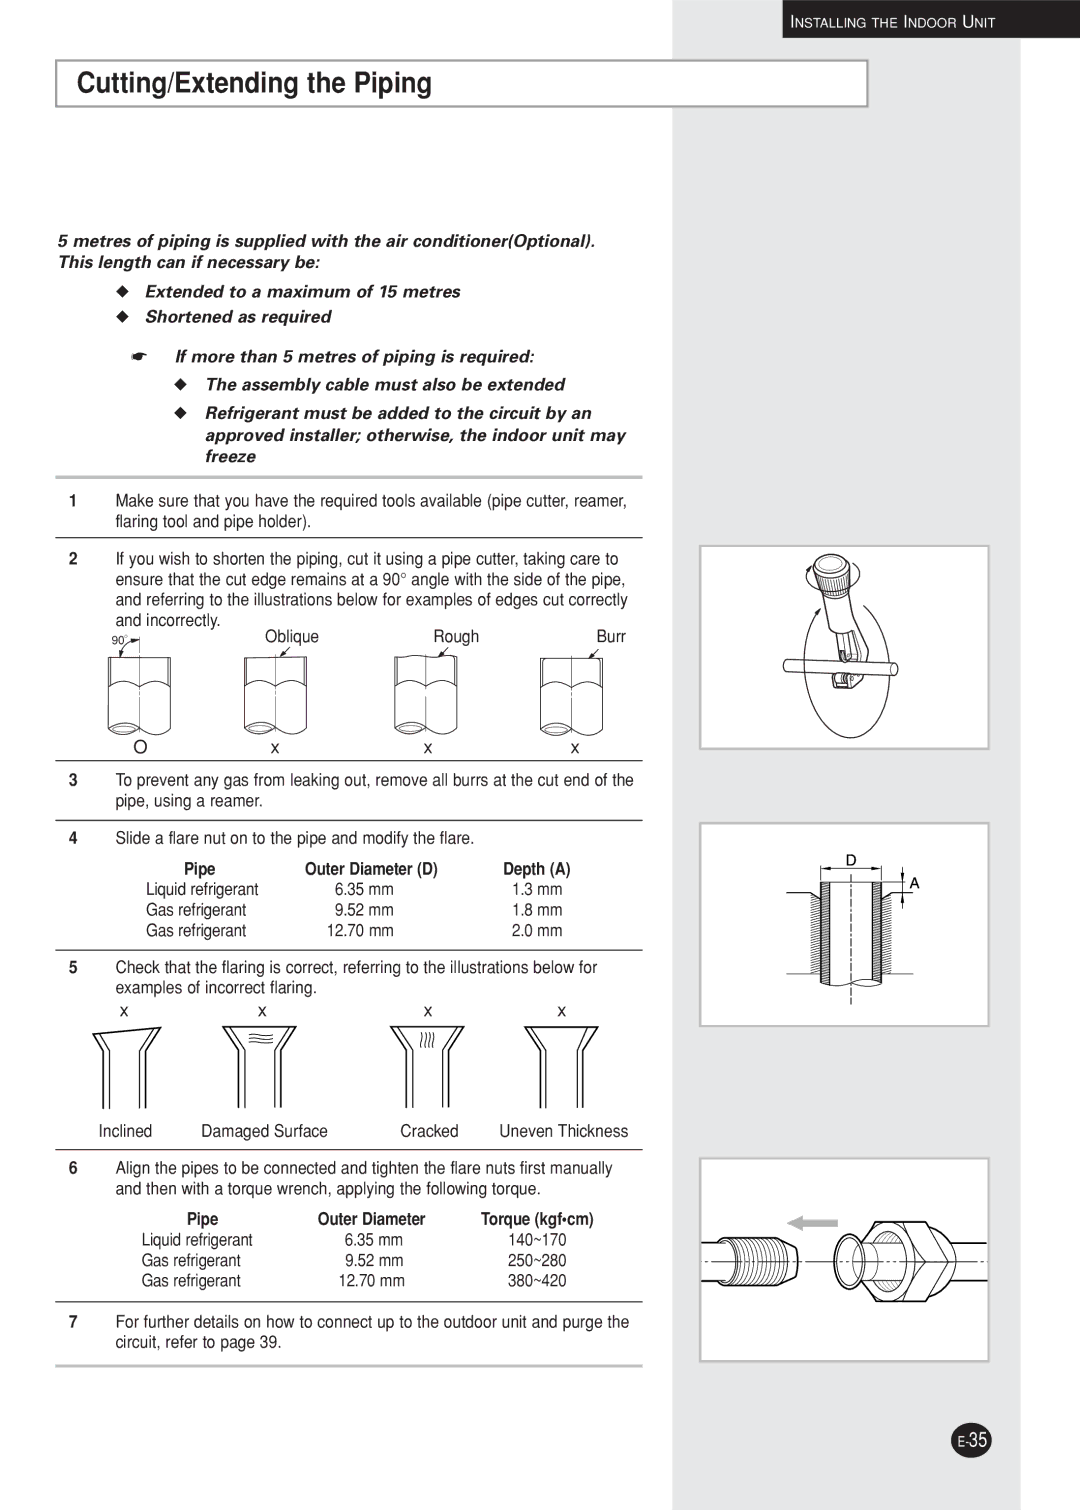
6Align the pipes to be connected and tighten the flare nuts first manually and then with a torque wrench, applying the following torque.
Pipe | Outer Diameter | Torque (kgf•cm) |
Liquid refrigerant | 6.35 mm | 140~170 |
Gas refrigerant | 9.52 mm | 250~280 |
Gas refrigerant | 12.70 mm | 380~420 |
7For further details on how to connect up to the outdoor unit and purge the circuit, refer to page 39.