FinalAA Check and Trial Operation
To complete the installation, perform the following checks and tests to ensure that the air conditioner operates correctly.
Check the followings:
• Strength of the installation site
• Tightness of pipe connection to detect gas leak
• Electric wiring connection
•
•Drainage
•Grounding conductor connection
•Correct operation (follow the steps below)
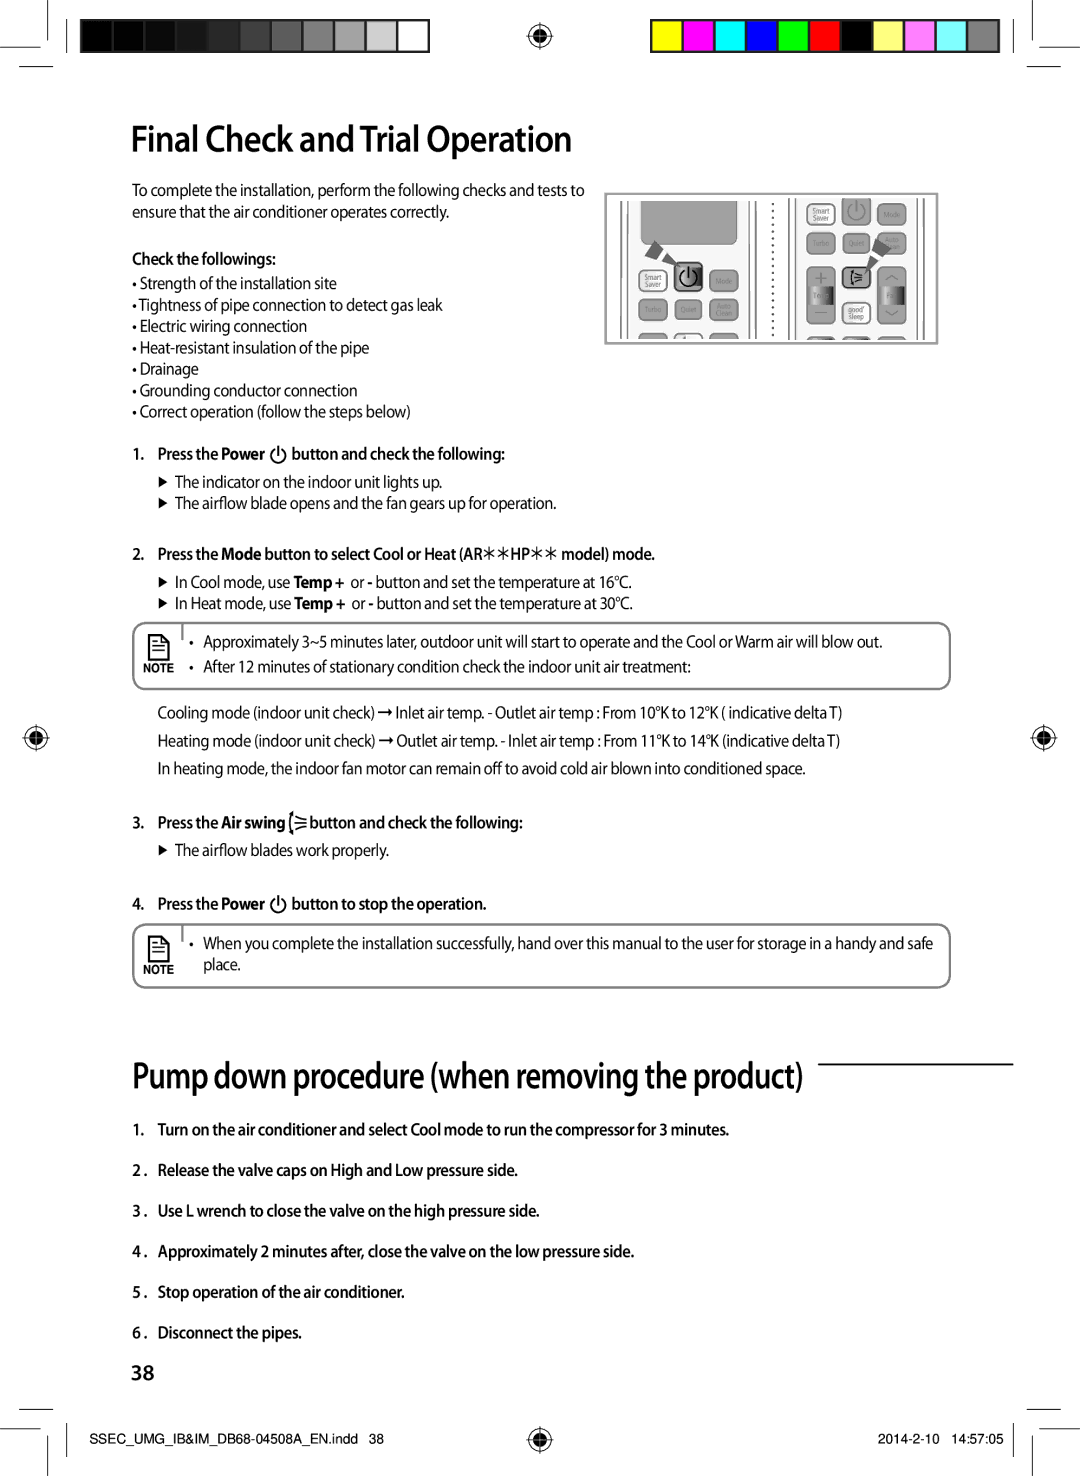
1.Press the Power  button and check the following:
The indicator on the indoor unit lights up.
The airflow blade opens and the fan gears up for operation.
2.Press the Mode button to select Cool or Heat (ARHPmodel) mode.
In Cool mode, use Temp + or - button and set the temperature at 16°C.
In Heat mode, use Temp + or - button and set the temperature at 30°C.
• Approximately 3~5 minutes later, outdoor unit will start to operate and the Cool or Warm air will blow out.
• After 12 minutes of stationary condition check the indoor unit air treatment:
Cooling mode (indoor unit check) Inlet air temp. - Outlet air temp : From 10°K to 12°K ( indicative delta T)
Heating mode (indoor unit check) Outlet air temp. - Inlet air temp : From 11°K to 14°K (indicative delta T)
In heating mode, the indoor fan motor can remain off to avoid cold air blown into conditioned space.
3.Press the Air swing  button and check the following:
The airflow blades work properly.
4.Press the Power  button to stop the operation.
• When you complete the installation successfully, hand over this manual to the user for storage in a handy and safe
place.
Pump down procedure (when removing the product)
1.Turn on the air conditioner and select Cool mode to run the compressor for 3 minutes.
2. Release the valve caps on High and Low pressure side.
3. Use L wrench to close the valve on the high pressure side.
4. Approximately 2 minutes after, close the valve on the low pressure side.
5. Stop operation of the air conditioner.
6. Disconnect the pipes.
38