HARDWARE SETUP
Section 5
5.1 Hard Disk Drive Installation
Note: Only read if you wish to replace/upgrade the existing supplied 160GB hard
drive unit fitted in the DVR.
1.Unlock the front hard drive drawer using the key supplied.
2.Pull the drawers lever to remove the drawer from the DVR.
3.Remove the x 4 screws on the base of the drawer which secure the hard drive in place to remove the existing unit.
4.Replace with the new hard drive unit, refit and lock the drawer again.
5.2 Monitor Connection
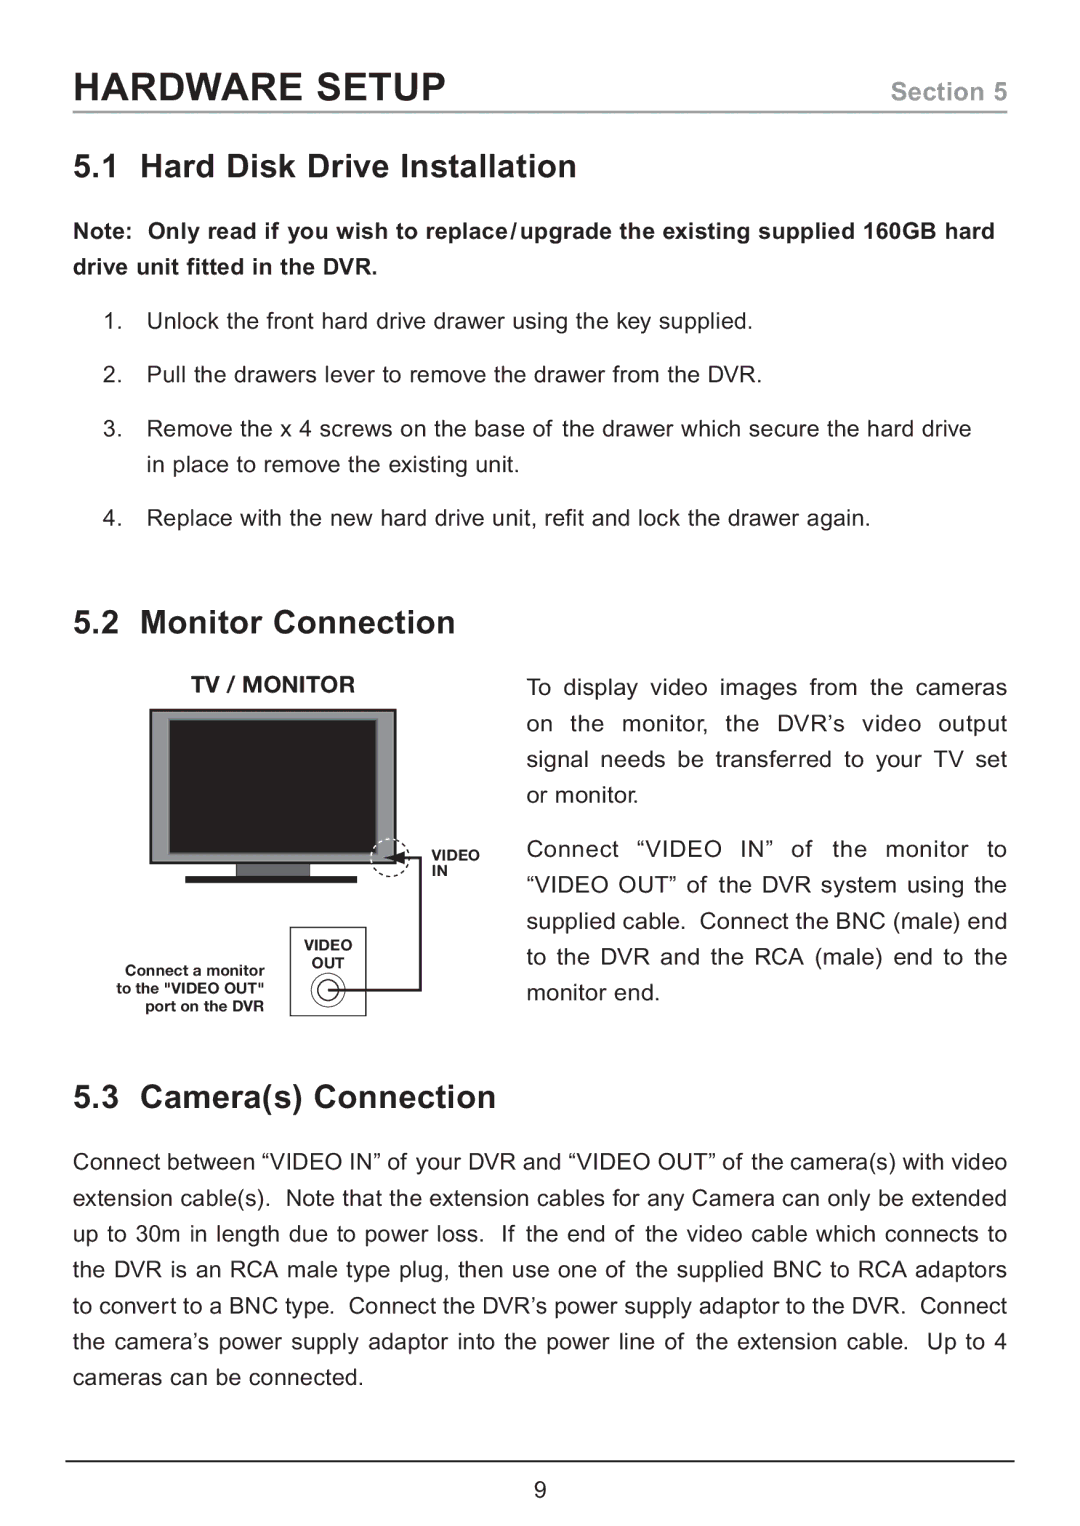
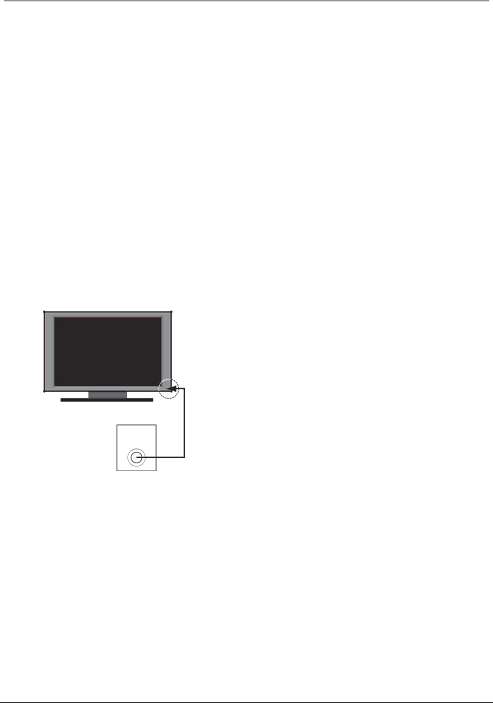
TV / MONITOR
VIDEO
IN
VIDEO
To display video images from the cameras on the monitor, the DVR’s video output signal needs be transferred to your TV set or monitor.
Connect “VIDEO IN” of the monitor to “VIDEO OUT” of the DVR system using the supplied cable. Connect the BNC (male) end to the DVR and the RCA (male) end to the
Connect a monitor to the "VIDEO OUT" port on the DVR
OUT
monitor end.
5.3 Camera(s) Connection
Connect between “VIDEO IN” of your DVR and “VIDEO OUT” of the camera(s) with video extension cable(s). Note that the extension cables for any Camera can only be extended up to 30m in length due to power loss. If the end of the video cable which connects to the DVR is an RCA male type plug, then use one of the supplied BNC to RCA adaptors to convert to a BNC type. Connect the DVR’s power supply adaptor to the DVR. Connect the camera’s power supply adaptor into the power line of the extension cable. Up to 4 cameras can be connected.
9